- Buoyage Odessa

Содержание
- 2. Buoyage How many different systems? Lateral Marks – system A Red to Port Lateral Marks –
- 3. North Cardinal Marks North cardinal marks are positioned at the most northerly point of a navigational
- 4. East Cardinal Marks East cardinal marks are positioned at the most easterly point of a navigational
- 5. South Cardinal Marks South cardinal marks are positioned at the most southerly point of a navigational
- 6. West Cardinal Marks West cardinal marks are positioned at the most westerly point of a navigational
- 7. Isolated danger mark Isolated danger marks are positioned above any isolated navigational hazard, which is surrounded
- 8. Safe water marks Safe water marks indicate safe deep water. They may be of different shapes,
- 9. Special marks Special marks indicate the position of any special feature. They may be of different
- 10. Starboard hand marks – System A Starboard hand lateral marks are positioned to mark the starboard
- 11. Port Hand Marks – System A Port hand lateral marks are positioned to mark the port
- 15. Скачать презентацию
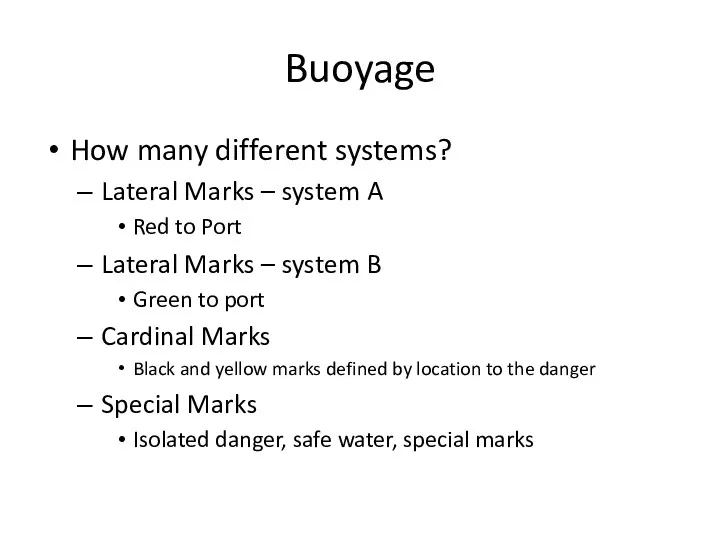
Buoyage
How many different systems?
Lateral Marks – system A
Red to Port
Lateral Marks
Buoyage
How many different systems?
Lateral Marks – system A
Red to Port
Lateral Marks
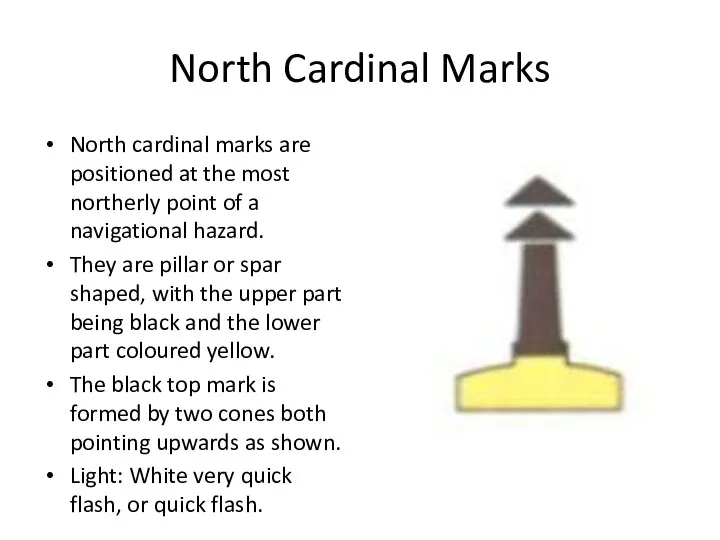
North Cardinal Marks
North cardinal marks are positioned at the most northerly
North Cardinal Marks
North cardinal marks are positioned at the most northerly
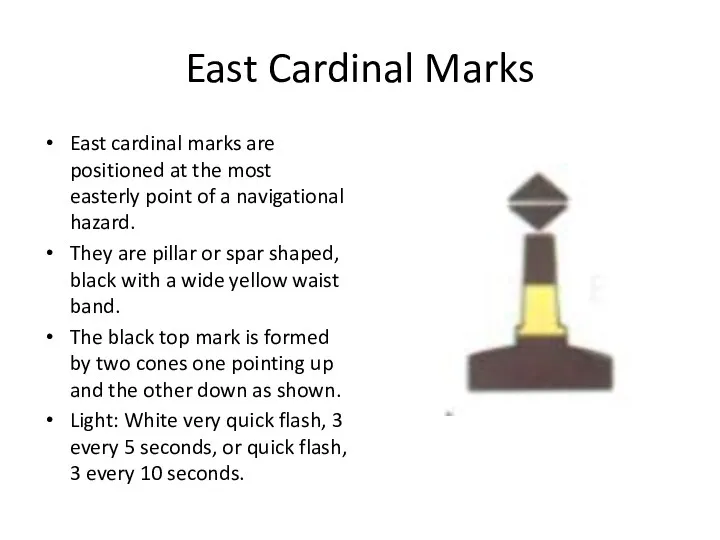
East Cardinal Marks
East cardinal marks are positioned at the most easterly
East Cardinal Marks
East cardinal marks are positioned at the most easterly
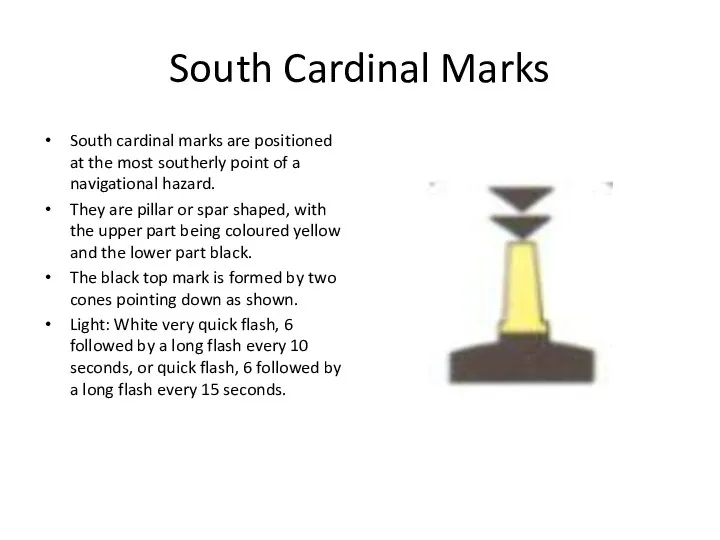
South Cardinal Marks
South cardinal marks are positioned at the most southerly
South Cardinal Marks
South cardinal marks are positioned at the most southerly

West Cardinal Marks
West cardinal marks are positioned at the most westerly
West Cardinal Marks
West cardinal marks are positioned at the most westerly
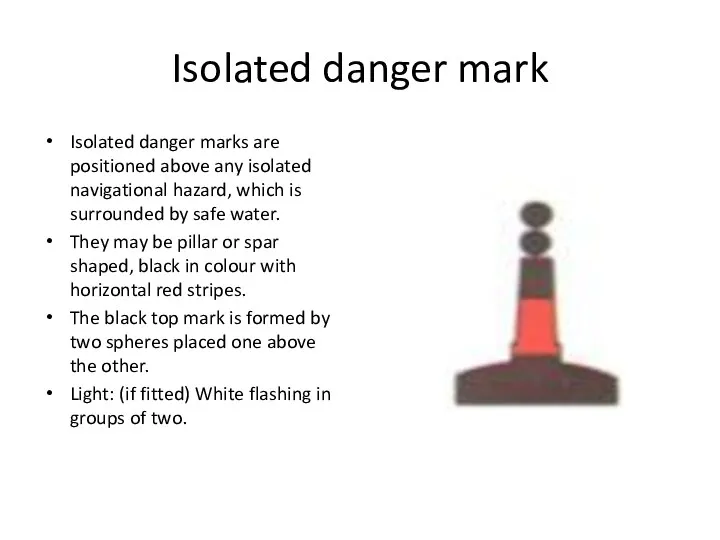
Isolated danger mark
Isolated danger marks are positioned above any isolated navigational
Isolated danger mark
Isolated danger marks are positioned above any isolated navigational
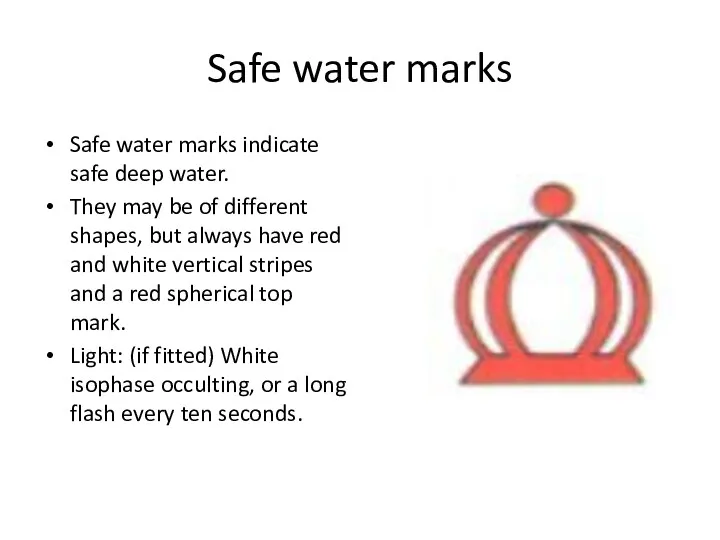
Safe water marks
Safe water marks indicate safe deep water.
They may
Safe water marks
Safe water marks indicate safe deep water.
They may
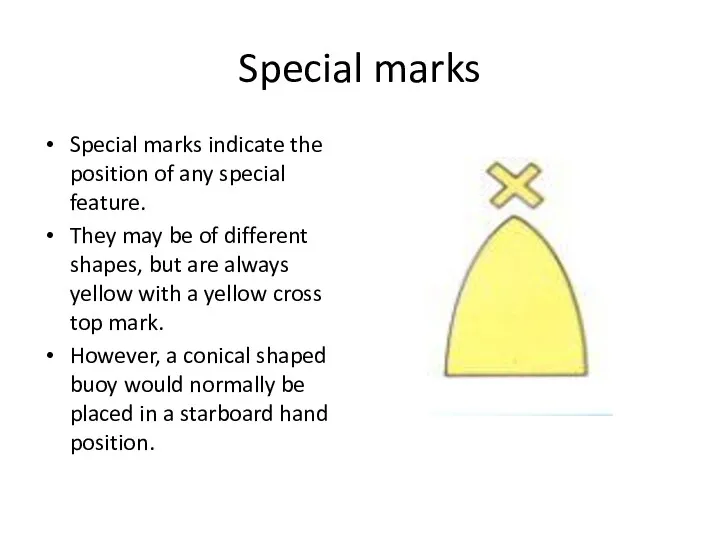
Special marks
Special marks indicate the position of any special feature.
They
Special marks
Special marks indicate the position of any special feature.
They
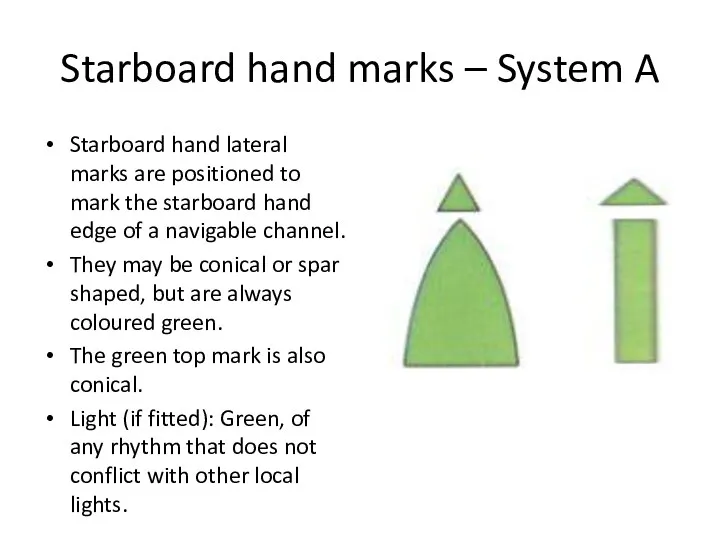
Starboard hand marks – System A
Starboard hand lateral marks are positioned
Starboard hand marks – System A
Starboard hand lateral marks are positioned
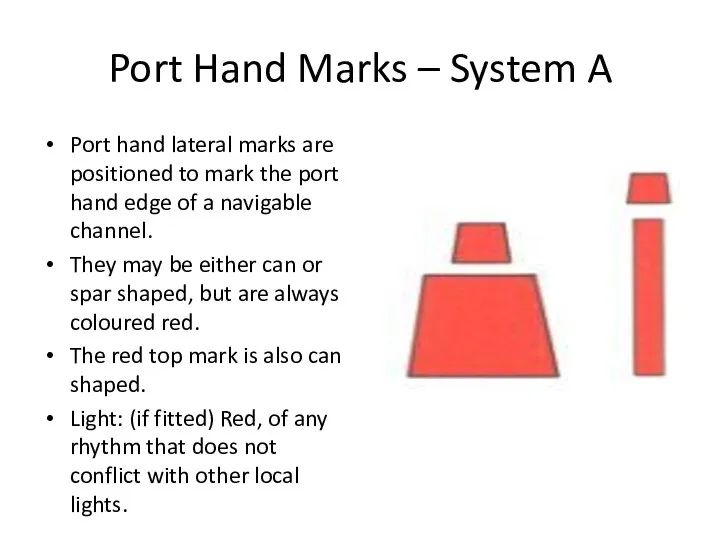
Port Hand Marks – System A
Port hand lateral marks are positioned
Port Hand Marks – System A
Port hand lateral marks are positioned


 Здоровье, молодость, красота вместе с Elev8, компании B-EPIC
 Основы SMM-продвижения в социальных сетях
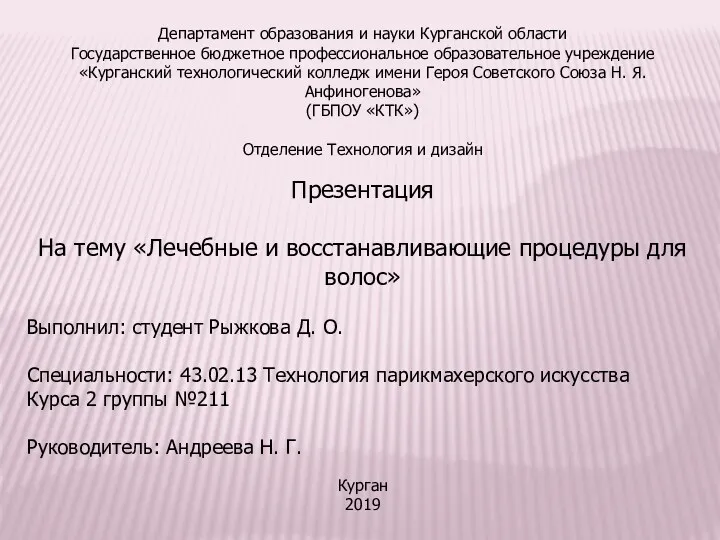 Лечебные и восстанавливающие процедуры для волос. Технология парикмахерского искусства
 Отчет по производственной практике в PR-агентстве Гуров и Партнеры
 Композиция фирменного знака
 Sales
Sales Сеть магазинов Магнит
 Атлант-Ю. Бюджетные комплекты техники Midea
 Интернет-магазин ArtDrink
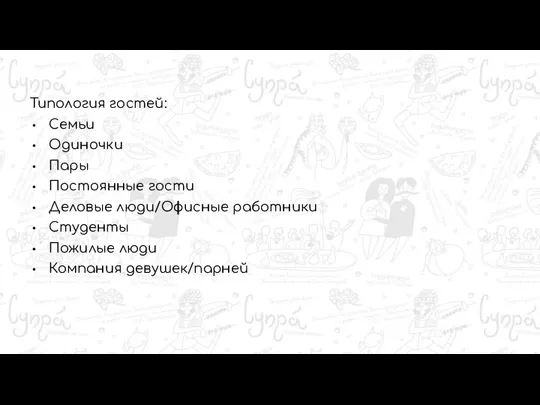 Типология гостей
 Заказ мебели для кабинета руководителя Bonn Европласт
 Предложение по созданию сайта
 Спортивная обувь для занятий волейболом
 Косметический прибор Секрет красоты. La Beauté Secrète Portable Apparatus
 Разработка мероприятий по повышению уровня конкурентоспособности торгового предприятия Продукты Шекснинского РПС
 Разработка маркетинговой программы развития таможенного представителя
 Эссе мотивационного письма для поступления в магистратуру САФБД
 Разработка вариантов праздников для продвижения бизнеса магазинов и предприятий
 Спутниковое ТВ для Агентского канала РФ
 Основы звукорежиссуры в домашней студии на примере оборудования и ПО Steinberg
 Бизнес - форум предпринимателей. Орифлэйм
 АО Экспортная страховая компания KazakhExport
 Стратегический менеджмент и маркетинг территорий
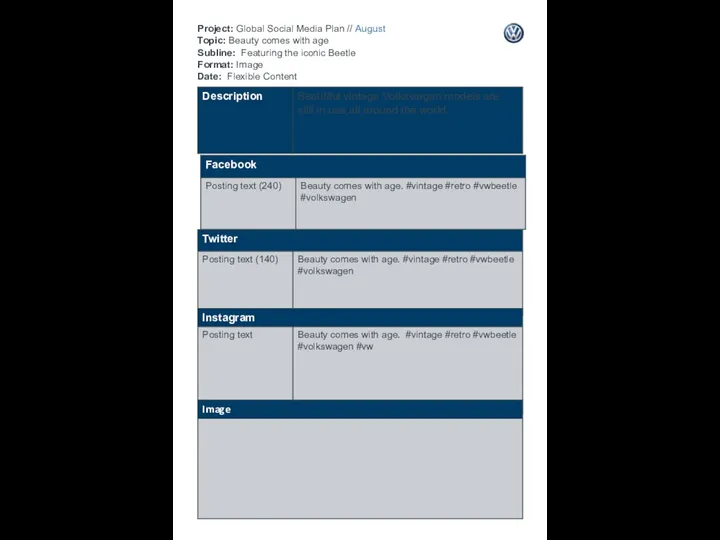 Project: Global Social Media Plan // August Topic: Beauty comes with age Subline: Featuring the iconic Beetle Format: Image
 Карьерные возможности. Управление своей карьерой
 Задачи транспортного обеспечения коммерческой деятельности
 Коммерческое предложение Отельная анимация
 ПечникЪ. Строительство барбекю, каминов и печных комплексов