- AngularJS basics

Содержание
- 2. Agile practitioner Trainer Public speaker Extensive AngularJS user
- 3. Agenda Intro View and controller Directives and filters Two-way data binding Event handlers RESTful services and
- 4. Intro Framework overview. Main concepts. Bootstrapping.
- 5. MVC IoC container Plain JS models All-in-One Modular design Testing bundled Directives
- 6. MVC First introduced in 1979 by Trygve Reenskaug. Splits the presentation from the logic and the
- 7. Inversion of Control Service Dependency Service Injector Dependency
- 8. Bootstrapping TEMPLATE … … CODE angular.module('myApp', []);
- 9. View and controller Controllers. Templates. Scopes.
- 10. Angular view … {{phone.name}} {{phone.snippet}}
- 11. Controller View Model Scope Scope – the glue between model, view, and controller.
- 12. Angular controller TEMPLATE {{data}} CODE angular.module('myApp') .controller('MyController', function($scope) { $scope.data = {}; });
- 13. Directives and filters Directives. ngRepeat. Filters.
- 14. Look and feel created {{event.child.id}} by forking this plunk .
- 15. Forms of directives Preferred Element: Argument: also Class: Comment:
- 16. ngRepeat [{{$index + 1}}] {{friend.name}} who is {{friend.age}}.
- 17. Filter [{{$index + 1}}] {{friend.name}} who is {{friend.age}}.
- 18. Standard filters currency date filter json limitTo uppercase number orderBy lowercase
- 19. Practice #1
- 20. Task – goo.gl/grrTPW Create an angular application (bootstrap with ng-app). Create a controller and a template.
- 21. Two-way data binding ngModel
- 22. ngModel
- 23. Practice #2
- 24. Task – goo.gl/CoqXPy Update the application so that the filtering params can be set on the
- 25. Event handlers Calling events from the view
- 26. Event handlers TEMPLATE CODE angular.module('myApp') .controller('MyController', function($scope) { $scope.do = function() { }; });
- 27. RESTful services and $resource HTTP and RESTful services. Injecting services.
- 28. REST level HTTP level Client Server $resource (ngResource) RESTful resource $http XHR HTTP server
- 29. angular.module('myApp') .service('myService', function($resource) { ... }) .controller('MyController', function($scope, myService) { ... }); Injecting services ngRoute
- 30. Practice #3
- 31. Task – goo.gl/75hgJq Update the application so that it gets the list of repos via the
- 32. Yeoman Yeoman tool. Scaffolding. yo.
- 33. Yeomen Warders aka Beefeaters
- 34. yo Scaffolding Grunt Task runner Bower Dependency management
- 35. Scaffolding is a technique, in which a specification is used to generate source code.
- 36. Scaffolding tools examples
- 37. yo npm install –g yo generator-angular
- 38. yo angular AngularJS generators
- 39. Angular generators angular:route angular (aka angular:app) angular:controller (service, directive, …)
- 40. Your app LiveReload Minification (HTML, CSS, JS, ngmin, …)
- 41. Practice #4
- 42. Task – goo.gl/yOC4Vx Create an application using yo AngularJS generator. Migrate the existing code into this
- 43. Configuring services Providers. Application phases.
- 44. Providers are used for services configuration.
- 45. Config Run Two execution phases
- 46. Example of a provider usage angular.module('myApp', []) .config(function($filterProvider) { $filterProvider.register('myFilter', MyFilter); });
- 47. Routing Multiple views. $routeProvider. $routeParams.
- 48. partials/phone-list.html /phones $route (ngRoute) … … Page
- 49. $routeProvider $routeProvider .when('/phones', { templateUrl: 'partials/phone-list.html', controller: 'PhoneListCtrl' }) .otherwise({ redirectTo: '/phones' });
- 50. $routeParams // Given: // URL: http://server.com/index.html#/Chapter/1/Section/2?search=moby // Route: /Chapter/:chapterId/Section/:sectionId // Then $routeParams ==> { chapterId: 1,
- 51. Practice #5
- 52. Task – goo.gl/nriURP Next to each repo entry in the list add the “Details” link. Clicking
- 53. http://kirbarn.blogpost.com kiryl.baranoshnik@gmail.com @kirbarn
- 55. Скачать презентацию
Agile practitioner
Trainer
Public speaker
Extensive AngularJS user
Agile practitioner
Trainer
Public speaker
Extensive AngularJS user
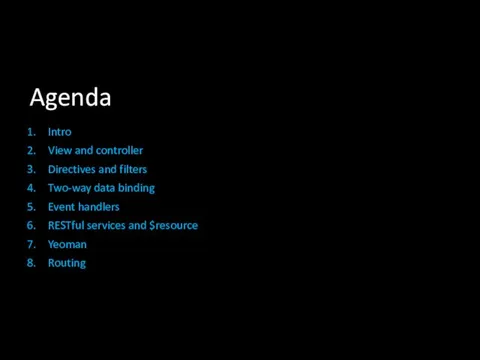
Agenda
Intro
View and controller
Directives and filters
Two-way data binding
Event handlers
RESTful services and $resource
Yeoman
Routing
Agenda
Intro
View and controller
Directives and filters
Two-way data binding
Event handlers
RESTful services and $resource
Yeoman
Routing
Intro
Framework overview. Main concepts. Bootstrapping.
Intro
Framework overview. Main concepts. Bootstrapping.
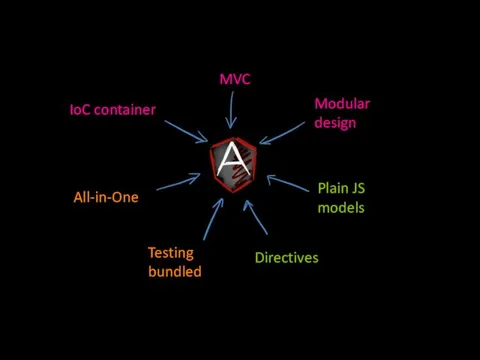
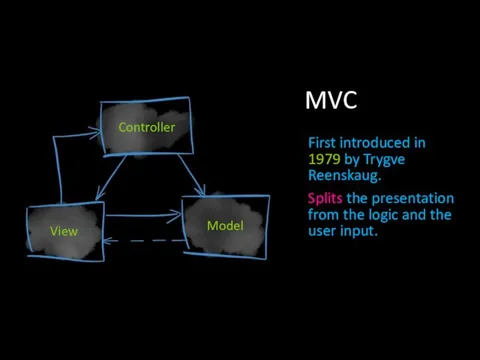
MVC
IoC container
Plain JS models
All-in-One
Modular design
Testing bundled
Directives
MVC
IoC container
Plain JS models
All-in-One
Modular design
Testing bundled
Directives
MVC
First introduced in 1979 by Trygve Reenskaug.
Splits the presentation from the
MVC
First introduced in 1979 by Trygve Reenskaug.
Splits the presentation from the
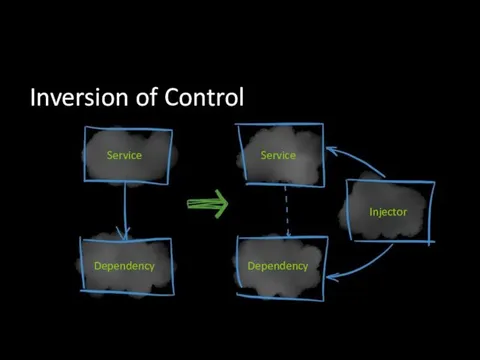
Inversion of Control
Service
Dependency
Service
Injector
Dependency
Inversion of Control
Service
Dependency
Service
Injector
Dependency
![Bootstrapping TEMPLATE … … CODE angular.module('myApp', []);](/_ipx/f_webp&q_80&fit_contain&s_1440x1080/imagesDir/jpg/14911/slide-7.jpg)
Bootstrapping
TEMPLATE
…
…
CODE
angular.module('myApp', []);
Bootstrapping
TEMPLATE
…
…
CODE
angular.module('myApp', []);

View and controller
Controllers. Templates. Scopes.
View and controller
Controllers. Templates. Scopes.
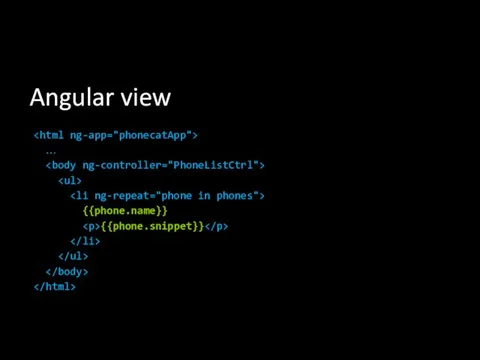
Angular view
…
Angular view
…
Controller
View
Model
Scope
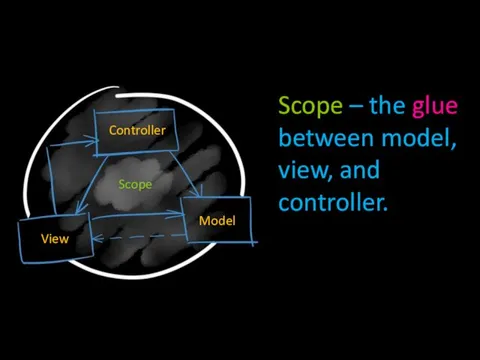
Scope – the glue between model, view, and controller.
Controller
View
Model
Scope
Scope – the glue between model, view, and controller.
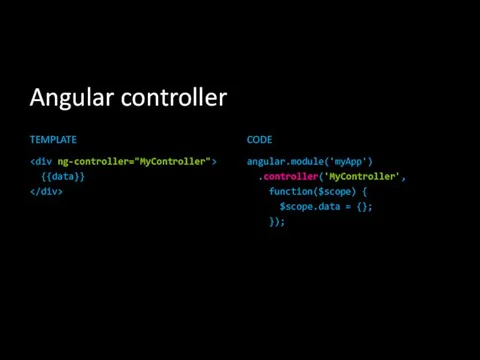
Angular controller
TEMPLATE
{{data}}
CODE
angular.module('myApp')
.controller('MyController',
function($scope) {
$scope.data = {};
});
Angular controller
TEMPLATE
{{data}}
CODE
angular.module('myApp')
.controller('MyController',
function($scope) {
$scope.data = {};
});
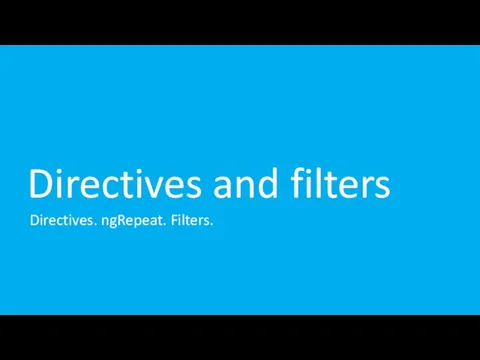
Directives and filters
Directives. ngRepeat. Filters.
Directives and filters
Directives. ngRepeat. Filters.
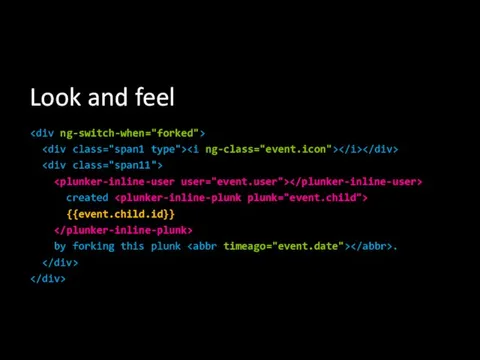
Look and feel
Look and feel
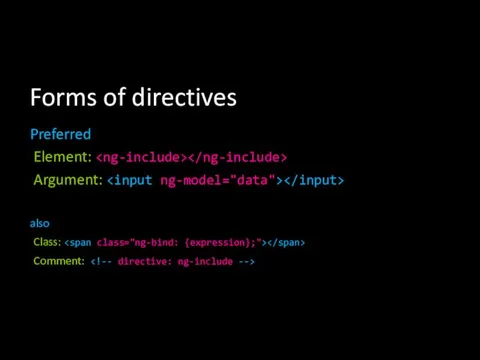
Forms of directives
Preferred
Element:
Argument:
also
Class:
Comment:
Forms of directives
Preferred
Element:
Argument:
also
Class:
Comment:
![ngRepeat [{{$index + 1}}] {{friend.name}} who is {{friend.age}}.](/_ipx/f_webp&q_80&fit_contain&s_1440x1080/imagesDir/jpg/14911/slide-15.jpg)
ngRepeat
[{{$index + 1}}] {{friend.name}} who
ngRepeat
[{{$index + 1}}] {{friend.name}} who
![Filter [{{$index + 1}}] {{friend.name}} who is {{friend.age}}.](/_ipx/f_webp&q_80&fit_contain&s_1440x1080/imagesDir/jpg/14911/slide-16.jpg)
Filter
[{{$index +
Filter
[{{$index +
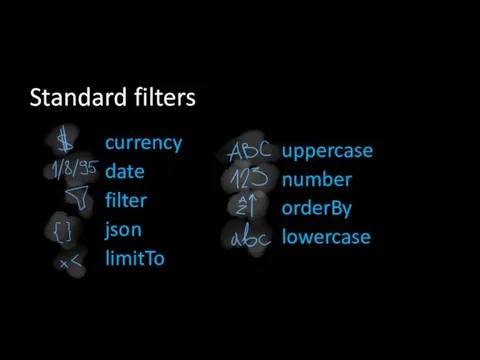
Standard filters
currency
date
filter
json
limitTo
uppercase
number
orderBy
lowercase
Standard filters
currency
date
filter
json
limitTo
uppercase
number
orderBy
lowercase

Practice
#1
Practice
#1
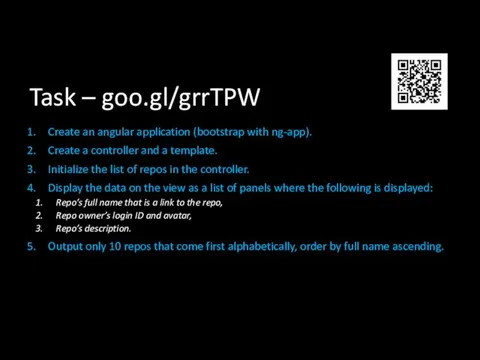
Task – goo.gl/grrTPW
Create an angular application (bootstrap with ng-app).
Create a controller
Task – goo.gl/grrTPW
Create an angular application (bootstrap with ng-app).
Create a controller
Two-way data binding
ngModel
Two-way data binding
ngModel
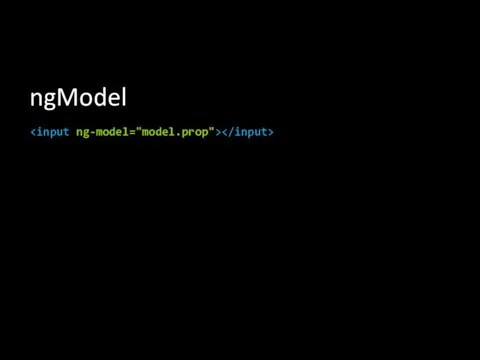
ngModel
ngModel

Practice
#2
Practice
#2
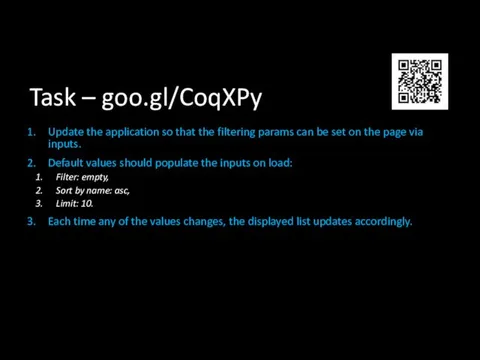
Task – goo.gl/CoqXPy
Update the application so that the filtering params can
Task – goo.gl/CoqXPy
Update the application so that the filtering params can

Event handlers
Calling events from the view
Event handlers
Calling events from the view
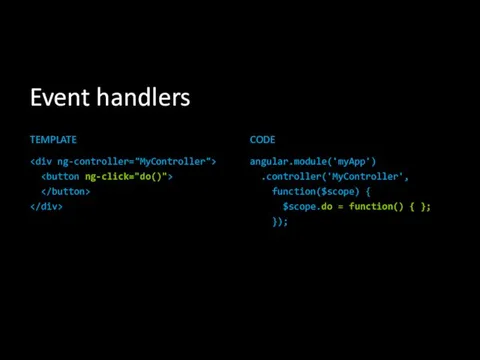
Event handlers
TEMPLATE
CODE
angular.module('myApp')
.controller('MyController',
function($scope) {
$scope.do =
Event handlers
TEMPLATE
CODE
angular.module('myApp')
.controller('MyController',
function($scope) {
$scope.do =
RESTful services and $resource
HTTP and RESTful services. Injecting services.
RESTful services and $resource
HTTP and RESTful services. Injecting services.

REST level
HTTP level
Client
Server
$resource
(ngResource)
RESTful resource
$http
XHR
HTTP server
REST level
HTTP level
Client
Server
$resource
(ngResource)
RESTful resource
$http
XHR
HTTP server
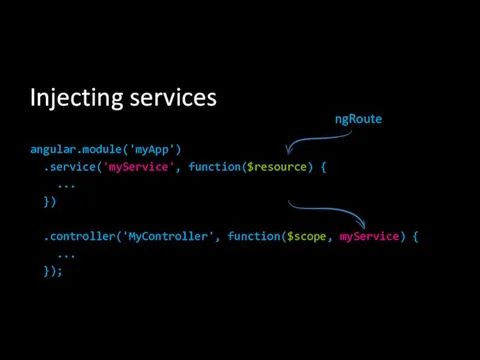
angular.module('myApp')
.service('myService', function($resource) {
...
})
.controller('MyController', function($scope, myService) {
...
});
Injecting
angular.module('myApp')
.service('myService', function($resource) {
...
})
.controller('MyController', function($scope, myService) {
...
});
Injecting

Practice
#3
Practice
#3
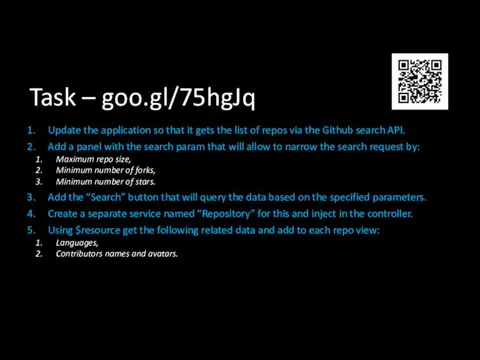
Task – goo.gl/75hgJq
Update the application so that it gets the list
Task – goo.gl/75hgJq
Update the application so that it gets the list

Yeoman
Yeoman tool. Scaffolding. yo.
Yeoman
Yeoman tool. Scaffolding. yo.

Yeomen Warders
aka Beefeaters
Yeomen Warders
aka Beefeaters
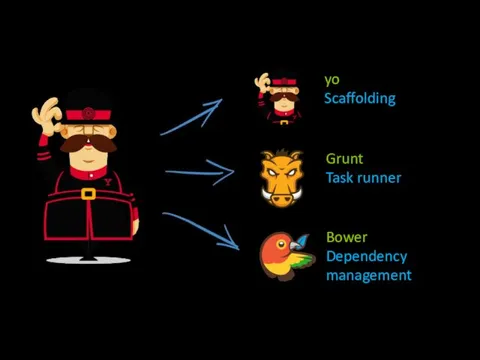
yo
Scaffolding
Grunt
Task runner
Bower
Dependency
management
yo
Scaffolding
Grunt
Task runner
Bower
Dependency
management

Scaffolding is a technique, in which a specification is used to
Scaffolding is a technique, in which a specification is used to
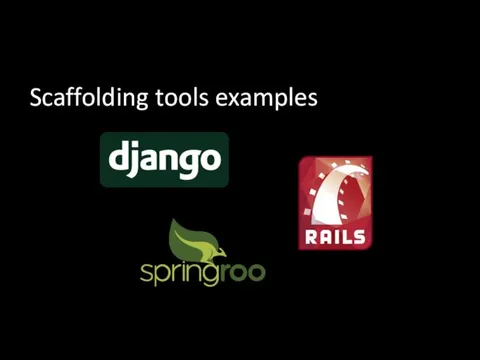
Scaffolding tools examples
Scaffolding tools examples
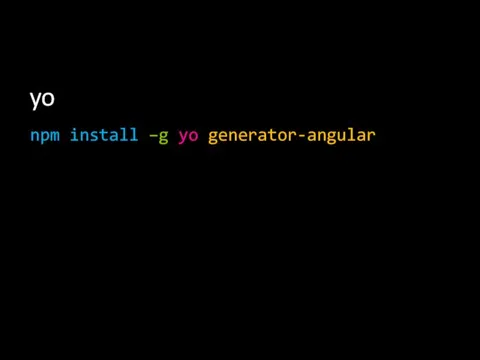
yo
npm install –g yo generator-angular
yo
npm install –g yo generator-angular
yo angular
AngularJS generators
yo angular
AngularJS generators
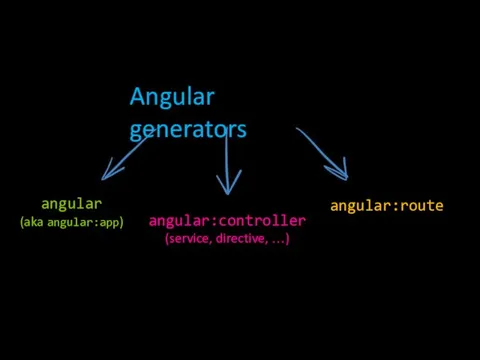
Angular generators
angular:route
angular
(aka angular:app)
angular:controller (service, directive, …)
Angular generators
angular:route
angular
(aka angular:app)
angular:controller (service, directive, …)
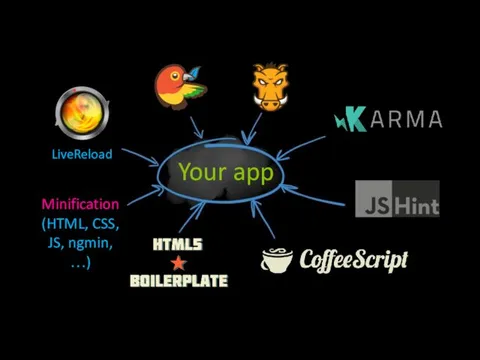
Your app
LiveReload
Minification
(HTML, CSS,
JS, ngmin, …)
Your app
LiveReload
Minification
(HTML, CSS,
JS, ngmin, …)

Practice
#4
Practice
#4
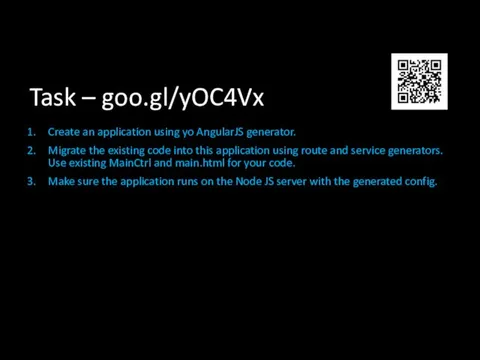
Task – goo.gl/yOC4Vx
Create an application using yo AngularJS generator.
Migrate the existing
Task – goo.gl/yOC4Vx
Create an application using yo AngularJS generator.
Migrate the existing
Configuring services
Providers. Application phases.
Configuring services
Providers. Application phases.
Providers are used for services configuration.
Providers are used for services configuration.
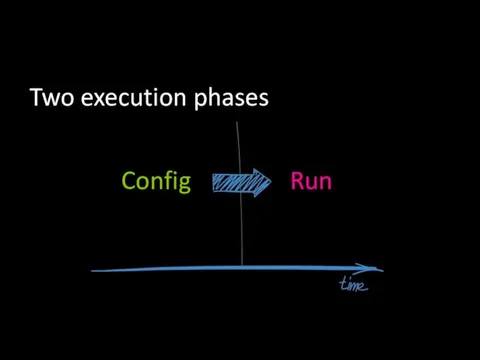
Config
Run
Two execution phases
Config
Run
Two execution phases
![Example of a provider usage angular.module('myApp', []) .config(function($filterProvider) { $filterProvider.register('myFilter', MyFilter); });](/_ipx/f_webp&q_80&fit_contain&s_1440x1080/imagesDir/jpg/14911/slide-45.jpg)
Example of a provider usage
angular.module('myApp', [])
.config(function($filterProvider) {
$filterProvider.register('myFilter', MyFilter);
});
Example of a provider usage
angular.module('myApp', [])
.config(function($filterProvider) {
$filterProvider.register('myFilter', MyFilter);
});
Routing
Multiple views. $routeProvider. $routeParams.
Routing
Multiple views. $routeProvider. $routeParams.
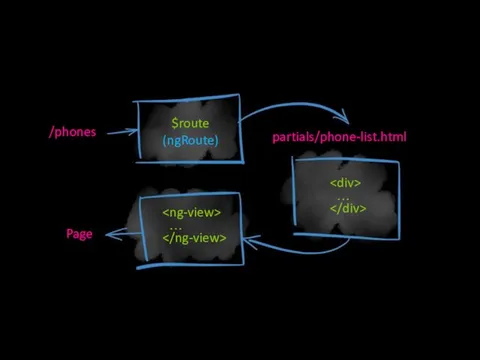
partials/phone-list.html
/phones
$route
(ngRoute)
…
…
Page
partials/phone-list.html
/phones
$route
(ngRoute)
…
…
Page
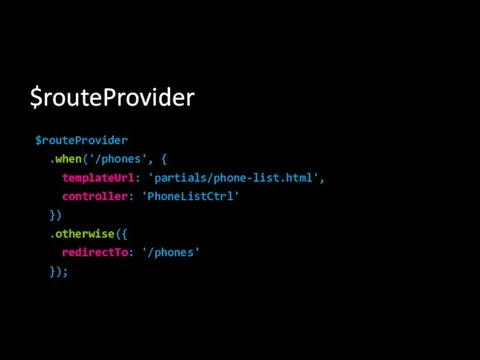
$routeProvider
$routeProvider
.when('/phones', {
templateUrl: 'partials/phone-list.html',
controller: 'PhoneListCtrl'
})
.otherwise({
redirectTo: '/phones'
$routeProvider
$routeProvider
.when('/phones', {
templateUrl: 'partials/phone-list.html',
controller: 'PhoneListCtrl'
})
.otherwise({
redirectTo: '/phones'

$routeParams
// Given:
// URL: http://server.com/index.html#/Chapter/1/Section/2?search=moby
// Route: /Chapter/:chapterId/Section/:sectionId
// Then
$routeParams ==> { chapterId: 1,
$routeParams
// Given:
// URL: http://server.com/index.html#/Chapter/1/Section/2?search=moby
// Route: /Chapter/:chapterId/Section/:sectionId
// Then
$routeParams ==> { chapterId: 1,

Practice
#5
Practice
#5

Task – goo.gl/nriURP
Next to each repo entry in the list add
Task – goo.gl/nriURP
Next to each repo entry in the list add

http://kirbarn.blogpost.com
kiryl.baranoshnik@gmail.com
@kirbarn
http://kirbarn.blogpost.com
kiryl.baranoshnik@gmail.com
@kirbarn
 Понятие информации. Изменение информации
 Разнообразие систем. Состав и структура системы
 Майкрософт туралы мәлімет
 СМИ в политической системе
 Облачные технологии
 Windows жүйесіндегі жұмыс істеу негіздері
 Программа CCleaner
 Проектирование информационной системы для автоматизации технических осмотров автомобилей
 Списки и строки
 Скоростное прохождение игр (Speedrun)
 Спам. Возникновение, распространение, способы защиты
 Mit App Inventor. Урок 7
 Файловая система
 Union operators, intersection, exception, grouping sets. Lecture 8
 Развитие эстетического восприятия дошкольников посредством декоративного рисования
 Индексаторы и операции классов. Лекция №5
 Робот - помощник кулинара
 Сетевые кабели
 Электронный учебник WORD
 An Introduction to GNSS_rev2_SD
 Информационно-логические основы ЭВМ
 Безопасный интернет. Для родительского собрания
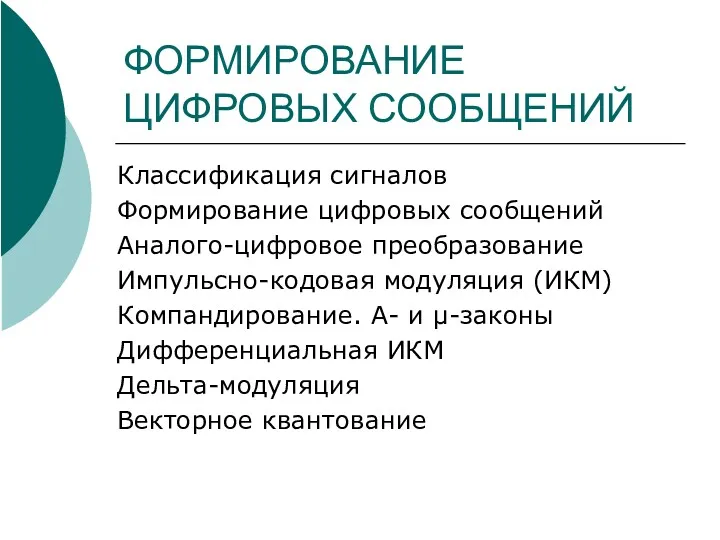 Формирование цифровых сообщений
 Исследование по теме: Спутниковая связь и ее роль в жизни человека
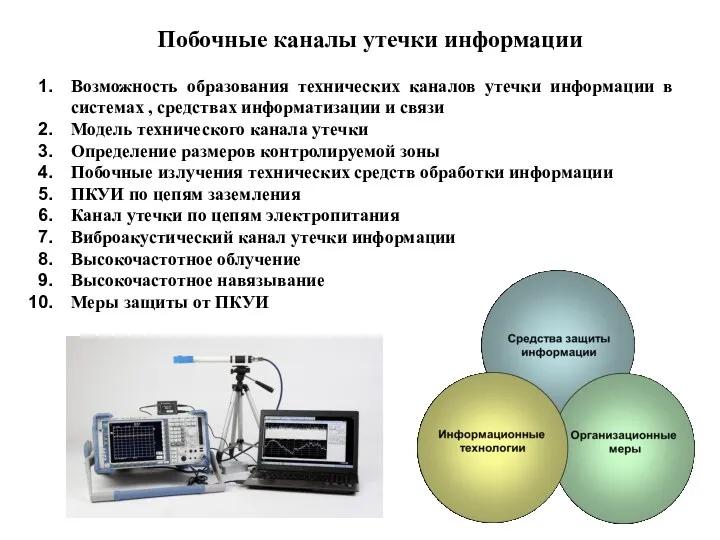 Побочные каналы утечки информации
 Программирование на С++. Оператор цикла while
 Профессии
 Создание чат-бота Telegram для обучения мобильной игре PUBG Mobile