- Exercise session 1

Содержание
- 2. Are you ready? Do you have Android Studio installed? Have you created and ran your first
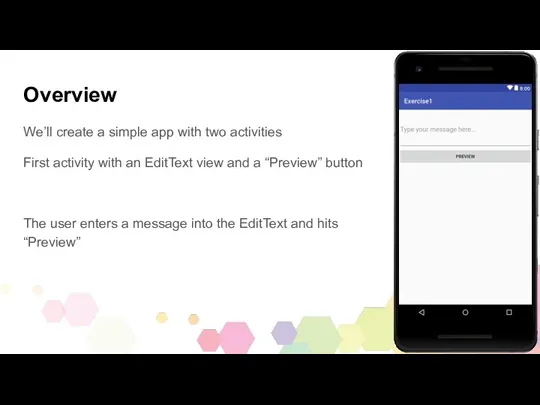
- 3. Overview We’ll create a simple app with two activities First activity with an EditText view and
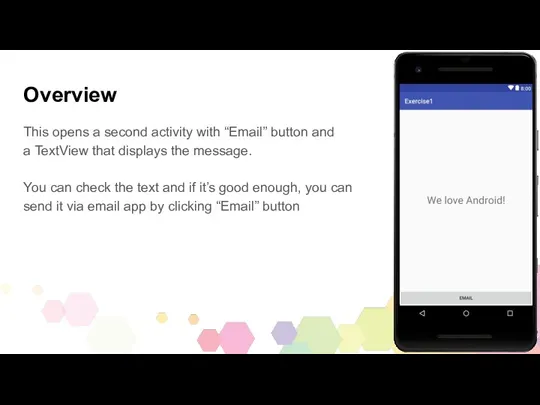
- 4. Overview This opens a second activity with “Email” button and a TextView that displays the message.
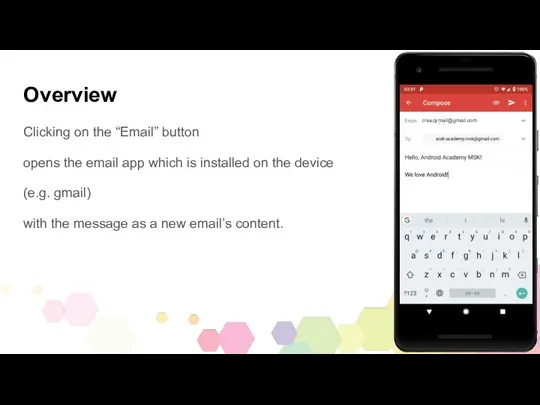
- 5. Overview Clicking on the “Email” button opens the email app which is installed on the device
- 6. Let’s Begin Solution will be available here: https://bit.ly/2x1ZNno in one week, before the next lecture. Now
- 7. Step 1 - Create a new project For help go to the lecture slides: https://goo.gl/sQpvP4
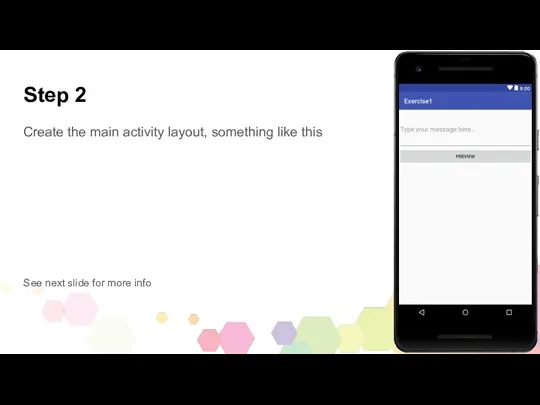
- 8. Step 2 Create the main activity layout, something like this See next slide for more info
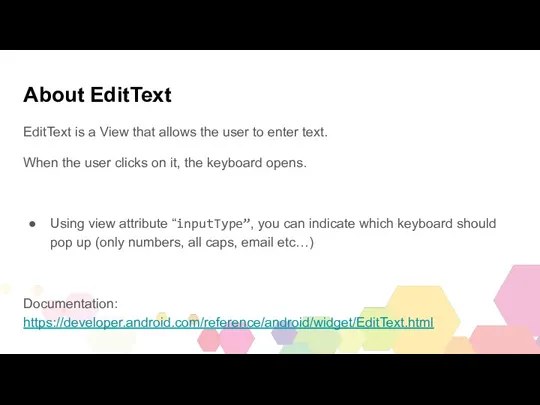
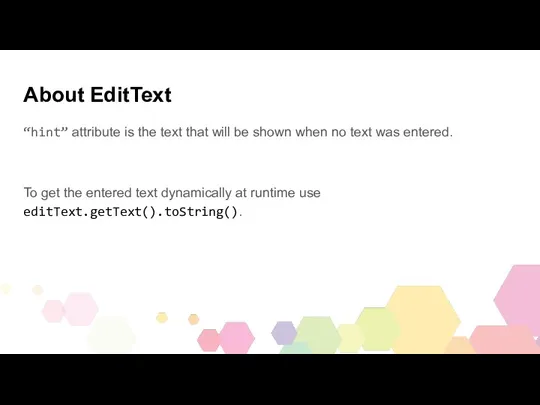
- 9. About EditText EditText is a View that allows the user to enter text. When the user
- 10. About EditText “hint” attribute is the text that will be shown when no text was entered.
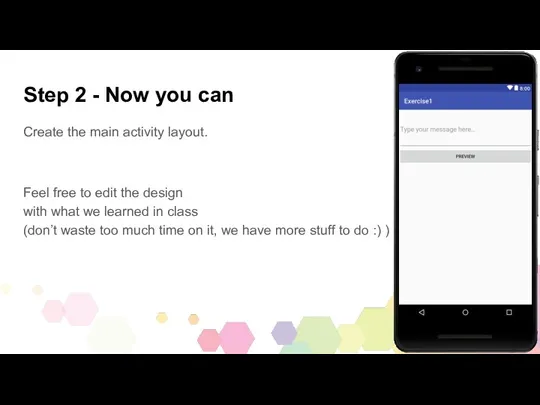
- 11. Step 2 - Now you can Create the main activity layout. Feel free to edit the
- 12. Step 3 On Preview button click: Open a new activity with a TextView which shows the
- 13. Step 3 - steps[1/3] Create a new Activity class (Empty Activity) Edit the activity’s layout as
- 14. Step 3 - steps[2/3] 3. Set OnClickListener to your button and implement the code: Create an
- 15. Step 3 - steps[3/3] 4. On the second activity: get the message from the intent’s extras
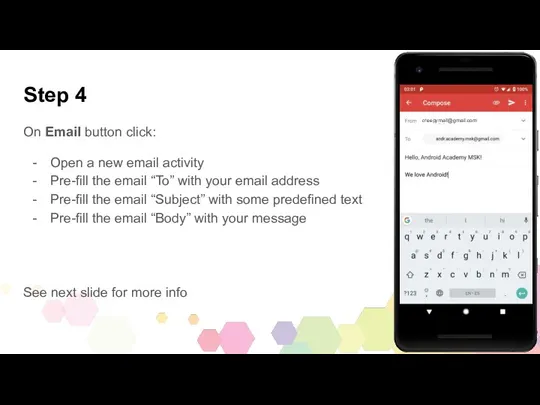
- 16. Step 4 On Email button click: Open a new email activity Pre-fill the email “To” with
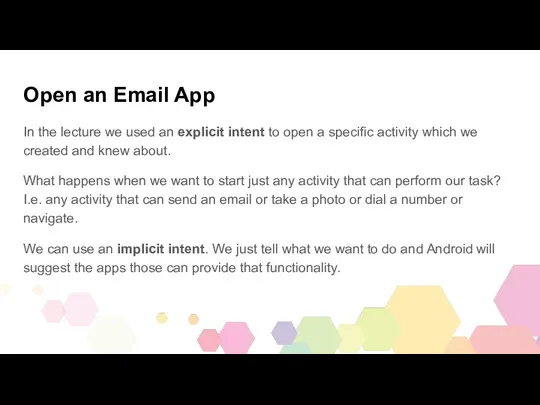
- 17. Open an Email App In the lecture we used an explicit intent to open a specific
- 18. Implicit Intents Use this: https://developer.android.com/guide/components/intents-common.html To find out how to create an email implicit intent and
- 19. Toasts If there is no Email app on the user’s device, show him some message about
- 20. DONE? That’s amazing! Great job!! But we have some bonus tasks if you wanna try. If
- 21. Bonus Make sure your all of your strings and dimensions are not hardcoded in XML files,
- 22. Localization [1/2] To create other language localization: Open strings.xml On the top right : “open editor”
- 23. Localization [2/2] Fill in the translations in the editor In the left Project structure panel find
- 25. Скачать презентацию
Are you ready?
Do you have Android Studio installed?
Have you created
Are you ready?
Do you have Android Studio installed?
Have you created
Overview
We’ll create a simple app with two activities
First activity with
Overview
We’ll create a simple app with two activities
First activity with
Overview
This opens a second activity with “Email” button and
a
Overview
This opens a second activity with “Email” button and a
Overview
Clicking on the “Email” button
opens the email app which
Overview
Clicking on the “Email” button
opens the email app which
Let’s Begin
Solution will be available here: https://bit.ly/2x1ZNno in one week,
before
Let’s Begin
Solution will be available here: https://bit.ly/2x1ZNno in one week, before
Step 1 - Create a new project
For help go to the
Step 1 - Create a new project
For help go to the
Step 2
Create the main activity layout, something like this
See next slide
Step 2
Create the main activity layout, something like this
See next slide
About EditText
EditText is a View that allows the user to enter
About EditText
EditText is a View that allows the user to enter
About EditText
“hint” attribute is the text that will be shown when
About EditText
“hint” attribute is the text that will be shown when
Step 2 - Now you can
Create the main activity layout.
Feel free
Step 2 - Now you can
Create the main activity layout.
Feel free

Step 3
On Preview button click:
Open a new activity with a TextView
Step 3
On Preview button click:
Open a new activity with a TextView
![Step 3 - steps[1/3] Create a new Activity class (Empty](/_ipx/f_webp&q_80&fit_contain&s_1440x1080/imagesDir/jpg/249241/slide-12.jpg)
Step 3 - steps[1/3]
Create a new Activity class (Empty Activity)
Edit the
Step 3 - steps[1/3]
Create a new Activity class (Empty Activity)
Edit the
![Step 3 - steps[2/3] 3. Set OnClickListener to your button](/_ipx/f_webp&q_80&fit_contain&s_1440x1080/imagesDir/jpg/249241/slide-13.jpg)
Step 3 - steps[2/3]
3. Set OnClickListener to your button and implement the
Step 3 - steps[2/3]
3. Set OnClickListener to your button and implement the
![Step 3 - steps[3/3] 4. On the second activity: get](/_ipx/f_webp&q_80&fit_contain&s_1440x1080/imagesDir/jpg/249241/slide-14.jpg)
Step 3 - steps[3/3]
4. On the second activity: get the message from
Step 3 - steps[3/3]
4. On the second activity: get the message from
Step 4
On Email button click:
Open a new email activity
Pre-fill the email
Step 4
On Email button click:
Open a new email activity
Pre-fill the email
Open an Email App
In the lecture we used an explicit intent
Open an Email App
In the lecture we used an explicit intent
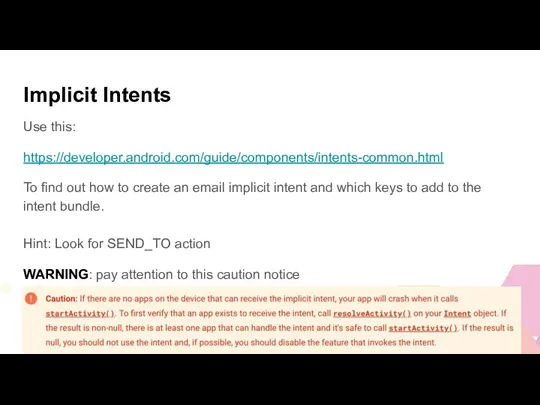
Implicit Intents
Use this:
https://developer.android.com/guide/components/intents-common.html
To find out how to create an email
Implicit Intents
Use this:
https://developer.android.com/guide/components/intents-common.html
To find out how to create an email
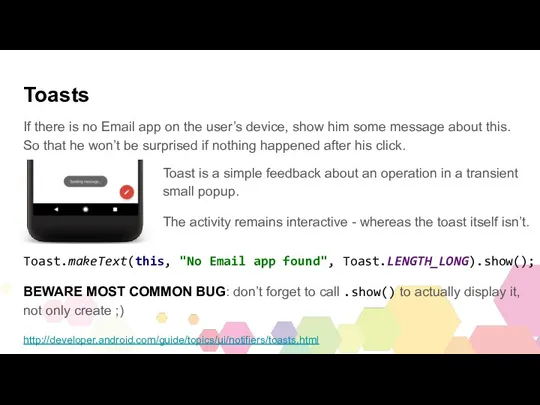
Toasts
If there is no Email app on the user’s device, show
Toasts
If there is no Email app on the user’s device, show

DONE?
That’s amazing! Great job!!
But we have some bonus tasks if you
DONE?
That’s amazing! Great job!!
But we have some bonus tasks if you
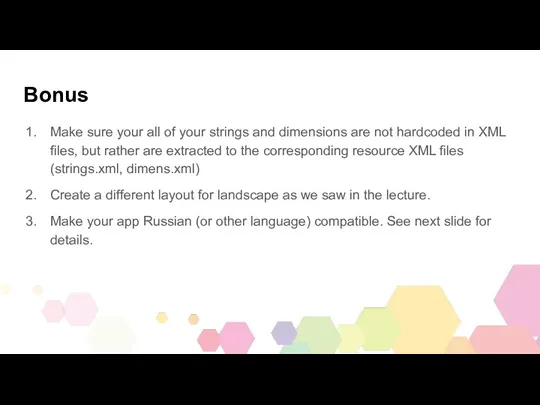
Bonus
Make sure your all of your strings and dimensions are not
Bonus
Make sure your all of your strings and dimensions are not
![Localization [1/2] To create other language localization: Open strings.xml On](/_ipx/f_webp&q_80&fit_contain&s_1440x1080/imagesDir/jpg/249241/slide-21.jpg)
Localization [1/2]
To create other language localization:
Open strings.xml
On the top right :
Localization [1/2]
To create other language localization:
Open strings.xml
On the top right :
![Localization [2/2] Fill in the translations in the editor In](/_ipx/f_webp&q_80&fit_contain&s_1440x1080/imagesDir/jpg/249241/slide-22.jpg)
Localization [2/2]
Fill in the translations in the editor
In the left Project
Localization [2/2]
Fill in the translations in the editor
In the left Project
 Архитектура современного компьютера
 Задачи на скорость передачи информации. 8 класс
 Информатика 3D моделирование
 Приложение в программе DELPHI в виде теста
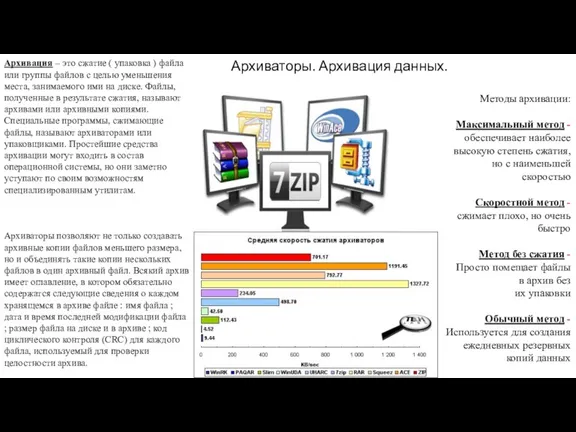 Архиваторы. Архивация данных
 Создание мобильного приложения
 Интенсив-курс по React JS. Занятие 1. Основы React
 Адресация и передача информации в сети Интернет
 Архитектура компьютера
 Взаимодействие процессов: синхронизация, тупики
 Создание сети с использованием плавающей статической маршрутизации
 Создание структуры базы данных по специальности
 Файлы и папки
 Электронные таблицы
 Разработка REST API сервиса Информер о предстоящих рейсах
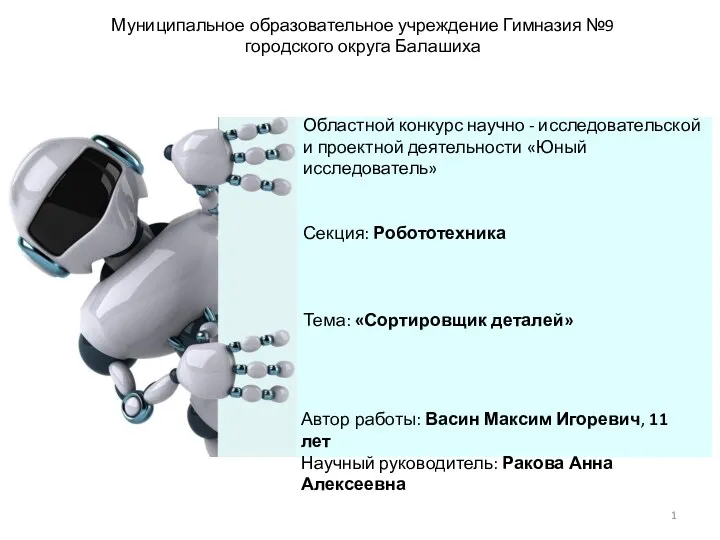 Сортировщик деталей
 Поддержка различных этапов урока информатики средствами ИКТ
 Системы управления базами данных
 Конспект урока Преобразование рисунка в графическом редакторе
 Работа с базами данных в приложениях Windows Forms
 Какие свойства имеет алгоритм?
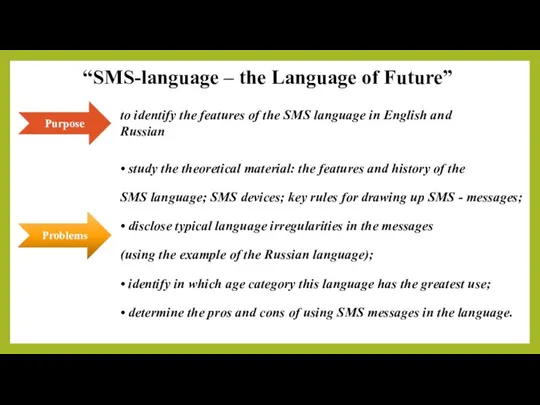 SMS - language – the Language of Future
 Базы данных. Системы управления базами данных
 Создание и ведение блога
 Независимые повторности, как основа для вероятностных выводов о свойствах генеральной совокупности. (Лекция 6)
 САПР Autocad 2015. Команды редактирования
 Особенности телеканалов Первый канал и РЕН-ТВ
 Интернет-сленг