- DSD, Digital Smile Design

Содержание
- 3. Dr. Paciente:
- 4. Dr(a). Paciente:
- 5. Simplified photo protocol
- 6. video
- 7. x-rays
- 8. perio chart
- 9. panoramic
- 10. computer imaging
- 11. medical history
- 14. 80% 75% 85% DSD - Tooth Proportion Guides
- 15. DSD - Database Elements
- 16. Choose 1st and 2nd most compatible characteristics Determined Objective Explosive Intense entrepreneur Passionate Organized Perfectionist Artistic
- 17. DSD - Smile Database double click for one element
- 18. Oval Triangular Rectangular Square Morpho psychology - Visagism Melancholic Sanguine Choleric Phlegmatic Sensible Dynamic Strong Calm
- 19. Dominant Centrals Rounded cusps Delicate laterals Round Arch Ascendant Smile Line Converging Axis Incline cusps Dominant
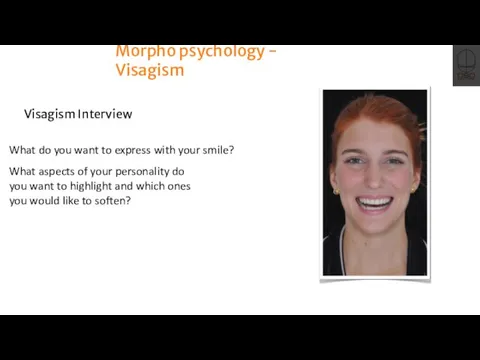
- 20. Morpho psychology - Visagism Visagism Interview What do you want to express with your smile? What
- 21. Video Interview Initial Conversation What is your main concern ? What is wrong with your smile
- 22. Video Interview Technical Recording Counting 10-1 (front face shot) Counting 10-1 (close-up shot) Counting 5-1 (profile
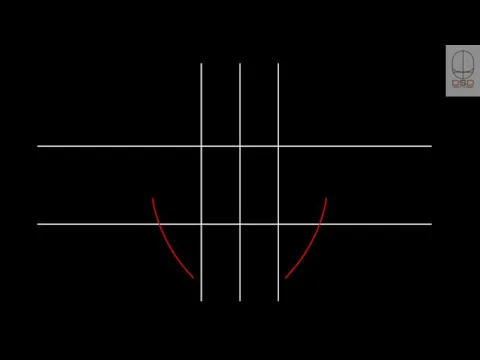
- 23. DSD - Digital Smile Design Basic Step-by-Step
- 24. bring face photo on to the cross slide of your template adjust the size of the
- 25. mask the photo reducing its size focusing the mouth area reduce the lines so they fit
- 26. duplicate the slide, save the presentation ungroup if needed, erase all lines and all rulers we
- 28. Скачать презентацию

Dr.
Paciente:
Dr.
Paciente:

Dr(a).
Paciente:
Dr(a).
Paciente:
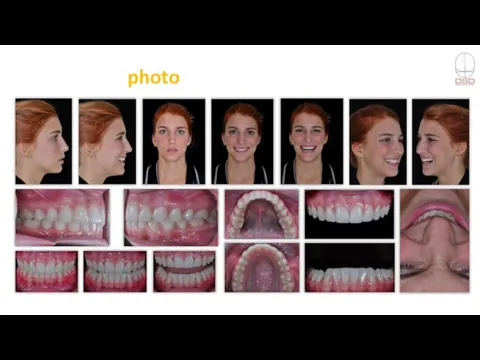
Simplified photo protocol
Simplified photo protocol

video
video
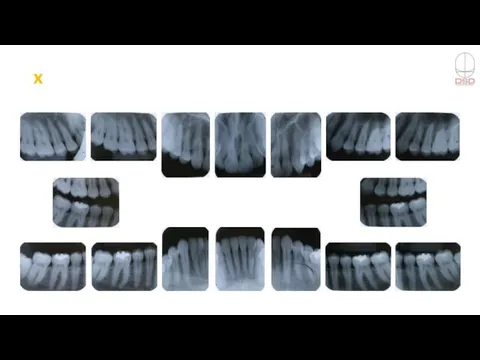
x-rays
x-rays
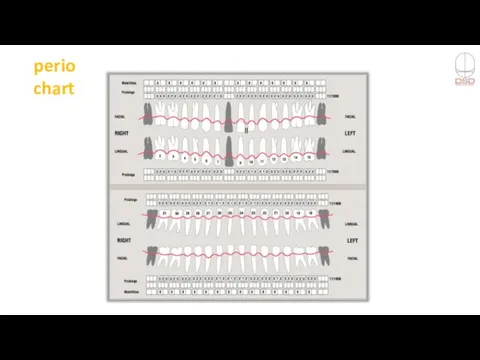
perio
chart
perio
chart
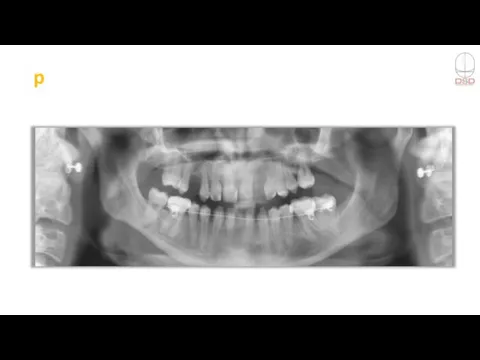
panoramic
panoramic
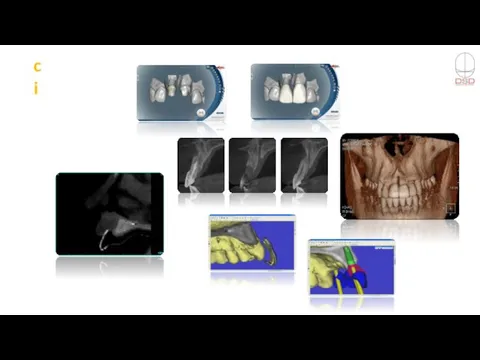
computer
imaging
computer
imaging
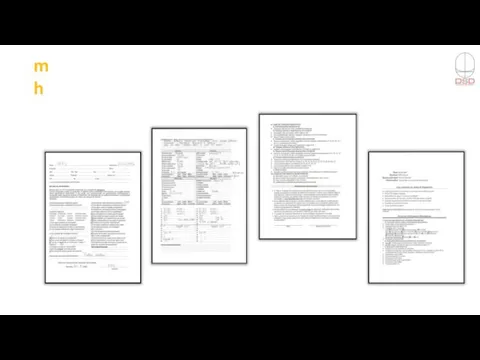
medical
history
medical
history

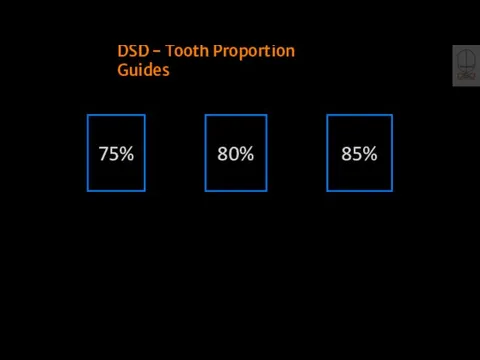
80%
75%
85%
DSD - Tooth Proportion Guides
80%
75%
85%
DSD - Tooth Proportion Guides
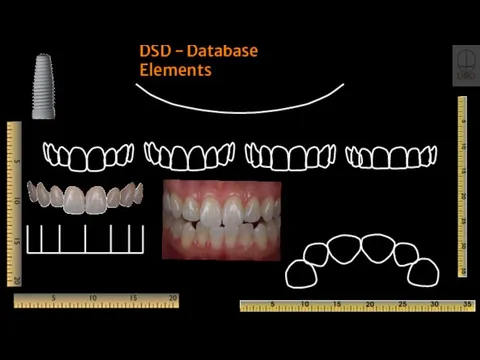
DSD - Database Elements
DSD - Database Elements
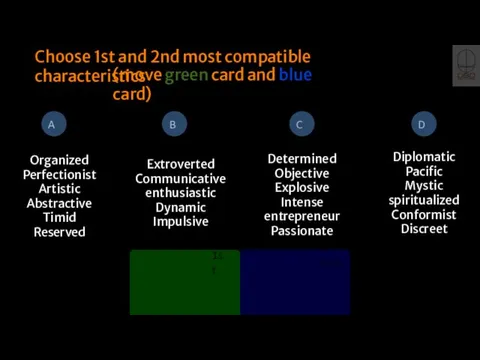
Choose 1st and 2nd most compatible characteristics
Determined
Objective
Explosive
Intense
entrepreneur
Passionate
Organized
Perfectionist
Artistic
Abstractive
Timid
Reserved
Extroverted
Communicative
enthusiastic
Dynamic
Impulsive
Diplomatic
Pacific
Mystic
spiritualized
Conformist
Discreet
(move green card and blue
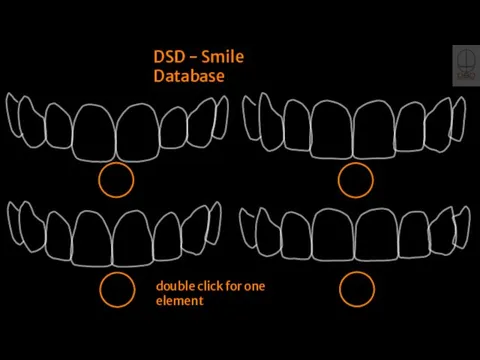
DSD - Smile Database
double click for one element
DSD - Smile Database
double click for one element
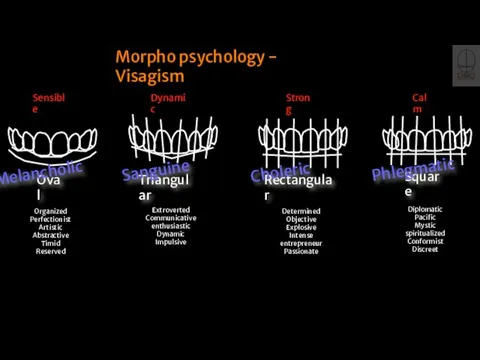
Oval
Triangular
Rectangular
Square
Morpho psychology - Visagism
Melancholic
Sanguine
Choleric
Phlegmatic
Sensible
Dynamic
Strong
Calm
Determined
Objective
Explosive
Intense
entrepreneur
Passionate
Organized
Perfectionist
Artistic
Abstractive
Timid
Reserved
Extroverted
Communicative
enthusiastic
Dynamic
Impulsive
Diplomatic
Pacific
Mystic
spiritualized
Conformist
Discreet
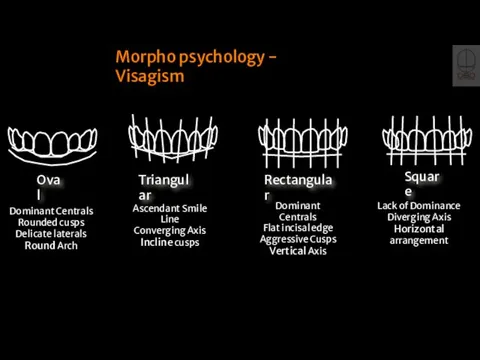
Dominant Centrals
Rounded cusps
Delicate laterals
Round Arch
Ascendant Smile Line
Converging Axis
Incline cusps
Dominant Centrals
Flat incisal
Dominant Centrals
Rounded cusps
Delicate laterals
Round Arch
Ascendant Smile Line
Converging Axis
Incline cusps
Dominant Centrals
Flat incisal
Morpho psychology - Visagism
Visagism Interview
What do you want to express
Morpho psychology - Visagism
Visagism Interview
What do you want to express
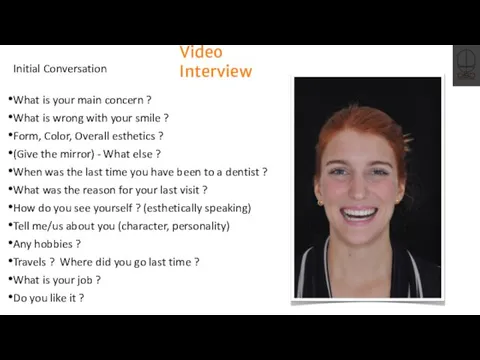
Video Interview
Initial Conversation
What is your main concern ?
What is wrong with
Video Interview
Initial Conversation
What is your main concern ?
What is wrong with
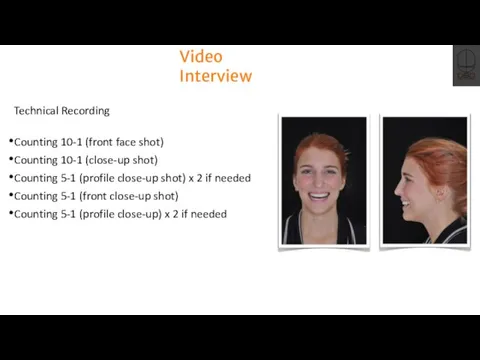
Video Interview
Technical Recording
Counting 10-1 (front face shot)
Counting 10-1 (close-up shot)
Counting 5-1
Video Interview
Technical Recording
Counting 10-1 (front face shot)
Counting 10-1 (close-up shot)
Counting 5-1
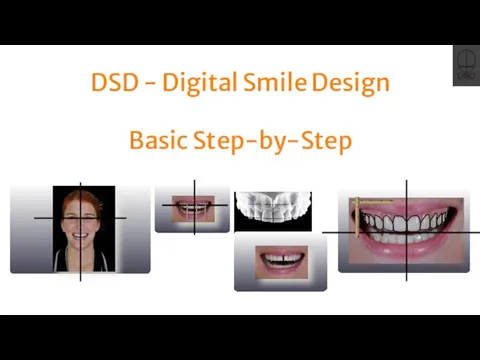
DSD - Digital Smile Design
Basic Step-by-Step
DSD - Digital Smile Design
Basic Step-by-Step
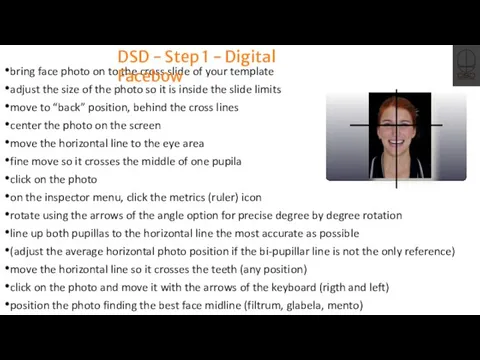
bring face photo on to the cross slide of your template
adjust
bring face photo on to the cross slide of your template
adjust
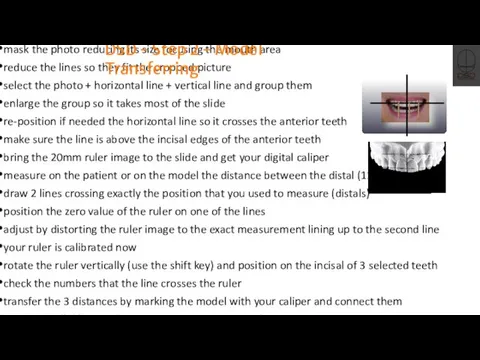
mask the photo reducing its size focusing the mouth area
reduce the
mask the photo reducing its size focusing the mouth area
reduce the
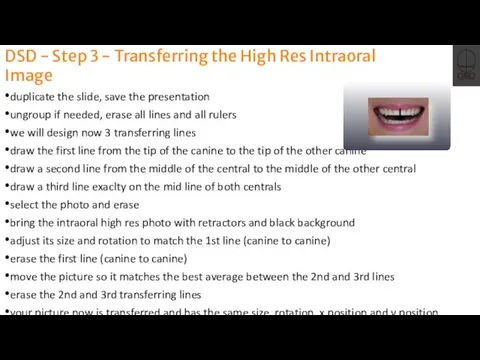
duplicate the slide, save the presentation
ungroup if needed, erase all lines
duplicate the slide, save the presentation
ungroup if needed, erase all lines
 Влияние противоопухолевой терапии на проспективный прогноз пациентов
 Хроническая сердечная недостаточность у детей
 ИПРА. Категории детей-инвалидов
 Атрофия, гипертрофия (гиперплазия), организация, перестройка тканей, метаплазия и дисплазия. Регенерация отдельных органов
 Доброкачественные опухоли эпидермиса
 Глистяні інвазії (гельмінтози)
 Применение, нежелательное действие лекарственных средств при беременности и в период грудного кормления детей
 Балалар аурулары
 ЭКГ-диагностика ишемической болезни сердца - стенокардии и инфаркта миокарда
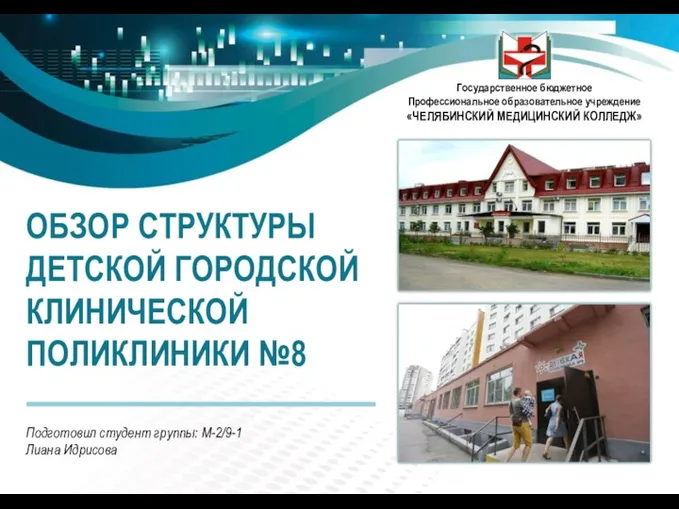 Структура детской городской клинической поликлиники г. Челябинска
 Профилактика тромбоэмболических осложнений. Сравнительная характеристика антикоагулянтов непрямого действия
 Заболевания губ у детей
 Світлолікування та теплолікування
 Противовирусные средства
 Дифференциальная диагностика первичных злокачественных опухолей костей — сарком
 Нарушения венозного кровообращения
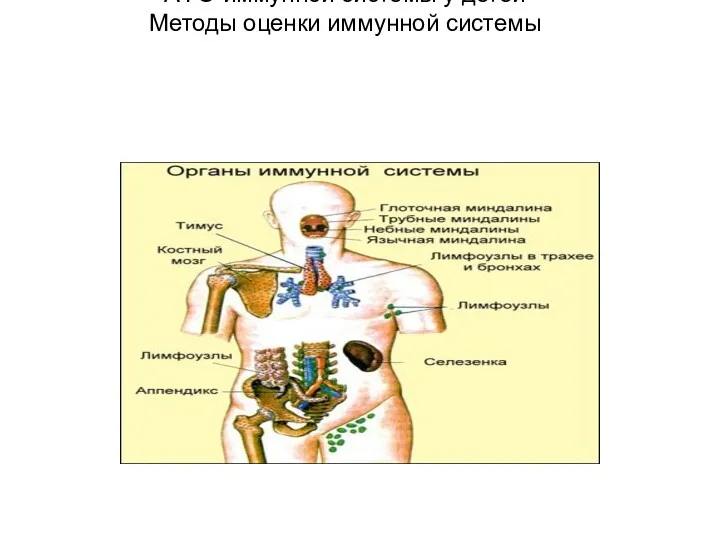 АФО иммунной системы у детей. Методы оценки иммунной системы
 Медициналық этика және деонтология
 Герпесвирусные инфекции у детей: современные аспекты диагностики и лечения
 Гельмінтози. Механізми зараження
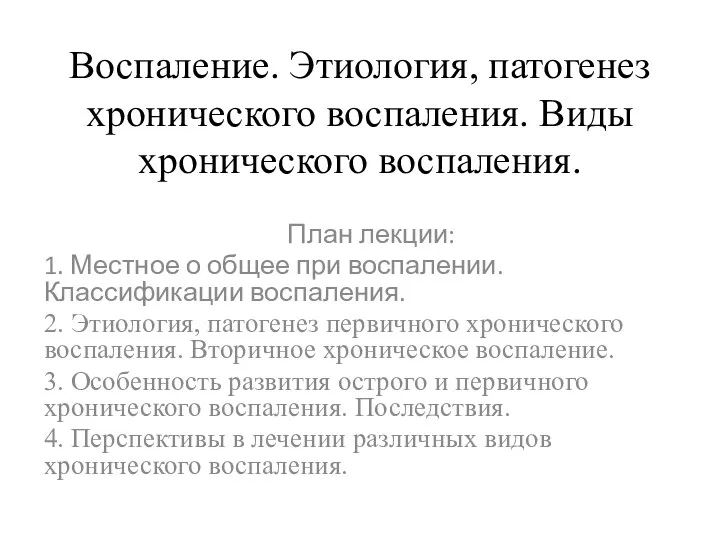 Воспаление. Этиология, патогенез и виды хронического воспаления
 Ақпараттық логистика түсінігі, мақсаты және міндеттері
 Ерте кезеңдегі токсикоз
 Pokrzywki
 Саркоидоз. Анамнез. Клиника
 Кодирование травм и отравлений
 Анестезия при сопутствующих заболеваниях легких
 Диспансеризация и профилактические медицинские осмотры в целях раннего выявления ХНИЗ и факторов риска