- Getting Input from Sensors

Содержание
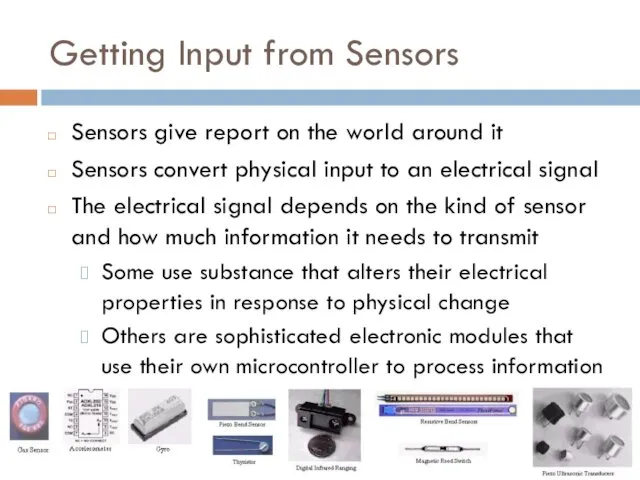
- 2. Getting Input from Sensors Sensors give report on the world around it Sensors convert physical input
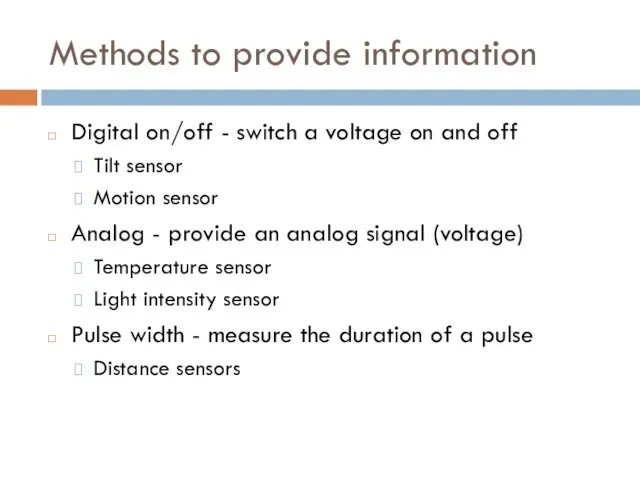
- 3. Methods to provide information Digital on/off - switch a voltage on and off Tilt sensor Motion
- 4. Methods to provide information Serial - provide values using a serial protocol RFID reader GPS module
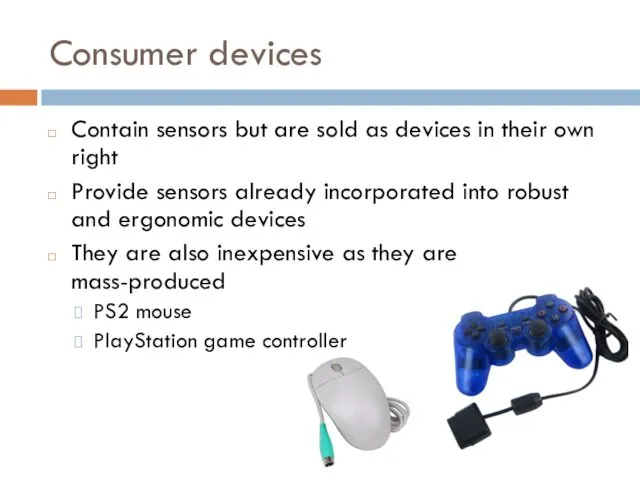
- 5. Consumer devices Contain sensors but are sold as devices in their own right Provide sensors already
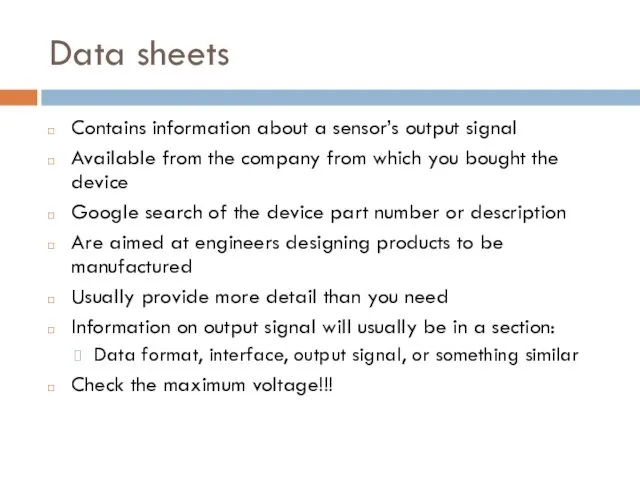
- 6. Data sheets Contains information about a sensor’s output signal Available from the company from which you
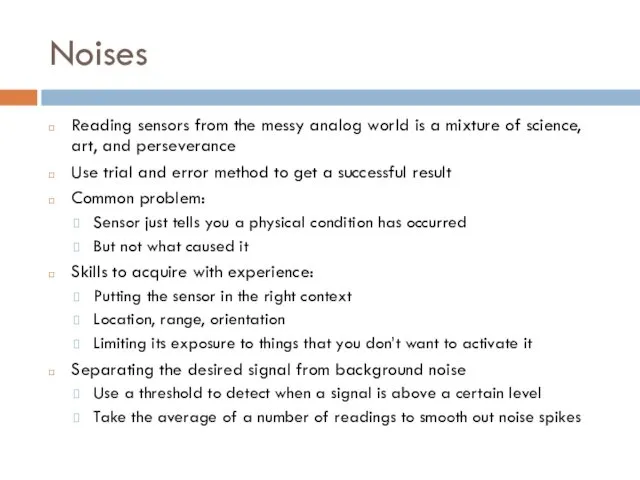
- 7. Noises Reading sensors from the messy analog world is a mixture of science, art, and perseverance
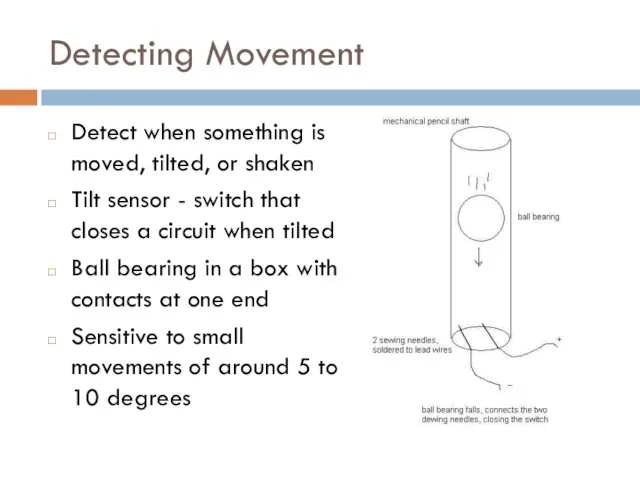
- 8. Detecting Movement Detect when something is moved, tilted, or shaken Tilt sensor - switch that closes
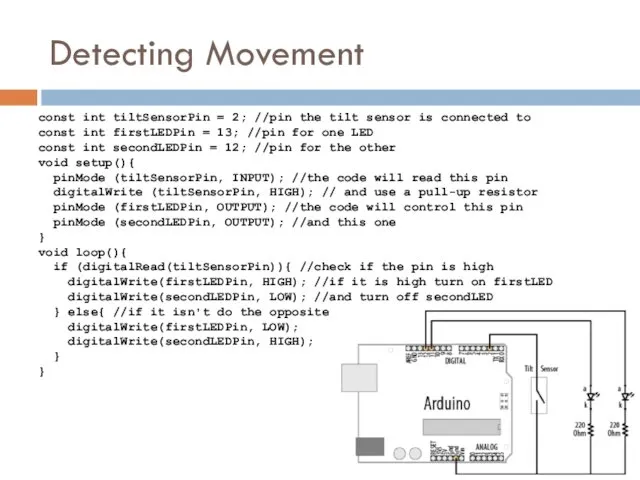
- 9. Detecting Movement const int tiltSensorPin = 2; //pin the tilt sensor is connected to const int
- 10. Shake detection const int tiltSensorPin = 2; const int ledPin = 13; int tiltSensorPreviousValue = 0;
- 11. millis() function Returns long type value - number of milliseconds since the current sketch started running
- 12. Similar digital output sensors Mechanical switch sensors can be used in similar ways Float switch can
- 13. Detecting Light Detect changes in light levels Something passes in front of a light detector Detecting
- 14. Detecting Light Not full range of possible values (0-1023) Since voltage will not be swinging between
- 15. When a room is getting dark const int ldrPin = A0; const int ledPin = 13;
- 16. Detecting motion const int ldrPin = A0; const int ledPin = 13; const int movementThreshold =
- 17. PIR motion detection PIR - passive infrared sensor measures infrared light radiating from objects Made from
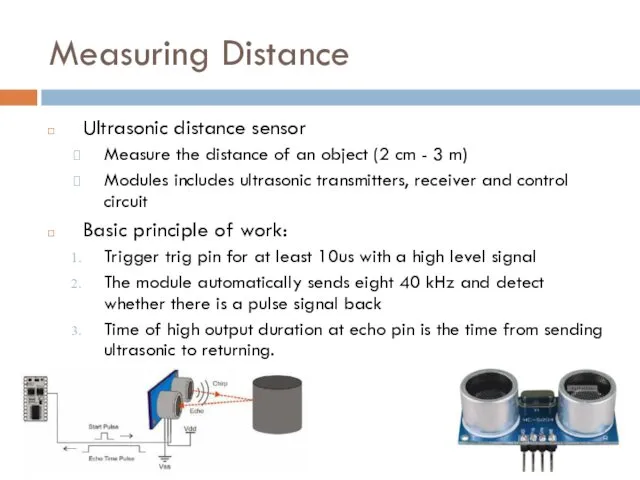
- 18. Measuring Distance Ultrasonic distance sensor Measure the distance of an object (2 cm - 3 m)
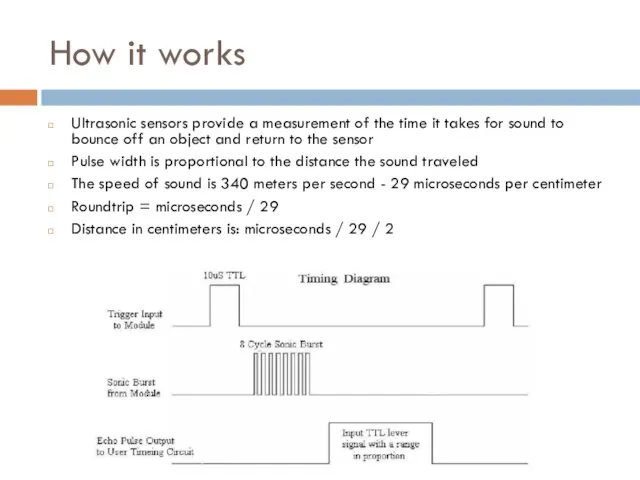
- 19. How it works Ultrasonic sensors provide a measurement of the time it takes for sound to
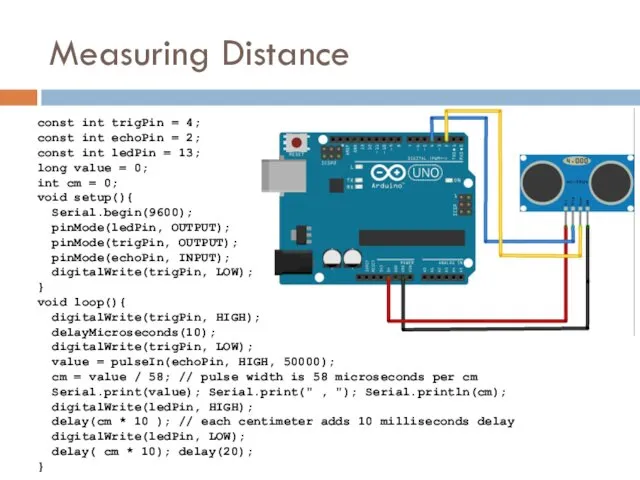
- 20. Measuring Distance const int trigPin = 4; const int echoPin = 2; const int ledPin =
- 21. pulseIn() and delayMicroseconds() pulseIn(pin, value[, timeout]) Reads a pulse (either HIGH or LOW) on a pin
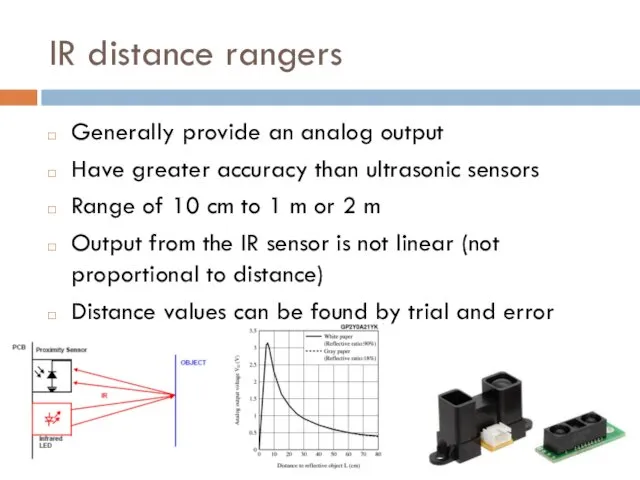
- 22. IR distance rangers Generally provide an analog output Have greater accuracy than ultrasonic sensors Range of
- 23. Measuring Temperature LM35 heat detection sensor Produces an analog voltage directly proportional to temperature 1 millivolt
- 24. Measuring Temperature const int inPin = A0; // analog pin void setup() { Serial.begin(9600); } void
- 25. Detecting Vibration Piezo sensor responds to vibration Produces a voltage in response to physical stress The
- 27. Скачать презентацию
Getting Input from Sensors
Sensors give report on the world around it
Sensors
Getting Input from Sensors
Sensors give report on the world around it
Sensors
Methods to provide information
Digital on/off - switch a voltage on and
Methods to provide information
Digital on/off - switch a voltage on and
Methods to provide information
Serial - provide values using a serial protocol
RFID
Methods to provide information
Serial - provide values using a serial protocol
RFID
Consumer devices
Contain sensors but are sold as devices in their own
Consumer devices
Contain sensors but are sold as devices in their own
Data sheets
Contains information about a sensor’s output signal
Available from the company
Data sheets
Contains information about a sensor’s output signal
Available from the company
Noises
Reading sensors from the messy analog world is a mixture of
Noises
Reading sensors from the messy analog world is a mixture of
Detecting Movement
Detect when something is moved, tilted, or shaken
Tilt sensor -
Detecting Movement
Detect when something is moved, tilted, or shaken
Tilt sensor -
Detecting Movement
const int tiltSensorPin = 2; //pin the tilt sensor is
Detecting Movement
const int tiltSensorPin = 2; //pin the tilt sensor is
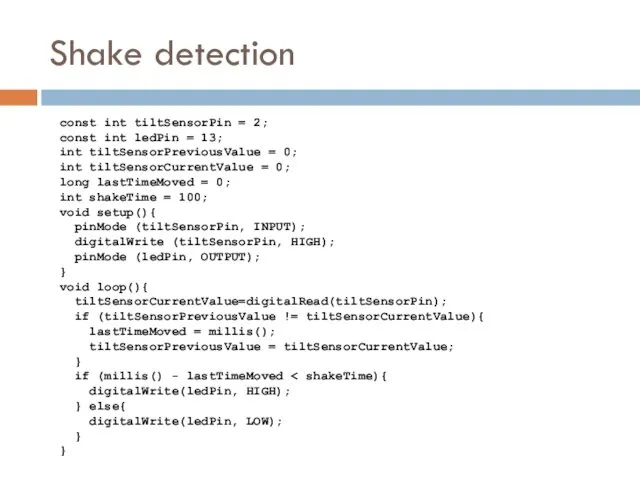
Shake detection
const int tiltSensorPin = 2;
const int ledPin = 13;
int tiltSensorPreviousValue
Shake detection
const int tiltSensorPin = 2;
const int ledPin = 13;
int tiltSensorPreviousValue
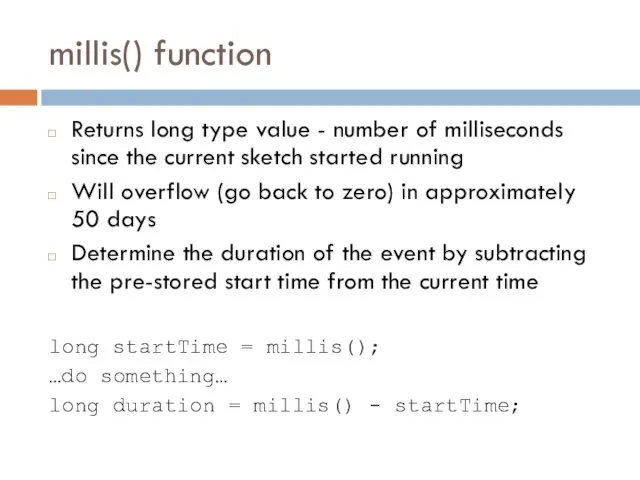
millis() function
Returns long type value - number of milliseconds since the
millis() function
Returns long type value - number of milliseconds since the
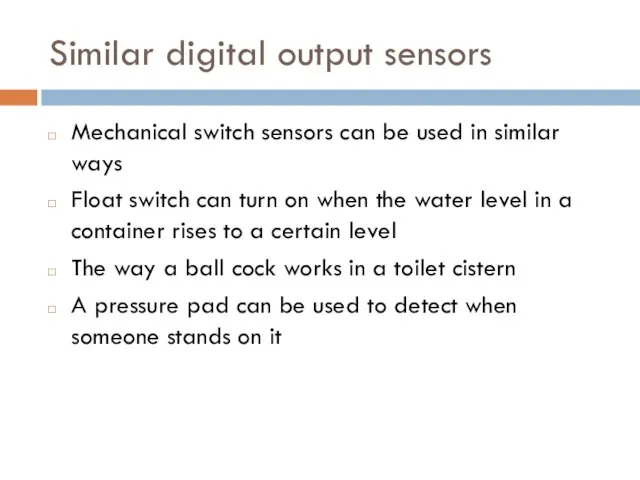
Similar digital output sensors
Mechanical switch sensors can be used in similar
Similar digital output sensors
Mechanical switch sensors can be used in similar
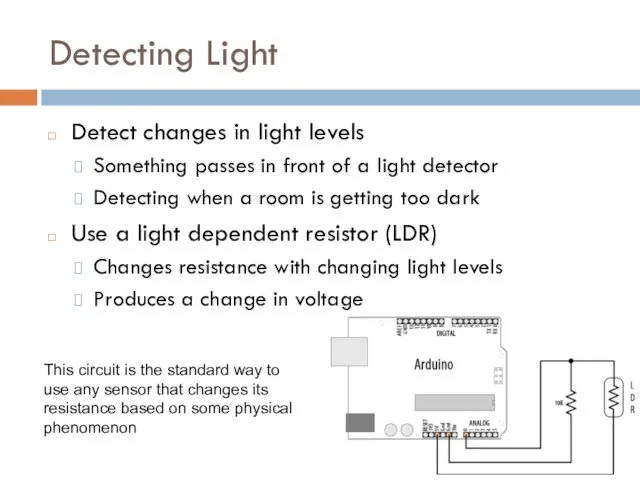
Detecting Light
Detect changes in light levels
Something passes in front of a
Detecting Light
Detect changes in light levels
Something passes in front of a
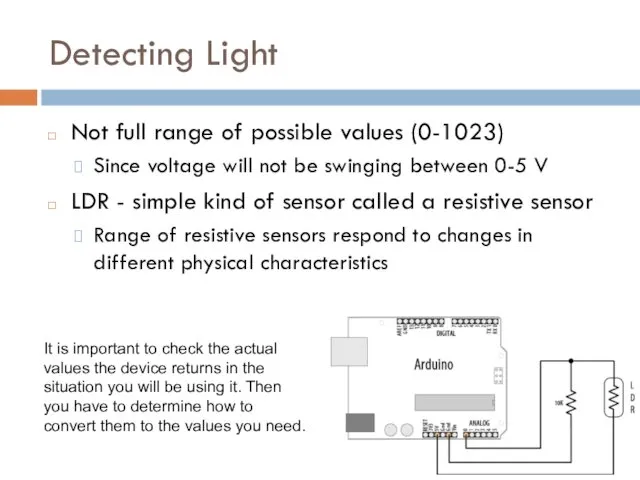
Detecting Light
Not full range of possible values (0-1023)
Since voltage will
Detecting Light
Not full range of possible values (0-1023)
Since voltage will
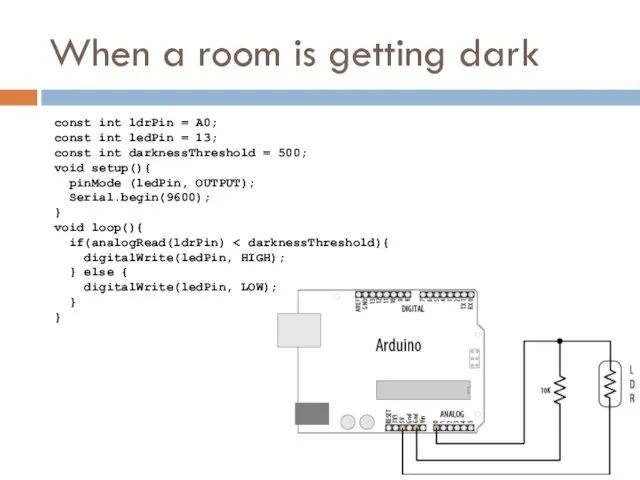
When a room is getting dark
const int ldrPin = A0;
const int
When a room is getting dark
const int ldrPin = A0;
const int
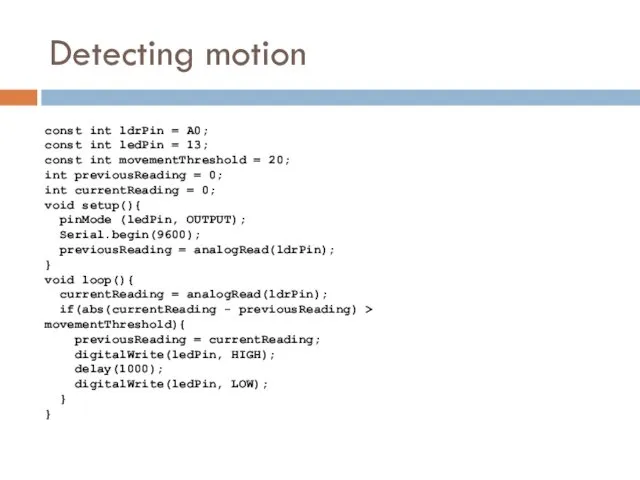
Detecting motion
const int ldrPin = A0;
const int ledPin = 13;
const int
Detecting motion
const int ldrPin = A0;
const int ledPin = 13;
const int
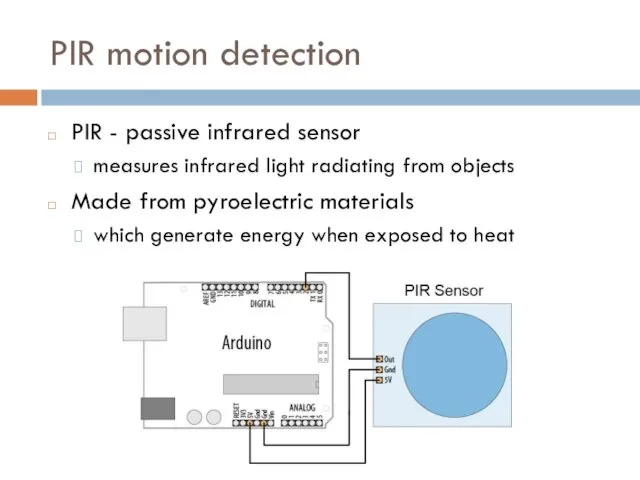
PIR motion detection
PIR - passive infrared sensor
measures infrared light radiating from
PIR motion detection
PIR - passive infrared sensor
measures infrared light radiating from
Measuring Distance
Ultrasonic distance sensor
Measure the distance of an object (2 cm
Measuring Distance
Ultrasonic distance sensor
Measure the distance of an object (2 cm
How it works
Ultrasonic sensors provide a measurement of the time it
How it works
Ultrasonic sensors provide a measurement of the time it
Measuring Distance
const int trigPin = 4;
const int echoPin = 2;
const int
Measuring Distance
const int trigPin = 4;
const int echoPin = 2;
const int
![pulseIn() and delayMicroseconds() pulseIn(pin, value[, timeout]) Reads a pulse (either](/_ipx/f_webp&q_80&fit_contain&s_1440x1080/imagesDir/jpg/97591/slide-20.jpg)
pulseIn() and delayMicroseconds()
pulseIn(pin, value[, timeout])
Reads a pulse (either HIGH or LOW)
pulseIn() and delayMicroseconds()
pulseIn(pin, value[, timeout])
Reads a pulse (either HIGH or LOW)
IR distance rangers
Generally provide an analog output
Have greater accuracy than ultrasonic
IR distance rangers
Generally provide an analog output
Have greater accuracy than ultrasonic
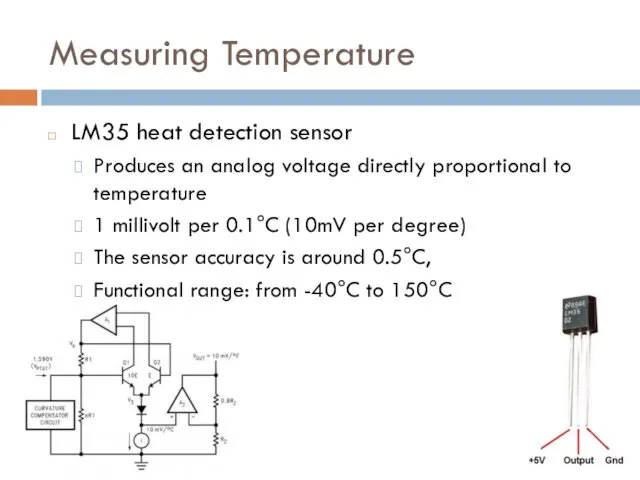
Measuring Temperature
LM35 heat detection sensor
Produces an analog voltage directly proportional to
Measuring Temperature
LM35 heat detection sensor
Produces an analog voltage directly proportional to
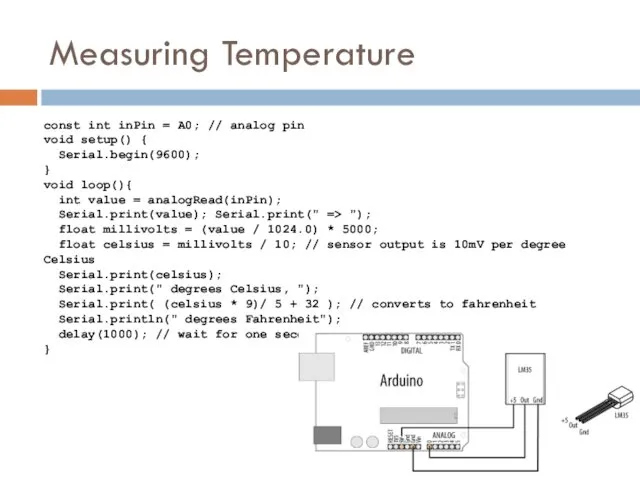
Measuring Temperature
const int inPin = A0; // analog pin
void setup() {
Measuring Temperature
const int inPin = A0; // analog pin
void setup() {
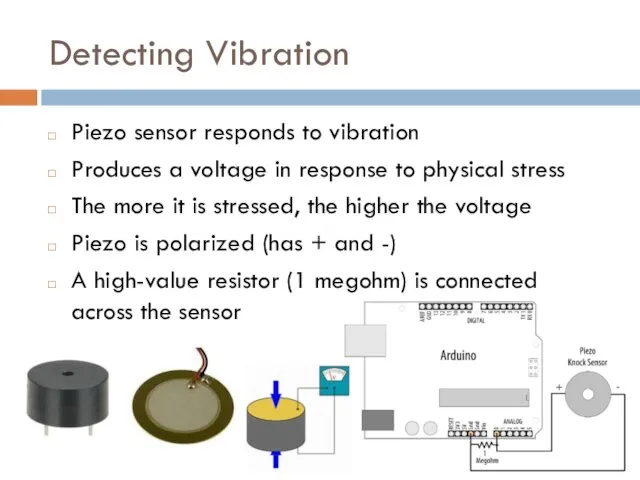
Detecting Vibration
Piezo sensor responds to vibration
Produces a voltage in response to
Detecting Vibration
Piezo sensor responds to vibration
Produces a voltage in response to
 Государство в политической системе
 Элективная астрология
 Переваривание и всасывание белков. Общие пути метаболизма аминокислот
 Рынок. Конкуренция. Монополия и монопсония
 Здоровый образ жизни и его составляющие
 Оснастка обсадных колонн
 Обзор литературы. Певческие праздники и фестивали как фактор формирования музыкальной и эстетической культуры населения
 Юрий Иосифович Визбор
 Урок Факторы размещения мирового хозяйства, 10 класс
 Асептика и антисептика 222
 Герой земли Тюменской Дмитрий Михайлович Карбышев
 Инструктаж по пожарной технике безопасности
 Виртуальная экскурсия по Нижнему Новгороду Знакомый маршрут
 Типы и основные характеристики станций
 Машина бөлшектерінің дайындамаларын кесу арқылы өңдеу
 Католицизм или католичество
 БИОЛОГИЯ И ХИМИЯ ПРОТИВ ВРЕДНОЙ ПРИВЫЧКИ
 Использование специальных символов в играх по формированию навыка звукового анализа и синтеза.
 Лекция 3. Эволюция теории менеджмента
 Методы географических исследований. Урок в 5 классе.
 Коррекционно-педагогическая работа учителя-дефектолога (олигофренопедагога) в ДОУ и школе
 Дрожжевое тесто и изделия из него
 Психологическое сопровождение речевого развития ребенка младшего дошкольного возраста.
 Редактор формул. Microsoft Word 2010
 Презентация 5 А класса.
 Christmas in Great Britain
 Классный уголок
 Наша армия родная