- Replacement of Dryer

Содержание
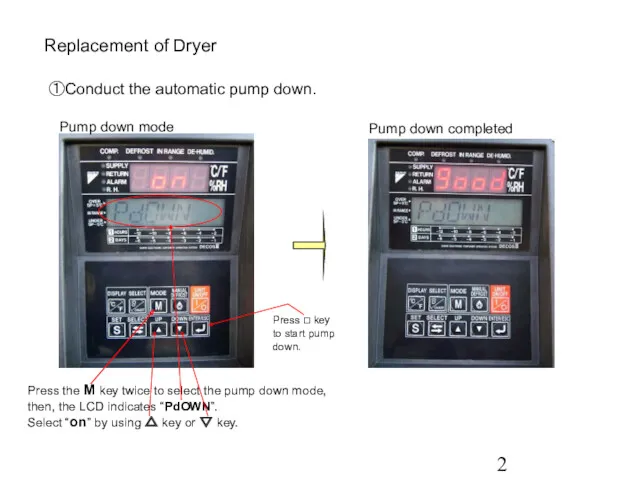
- 2. Replacement of Dryer ①Conduct the automatic pump down. Pump down mode Pump down completed Press the
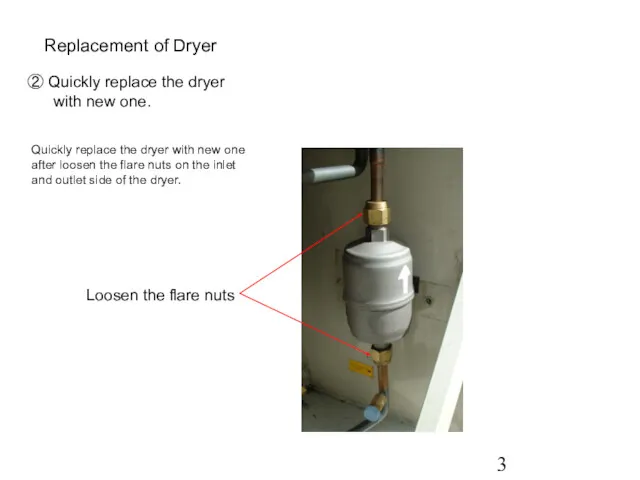
- 3. Replacement of Dryer ② Quickly replace the dryer with new one. Loosen the flare nuts Quickly
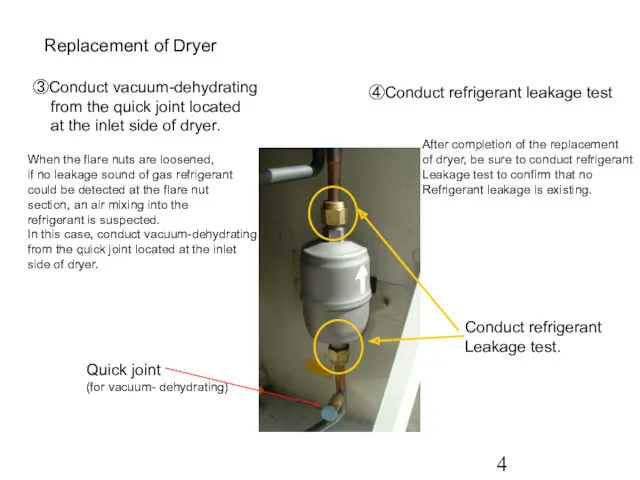
- 4. Replacement of Dryer ③Conduct vacuum-dehydrating from the quick joint located at the inlet side of dryer.
- 6. Скачать презентацию
Replacement of Dryer
①Conduct the automatic pump down.
Pump down mode
Pump down
Replacement of Dryer
①Conduct the automatic pump down.
Pump down mode
Pump down
Replacement of Dryer
② Quickly replace the dryer
with new one.
Loosen the
Replacement of Dryer
② Quickly replace the dryer
with new one.
Loosen the
Replacement of Dryer
③Conduct vacuum-dehydrating
from the quick joint located
at
Replacement of Dryer
③Conduct vacuum-dehydrating
from the quick joint located
at
 Диэлектриктер. Диэлектриктердің қасиеттері
 Система впрыска топлива
 Что такое физика
 Антенны поверхностных волн. Лекция № 14. АФУ
 Решение для атома водорода
 Основы гидравлики
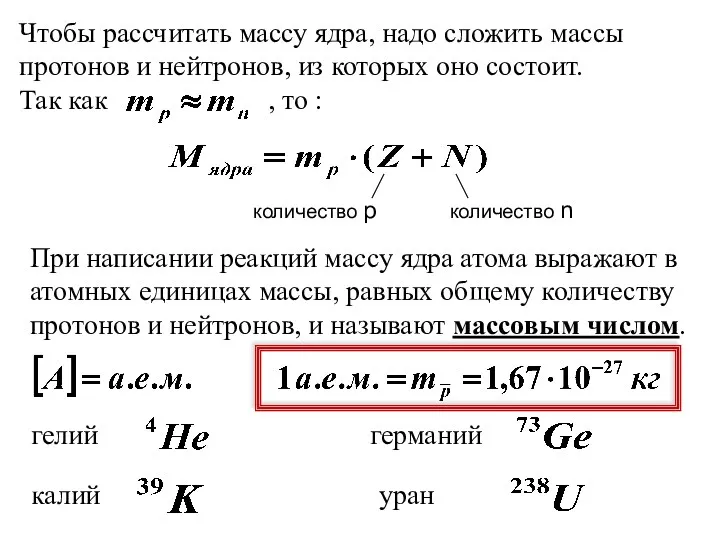 повтор.строение атома
 Актуальные вопросы подготовке к ЕГЭ по физике.
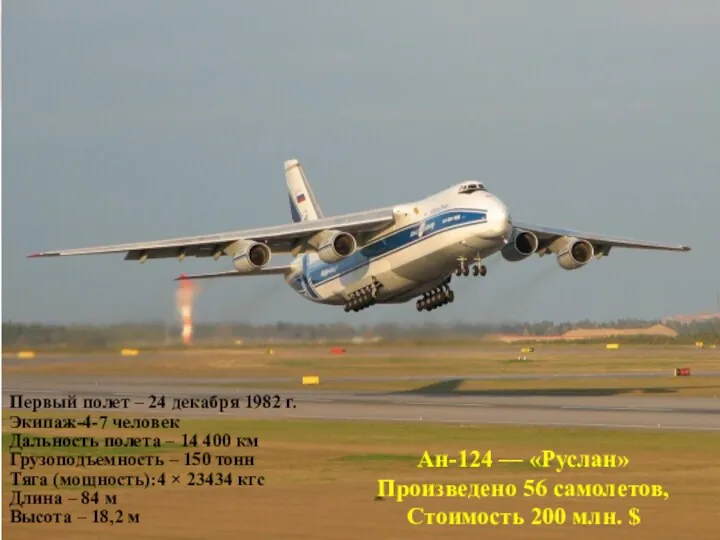 Ан-124 — Руслан
 Уравнение состояния идеального газа. Газовые законы
 Архитектурностроительная акустика
 Техническое обслуживание и ремонт рулевого управления автомобиля КамАЗ-5320
 Ограничители скорости, ловители в кабине лифта
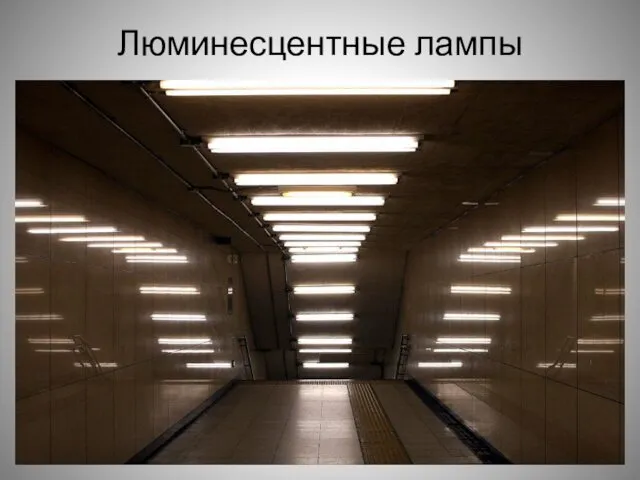 Люминесцентные лампы
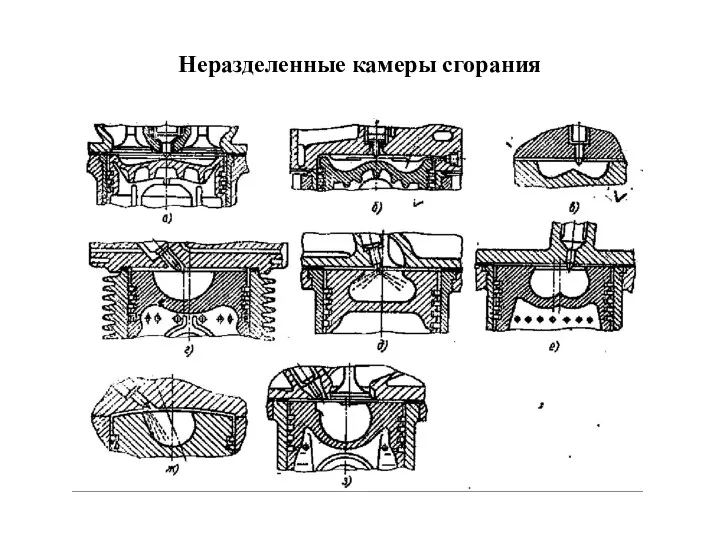 Неразделенные камеры сгорания
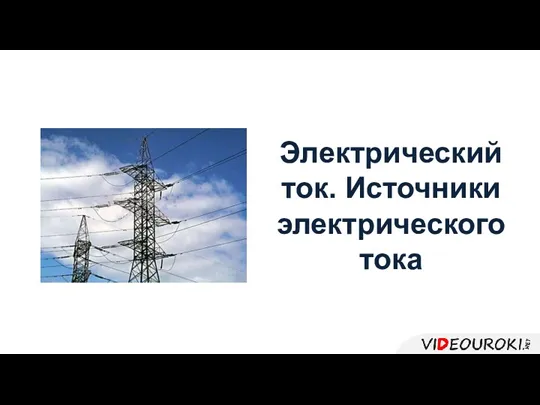 Электрический ток. Источники электрического тока
 Ременная передача
 Работа силы. Значения слова работа
 Life in space
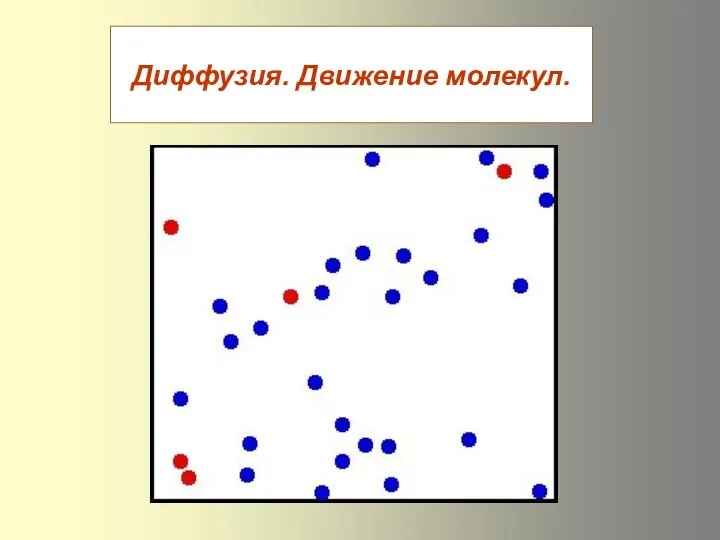 Презентация к уроку Диффузия в газах, жидкостях и твёрдых телах. Движение молекул
 Двигатели внутреннего сгорания. Конструкция
 Определение по заданному обозначению посадки, предельных отклонений и размеров элементов деталей, допусков отверстия вала
 Диагностирование технического состояния вентильных разрядников и ограничителей перенапряжения
 Основные методы получения наноструктурных материалов
 Магнитное поле катушки с током. Электромагниты. 8 класс
 Магнит өрісінің тогы бар өткізгішке әрекеті. Электрқозғалтқыштар. Электр өлшеуіш аспаптар
 Работа и энергия
 Направление тока и его магнитных линий