Слайд 2
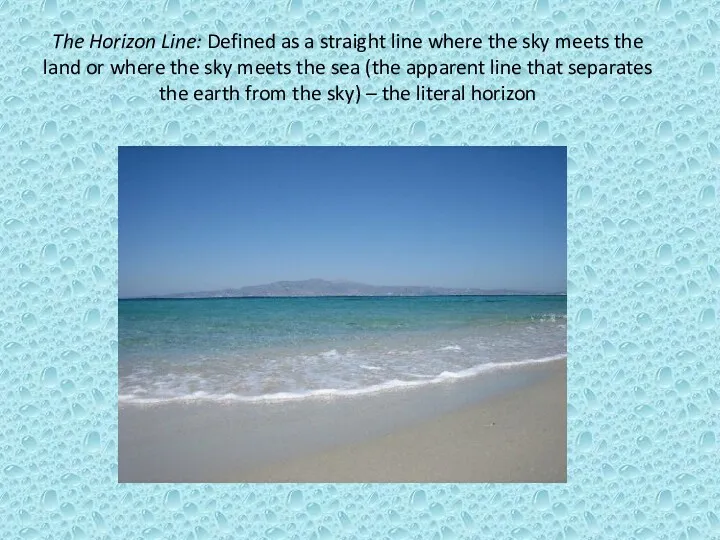
The Horizon Line: Defined as a straight line where the sky
meets the land or where the sky meets the sea (the apparent line that separates the earth from the sky) – the literal horizon
Слайд 3
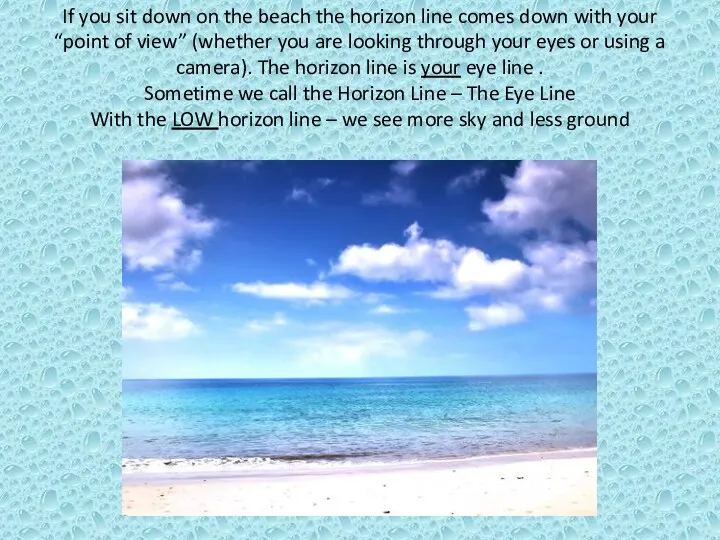
If you sit down on the beach the horizon line comes
down with your “point of view” (whether you are looking through your eyes or using a camera). The horizon line is your eye line .
Sometime we call the Horizon Line – The Eye Line
With the LOW horizon line – we see more sky and less ground
Слайд 4
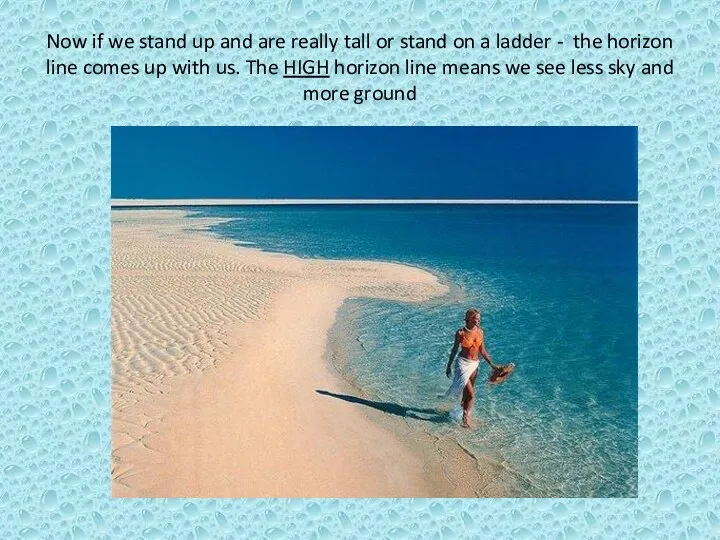
Now if we stand up and are really tall or stand
on a ladder - the horizon line comes up with us. The HIGH horizon line means we see less sky and more ground
Слайд 5
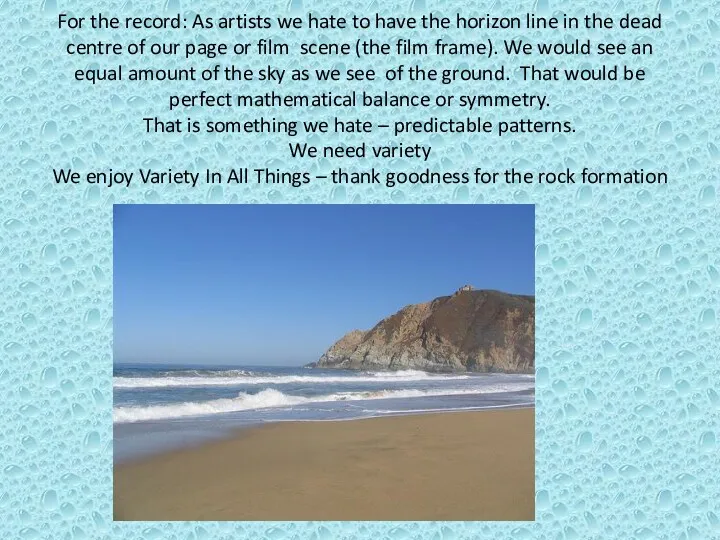
For the record: As artists we hate to have the horizon
line in the dead centre of our page or film scene (the film frame). We would see an equal amount of the sky as we see of the ground. That would be perfect mathematical balance or symmetry.
That is something we hate – predictable patterns.
We need variety
We enjoy Variety In All Things – thank goodness for the rock formation
Слайд 6
We are film makers – so we
THINK FILM!
As animators we have
to think like a film maker – we are directors
So before any film maker starts to shoot a scene they have to set up the physical camera
Where they place the camera (how high) – THAT IS the Horizon line
The audience sees our film scenes through the camera so we also call the horizon line the Audience’s Eye Line
Слайд 7

The Camera
In order to start any layout or prop drawing you
have to start with a horizon line (A straight line on our animation paper) - in other words where are you going to place the camera
We, as artists, are drawing on a 2D piece of paper and have to simulate what a real 3D camera see/ can do
So by lowering or raising the horizon line on our page we are raising or lowering the camera (which is the audience’s point of view)
Just by drawing a line on our paper we are manipulating how the audiences views our film scene – always think of your animation paper as a film scene
The horizon line is very important to your drawing so it goes on first and it has to be done in a completely separate colour from anything else – when you have hundreds of perspective construction lines on your layout roughs and you can’t find your horizon line you will be in trouble
The horizon line is needed for controlling size and scale (something we will talk about down the road) – so your director / supervisor will ask you where your horizon line is - knowing full well you have no idea –so START OVER – you got caught
Слайд 8
We are visual learners
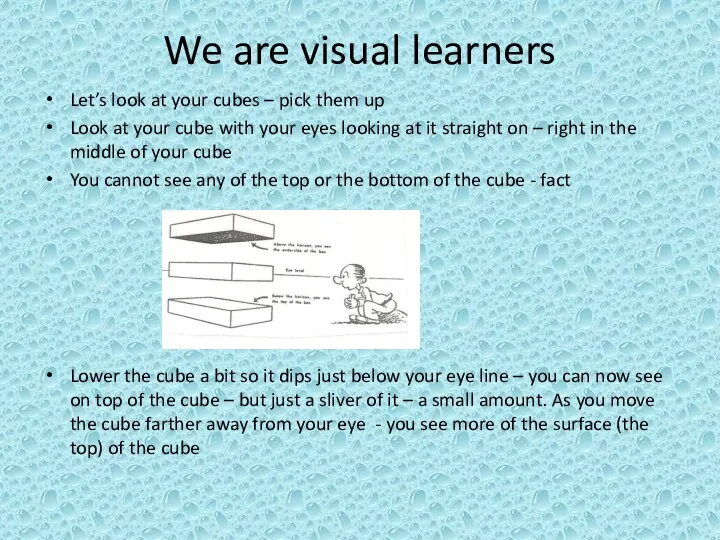
Let’s look at your cubes – pick them
up
Look at your cube with your eyes looking at it straight on – right in the middle of your cube
You cannot see any of the top or the bottom of the cube - fact
Lower the cube a bit so it dips just below your eye line – you can now see on top of the cube – but just a sliver of it – a small amount. As you move the cube farther away from your eye - you see more of the surface (the top) of the cube
Слайд 9
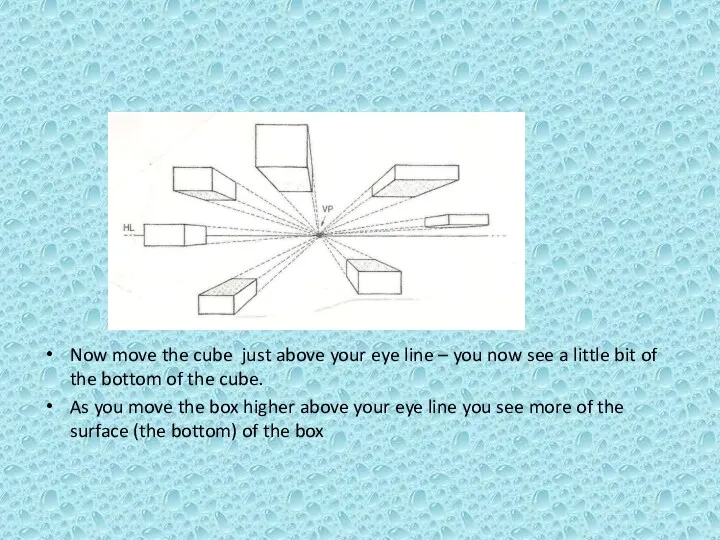
Now move the cube just above your eye line – you
now see a little bit of the bottom of the cube.
As you move the box higher above your eye line you see more of the surface (the bottom) of the box
Слайд 10
Horizon Line Facts
There is only one horizon line in a background
For
one and two point perspective: All vanishing points occur on the horizon line
You always start layouts with a horizon line and it must be labeled (with an HL with a circle around it) and drawn with a ruler
The horizon line must be a separate colour than anything else in your drawing
If any part of an object touches the horizon line – or if the horizon line crosses through it - we cannot see on top of it or underneath it – look at your cube again
If an object is above the horizon line we see underneath it – and the depth lines go down to the horizon line
If an object is below the horizon line we see on top of it – and the depth lines go up to the horizon line
Слайд 11

When an object (like the cube) is close to the horizon
line (above or below) we see very little of the surface
The farther away from the horizon line the object gets the more of its surface we see (on top or underneath it)
Never let the top or bottom of the object line up perfectly wit the horizon line – it creates a tangent – a drawing error
For the purposes of first year we will keep the Horizon Line perfectly horizontal – parallel to the top and bottom of our paper
Does the horizon line have to be horizontal?
Слайд 12
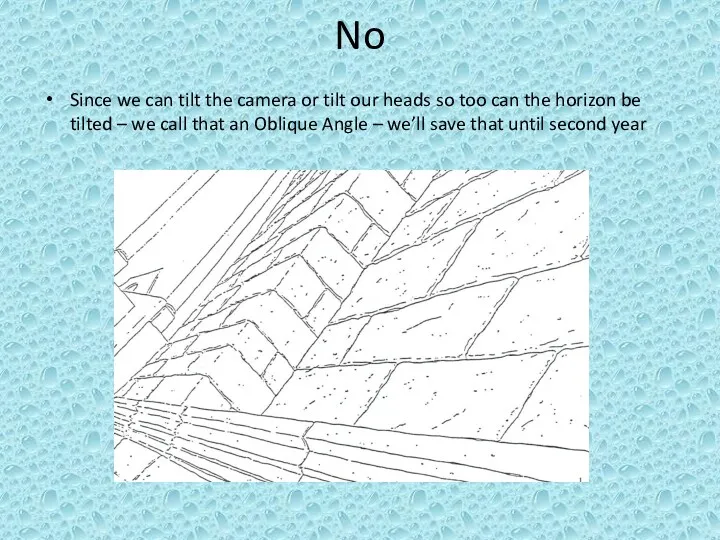
No
Since we can tilt the camera or tilt our heads so
too can the horizon be tilted – we call that an Oblique Angle – we’ll save that until second year

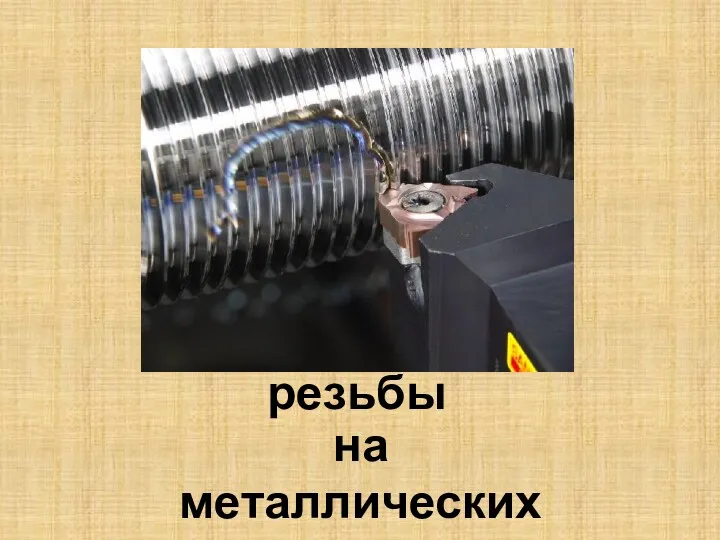 Нарезание резьбы на металлических деталях
 Контактно-транзисторная система зажигания
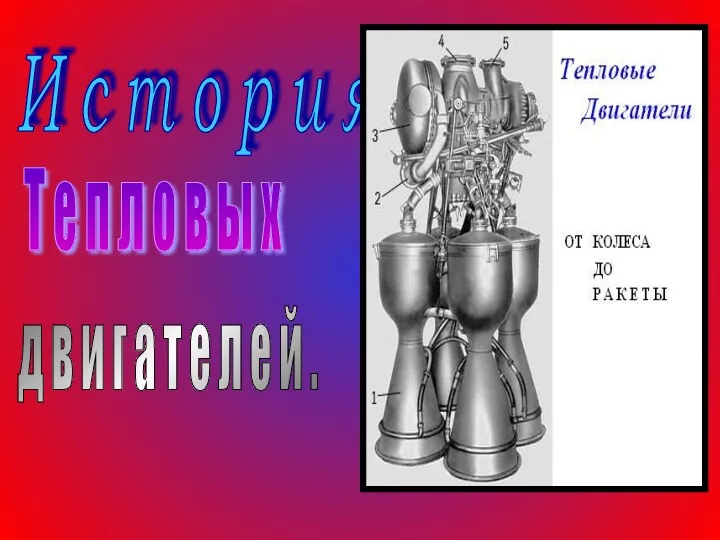 История тепловых двигателей
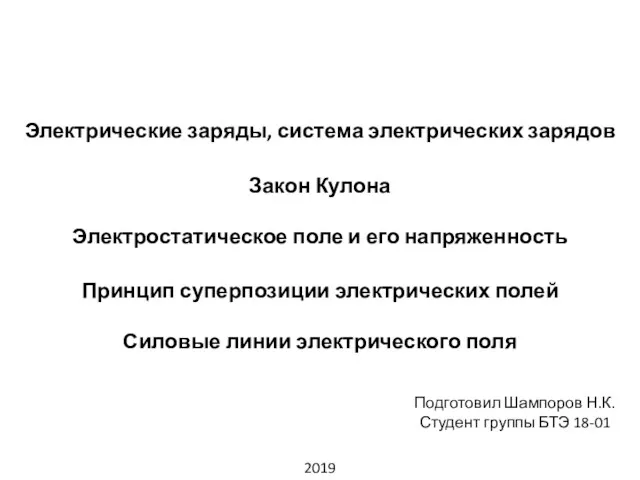 Электрические заряды, система электрических зарядов. Закон Кулона. Электростатическое поле и его напряженность
 Силы электромагнитной природы.
 Атомные электростанции (АЭС)
 Kinematika. Милдеттер
 Переходные процессы в линейных электрических цепях
 Гироскопические приборы и устройства. (Модуль 2.7)
 Густина речовини. Роз'язування задач
 Синхронные машины
 Акустический метод неразрушающего контроля
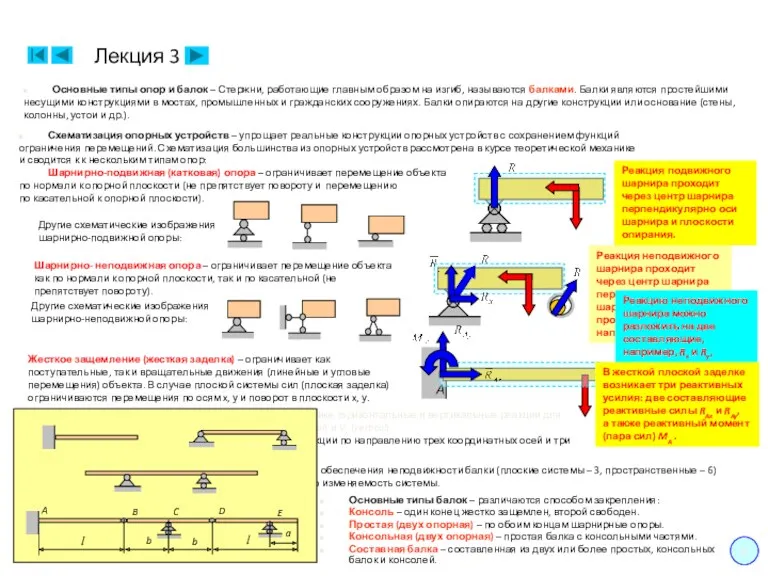 Основные типы опор и балок
 Спектры. Качественные задачи
 Сила тока. Измерение силы тока.
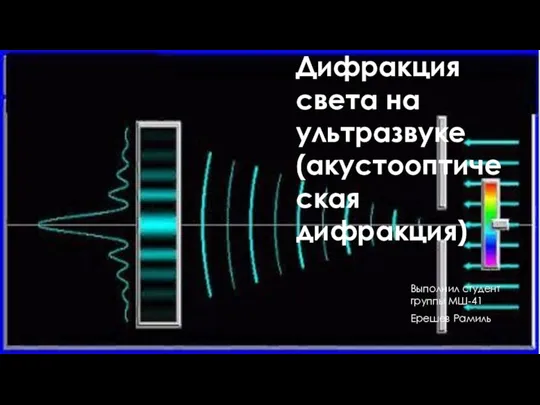 Дифракция света на ультразвуке (акустооптическая дифракция)
 Конвективті жылу беру
 Ограничители скорости, ловители в кабине лифта
 Устройство рам, мостов и подвески
 “Своя игра” по физике для учащихся 8 классов
 Властивості поверхні рідини. Поверхневий натяг рідини
 Шкала электромагнитных волн
 Заклепочное соединение
 Теплообмен человека с окружающей средой
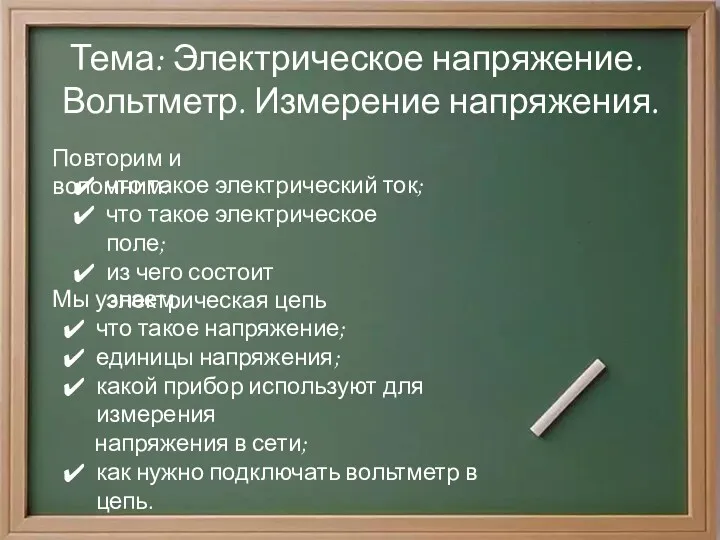 Методическая разработка урока физики в 8 классе Электрическое напряжение
 Механические свойства твердых тел. Механические колебания. Звук и ультразвук
 Системы питания с впрыскиванием бензина
 Электронная спектроскопия