- BIOS FW SOP For win 8

Содержание
- 2. Prepare USB Bootable Flash disk: The disk can boot to DOS mode.
- 3. Step 1 Prepare one USB disk. Find HPUSBFW as below link and download it to desktop.
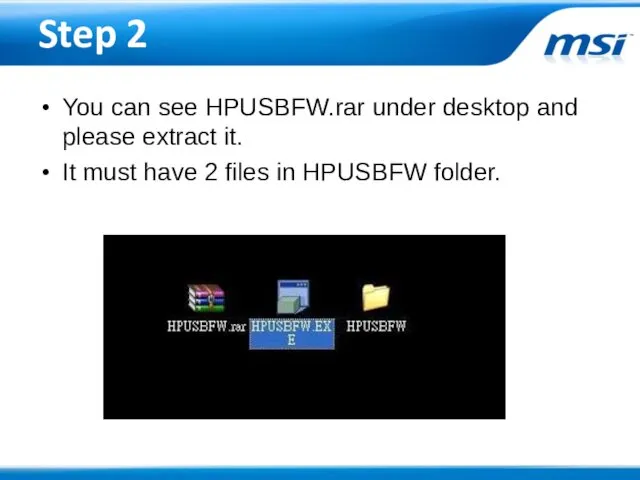
- 4. Step 2 You can see HPUSBFW.rar under desktop and please extract it. It must have 2
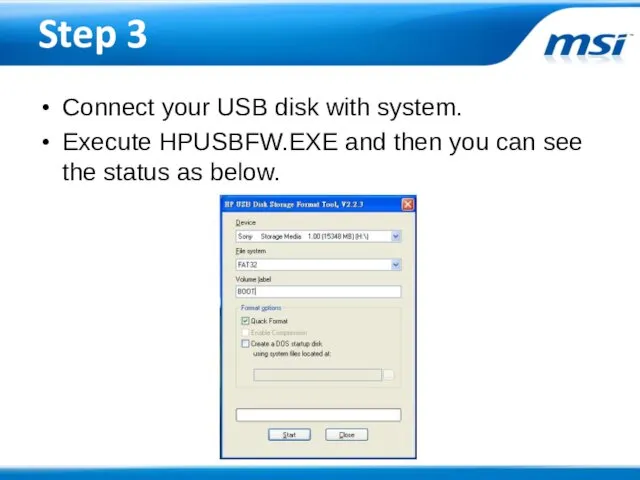
- 5. Step 3 Connect your USB disk with system. Execute HPUSBFW.EXE and then you can see the
- 6. Step 4 Checking Device whether show your USB disk . Select FAT 32 on “File system”.
- 7. Test 1 power on the system and press “Del” to boot into BIOS. Go to Boot
- 8. Test 2 Plug in USB bootable disk to your system, and then power on the system.
- 9. Test 3 Select USB bootable disk and let system boot to DOS mode.
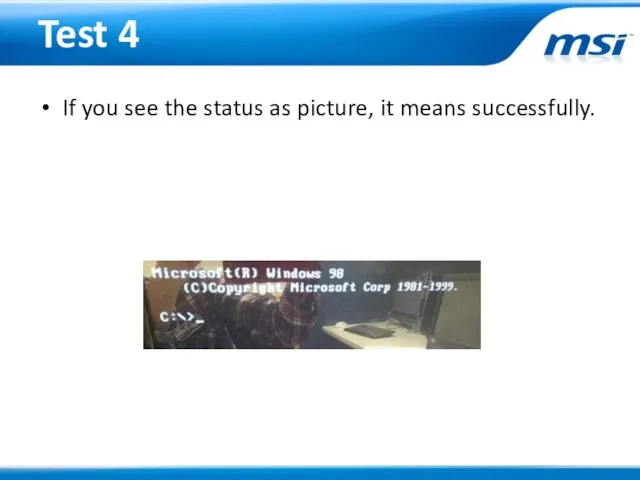
- 10. Test 4 If you see the status as picture, it means successfully.
- 11. Prepare The latest BIOS file for the model you want to flash.
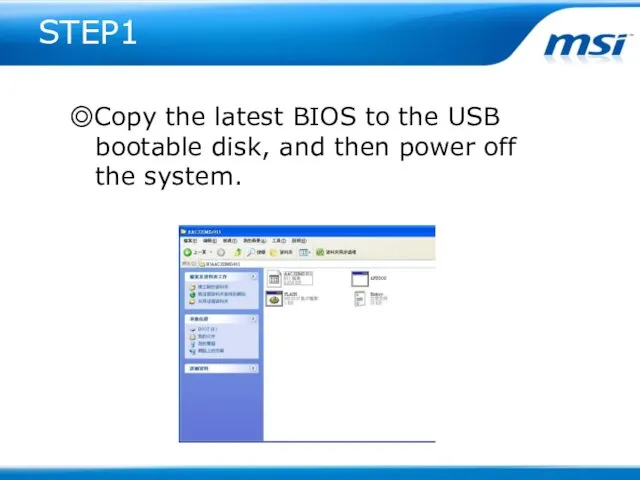
- 12. STEP1 ◎Copy the latest BIOS to the USB bootable disk, and then power off the system.
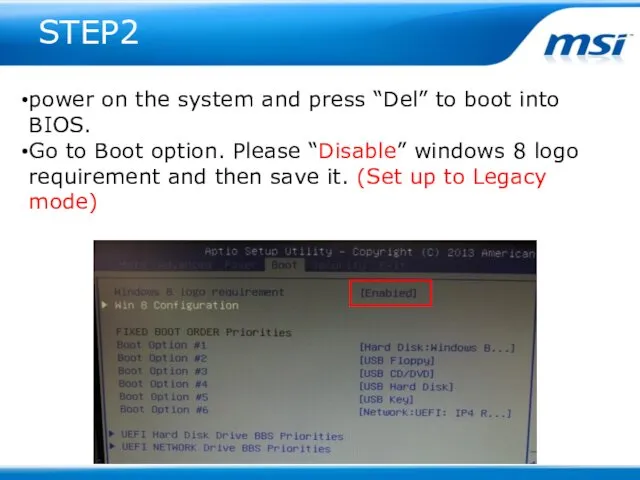
- 13. STEP2 power on the system and press “Del” to boot into BIOS. Go to Boot option.
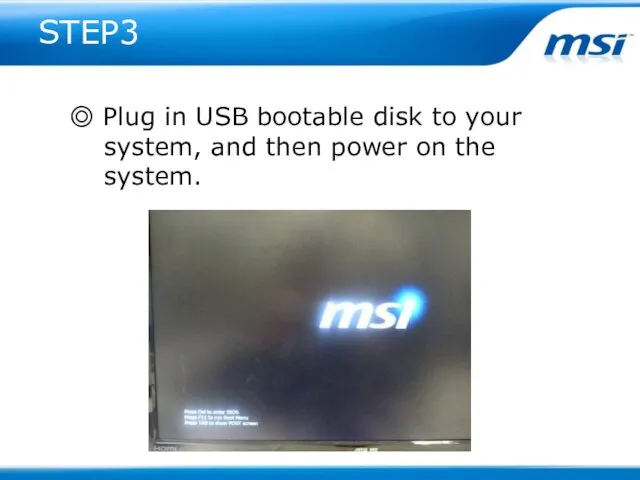
- 14. STEP3 ◎ Plug in USB bootable disk to your system, and then power on the system.
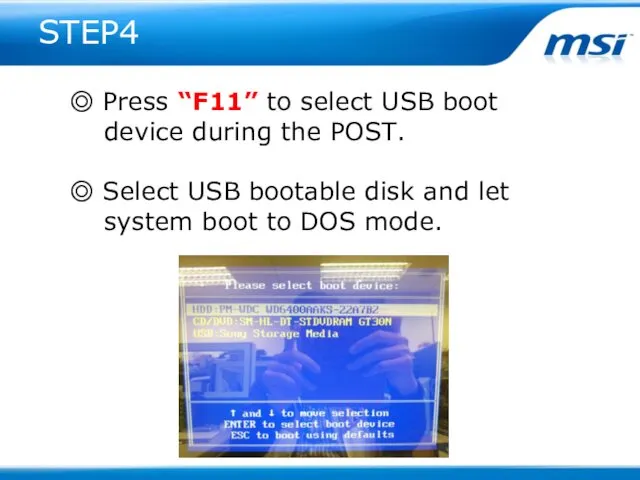
- 15. STEP4 ◎ Press “F11” to select USB boot device during the POST. ◎ Select USB bootable
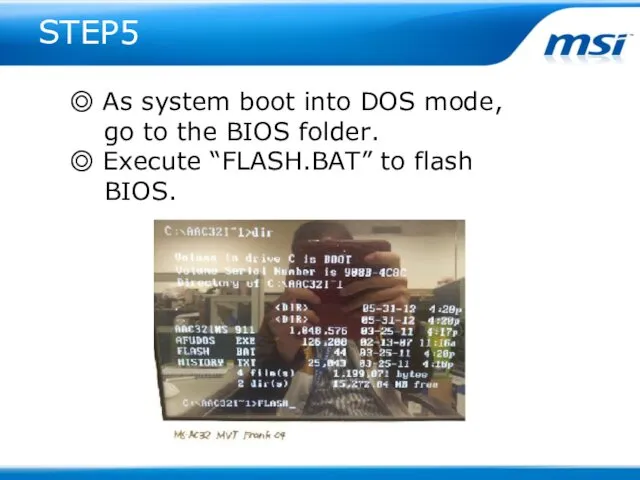
- 16. STEP5 ◎ As system boot into DOS mode, go to the BIOS folder. ◎ Execute “FLASH.BAT”
- 17. STEP 6 NOTE. Do not remove the power cable or power off the system during BIOS
- 18. STEP 7 ◎ Power on the system and press “DEL” key to enter BIOS SETUP Menu
- 19. STEP 8 ◎ You can check BIOS Version whether it’s the same as you want in
- 20. STEP 9 ◎ Go to “BIOS / Save & Exit / Load Optimal Defaults” , and
- 21. STEP 10 ◎ Go to “BIOS / Exit / Save Change and Reboot” ◎ Select “YES”
- 23. Скачать презентацию
Prepare
USB Bootable Flash disk: The disk can
boot to DOS
Prepare
USB Bootable Flash disk: The disk can
boot to DOS
Step 1
Prepare one USB disk.
Find HPUSBFW as below link and download
Step 1
Prepare one USB disk.
Find HPUSBFW as below link and download
Step 2
You can see HPUSBFW.rar under desktop and please extract it.
Step 2
You can see HPUSBFW.rar under desktop and please extract it.
Step 3
Connect your USB disk with system.
Execute HPUSBFW.EXE and then you
Step 3
Connect your USB disk with system.
Execute HPUSBFW.EXE and then you
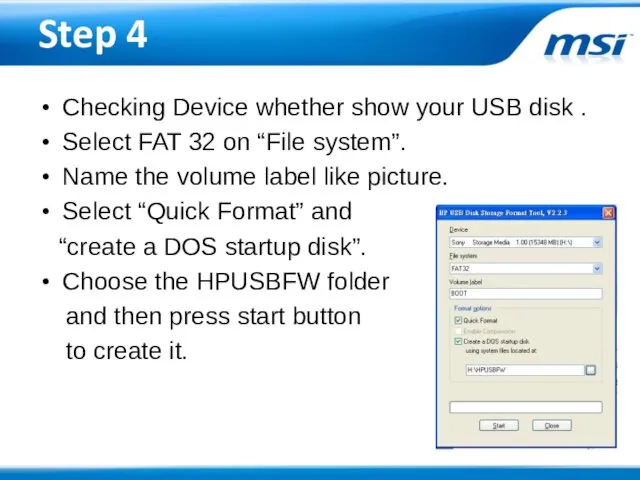
Step 4
Checking Device whether show your USB disk .
Select FAT 32
Step 4
Checking Device whether show your USB disk .
Select FAT 32
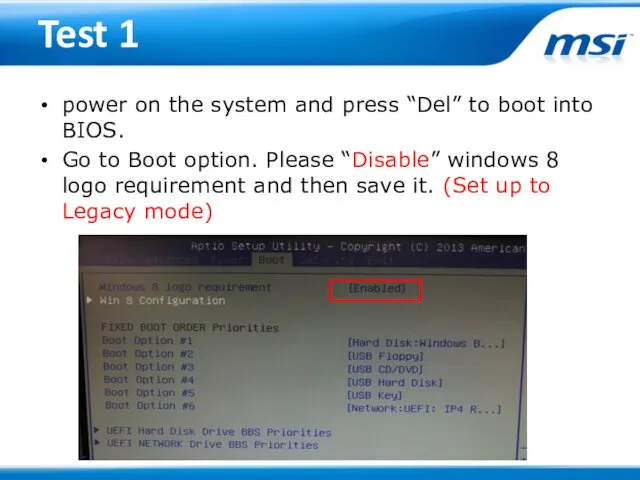
Test 1
power on the system and press “Del” to boot into
Test 1
power on the system and press “Del” to boot into
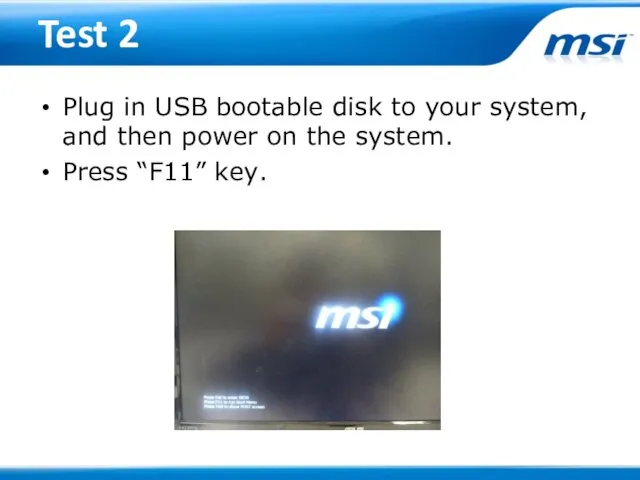
Test 2
Plug in USB bootable disk to your system, and then
Test 2
Plug in USB bootable disk to your system, and then
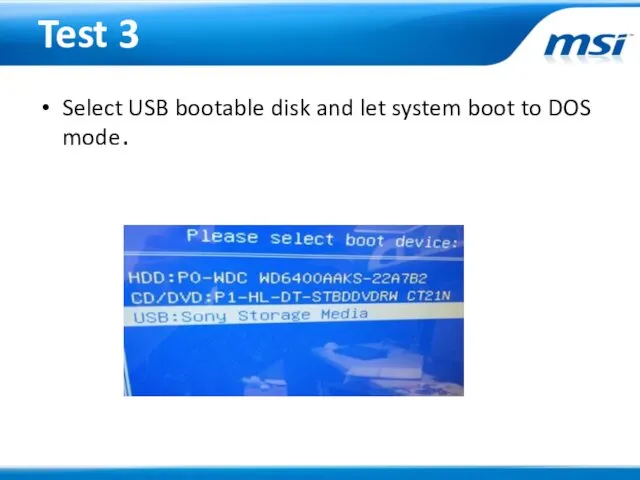
Test 3
Select USB bootable disk and let system boot to DOS
Test 3
Select USB bootable disk and let system boot to DOS
Test 4
If you see the status as picture, it means successfully.
Test 4
If you see the status as picture, it means successfully.
Prepare
The latest BIOS file for the model you want to
Prepare
The latest BIOS file for the model you want to
STEP1
◎Copy the latest BIOS to the USB
bootable disk,
STEP1
◎Copy the latest BIOS to the USB
bootable disk,
STEP2
power on the system and press “Del” to boot into
STEP2
power on the system and press “Del” to boot into
STEP3
◎ Plug in USB bootable disk to your
system,
STEP3
◎ Plug in USB bootable disk to your
system,
STEP4
◎ Press “F11” to select USB boot
device during
STEP4
◎ Press “F11” to select USB boot
device during
STEP5
◎ As system boot into DOS mode,
go to
STEP5
◎ As system boot into DOS mode,
go to
STEP 6
NOTE.
Do not remove the power cable or
power
STEP 6
NOTE.
Do not remove the power cable or
power
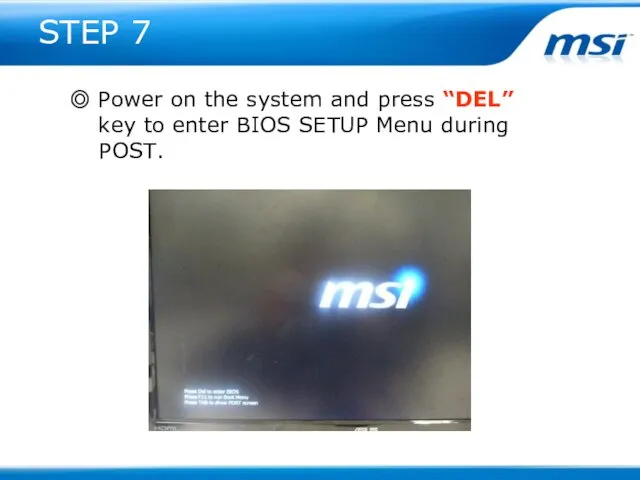
STEP 7
◎ Power on the system and press “DEL”
key
STEP 7
◎ Power on the system and press “DEL”
key
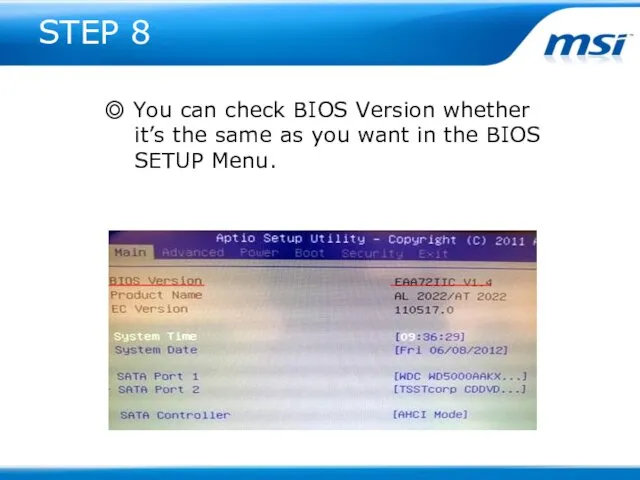
STEP 8
◎ You can check BIOS Version whether
it’s the
STEP 8
◎ You can check BIOS Version whether
it’s the
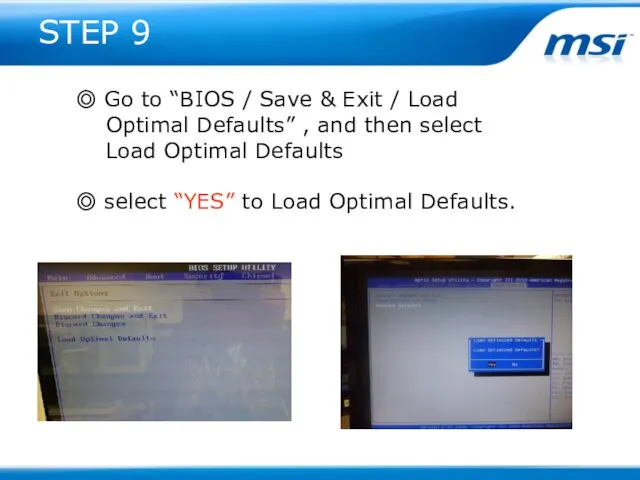
STEP 9
◎ Go to “BIOS / Save & Exit / Load
STEP 9
◎ Go to “BIOS / Save & Exit / Load

STEP 10
◎ Go to “BIOS / Exit / Save Change and
STEP 10
◎ Go to “BIOS / Exit / Save Change and
 Объектно-ориентированное программирование. Классы. Тема 04
 Администрирование информационных систем и веб-порталов
 Методы и технологии современных информационных войн
 Информационная культура
 Введение в информационную безопасность
 Бұлттық есептеулер және ұялы байланыс технологияларын интеграциялау
 Компьютерлік модель. Компьютерде модельдерді зерттеу
 Дистанционное электронное голосование на выборах в органы государственной власти в Единый день голосования
 Локальные и глобальные компьютерные сети. Коммуникационные технологии
 Табличные процессоры. MS Excel. (Лекция 5)
 Создание, развитие, обслуживание и эксплуатация информационных систем
 Welcome to CAD/CAM services
 Instructions for Using and Debugging TIGAR GUI Release 1P4
 Простейшие конструкции языка С
 Цифровой офис
 Тема 2.7 Принципы проектирования пользовательского интерфейса
 Курсовая работа. Разработка сетевого программного обеспечения
 Routing Introduction
 Текстовий документ та його об’єкти. Створення таблиці
 Технологии проектирования компьютерных систем. Алфавит языка VHDL. (Лекция 3)
 Безопасность детей в интернете
 Внедрение здоровьесберегающих технологий на уроках информатики
 Мобильный интернет
 Web Attacks: cross-site request forgery, SQL injection, cross-site scripting
 Об оказании АО Корпорация МСП услуг по регистрации на Портале Бизнес-навигатора МСП через МФЦ
 Беспроводной интернет, особенности и функционирования
 The term computer programmer
 Представление числовых данных в среде табличного процессора