- BIOS FW SOP For win7

Содержание
- 2. Prepare USB Bootable Flash disk: The disk can boot to DOS mode.
- 3. Step 1 Prepare one USB disk. Find HPUSBFW as below link and download it to desktop.
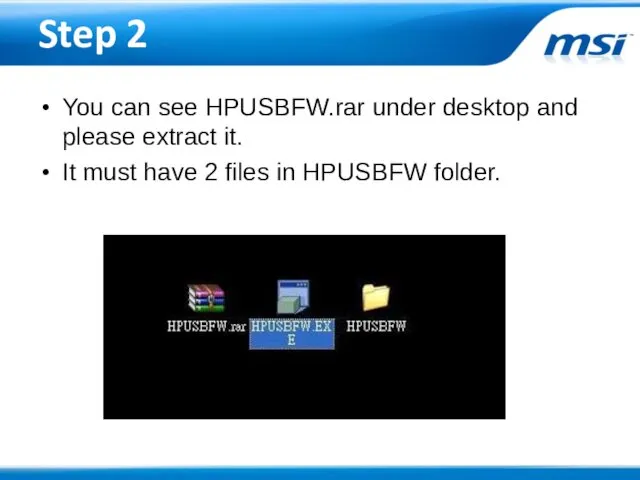
- 4. Step 2 You can see HPUSBFW.rar under desktop and please extract it. It must have 2
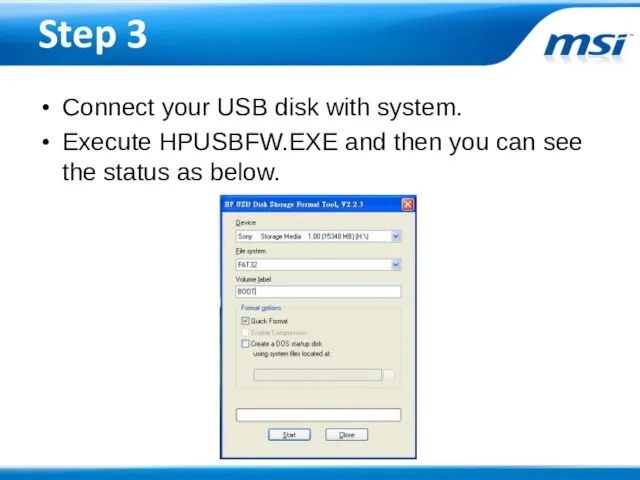
- 5. Step 3 Connect your USB disk with system. Execute HPUSBFW.EXE and then you can see the
- 6. Step 4 Checking Device whether show your USB disk . Select FAT 32 on “File system”.
- 7. Test 1 Plug in USB bootable disk to your system, and then power on the system.
- 8. Test 2 Select USB bootable disk and let system boot to DOS mode.
- 9. Test 3 If you see the status as picture, it means successfully.
- 10. Prepare The latest BIOS file for the model you want to flash.
- 11. STEP1 ◎Copy the latest BIOS to the USB bootable disk, and then power off the system.
- 12. STEP2 ◎ Plug in USB bootable disk to your system, and then power on the system.
- 13. STEP3 ◎ Press “F11” to select USB boot device during the POST. ◎ Select USB bootable
- 14. STEP4 ◎ As system boot into DOS mode, go to the BIOS folder. ◎ Execute “FLASH.BAT”
- 15. STEP5 NOTE. Do not remove the power cable or power off the system during BIOS Flash
- 16. STEP6 ◎ Power on the system and press “DEL” key to enter BIOS SETUP Menu during
- 17. STEP7 ◎ You can check BIOS Version whether it’s the same as you want in the
- 18. STEP8 ◎ Go to “BIOS / Save & Exit / Load Optimal Defaults” , and then
- 19. STEP9 ◎ Go to “BIOS / Exit / Save Change and Reboot” ◎ Select “YES” to
- 21. Скачать презентацию
Prepare
USB Bootable Flash disk: The disk can
boot to DOS
Prepare
USB Bootable Flash disk: The disk can
boot to DOS
Step 1
Prepare one USB disk.
Find HPUSBFW as below link and download
Step 1
Prepare one USB disk.
Find HPUSBFW as below link and download
Step 2
You can see HPUSBFW.rar under desktop and please extract it.
Step 2
You can see HPUSBFW.rar under desktop and please extract it.
Step 3
Connect your USB disk with system.
Execute HPUSBFW.EXE and then you
Step 3
Connect your USB disk with system.
Execute HPUSBFW.EXE and then you
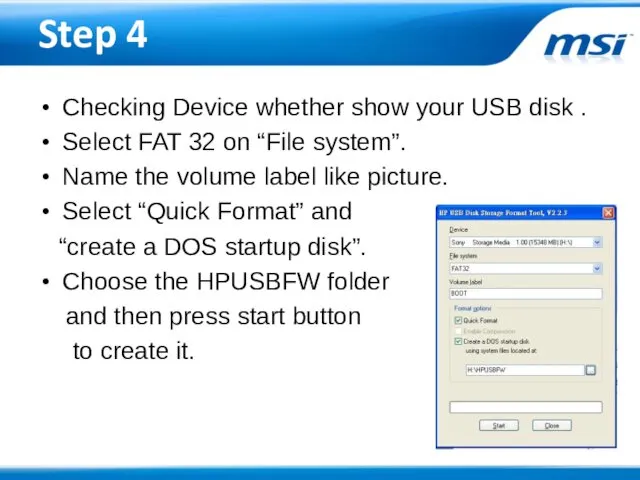
Step 4
Checking Device whether show your USB disk .
Select FAT 32
Step 4
Checking Device whether show your USB disk .
Select FAT 32
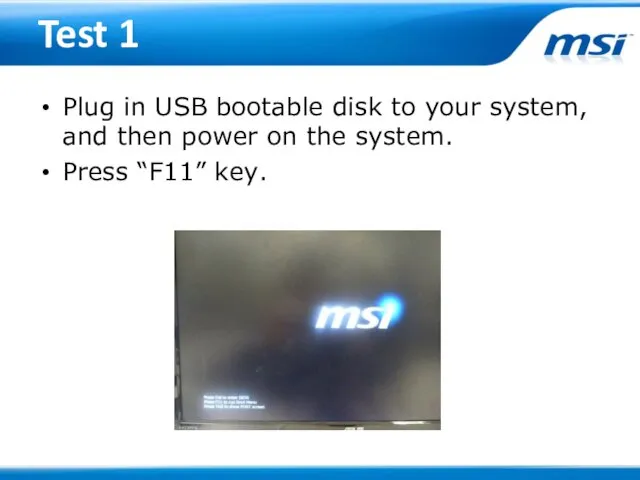
Test 1
Plug in USB bootable disk to your system, and then
Test 1
Plug in USB bootable disk to your system, and then
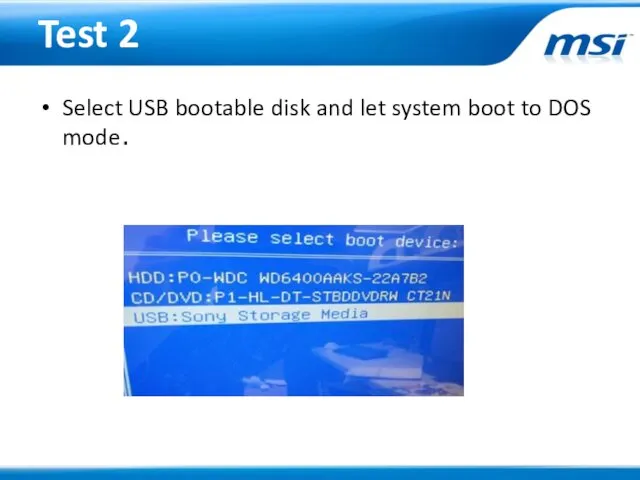
Test 2
Select USB bootable disk and let system boot to DOS
Test 2
Select USB bootable disk and let system boot to DOS
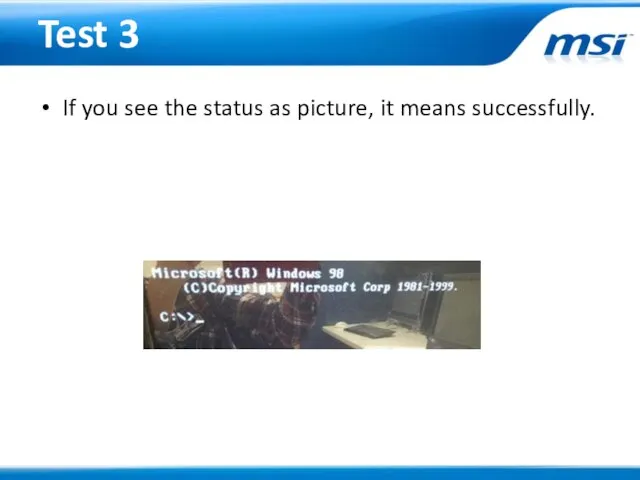
Test 3
If you see the status as picture, it means successfully.
Test 3
If you see the status as picture, it means successfully.
Prepare
The latest BIOS file for the model you want to
Prepare
The latest BIOS file for the model you want to
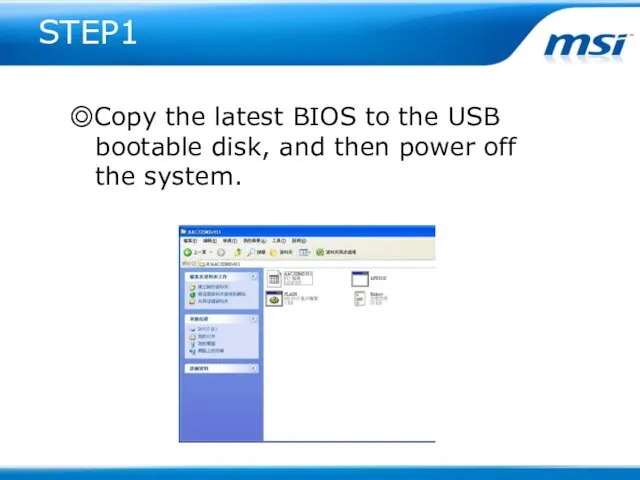
STEP1
◎Copy the latest BIOS to the USB
bootable disk,
STEP1
◎Copy the latest BIOS to the USB
bootable disk,
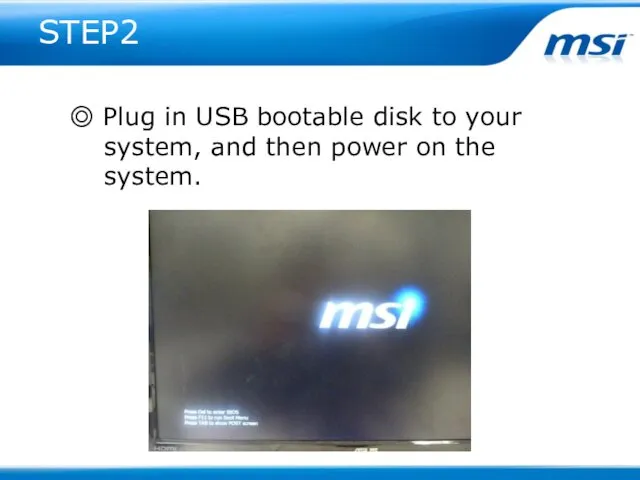
STEP2
◎ Plug in USB bootable disk to your
system,
STEP2
◎ Plug in USB bootable disk to your
system,
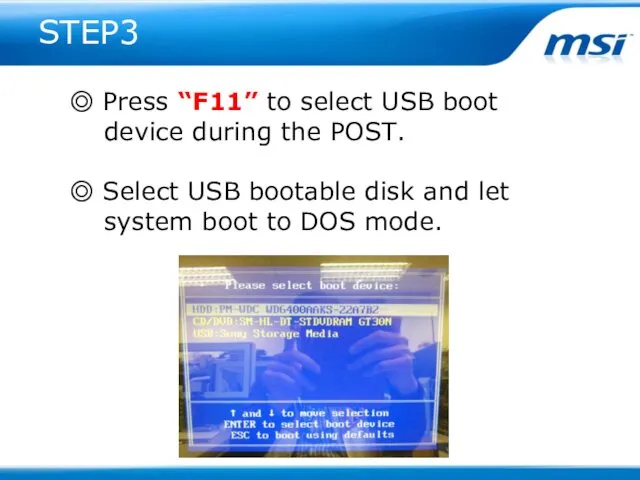
STEP3
◎ Press “F11” to select USB boot
device during
STEP3
◎ Press “F11” to select USB boot
device during
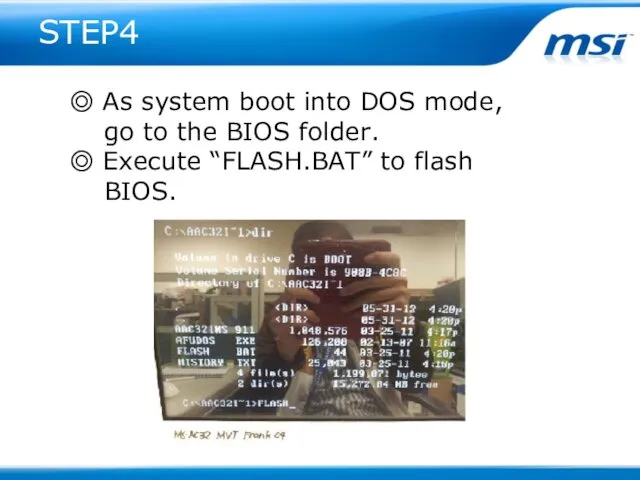
STEP4
◎ As system boot into DOS mode,
go to
STEP4
◎ As system boot into DOS mode,
go to
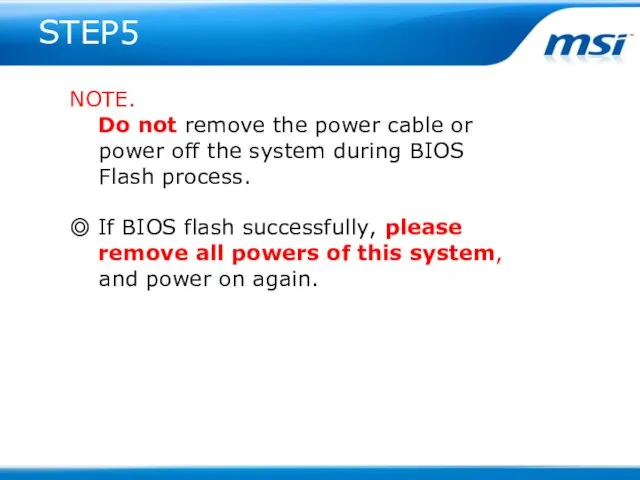
STEP5
NOTE.
Do not remove the power cable or
power off
STEP5
NOTE.
Do not remove the power cable or
power off
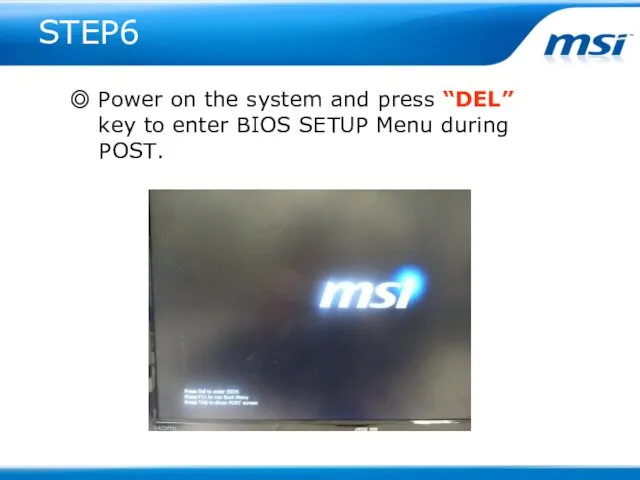
STEP6
◎ Power on the system and press “DEL”
key to
STEP6
◎ Power on the system and press “DEL”
key to
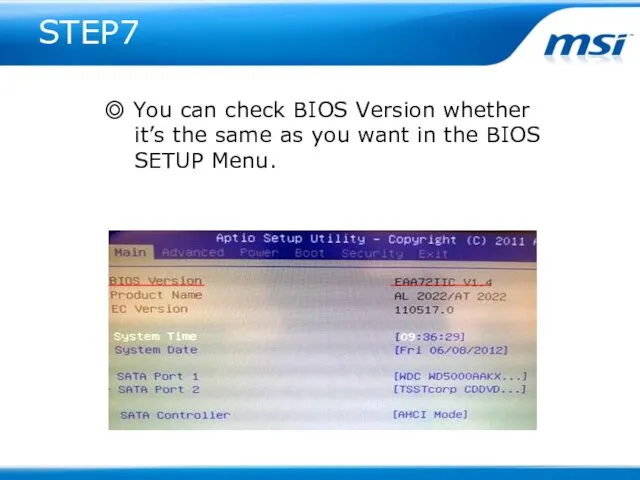
STEP7
◎ You can check BIOS Version whether
it’s the same
STEP7
◎ You can check BIOS Version whether
it’s the same
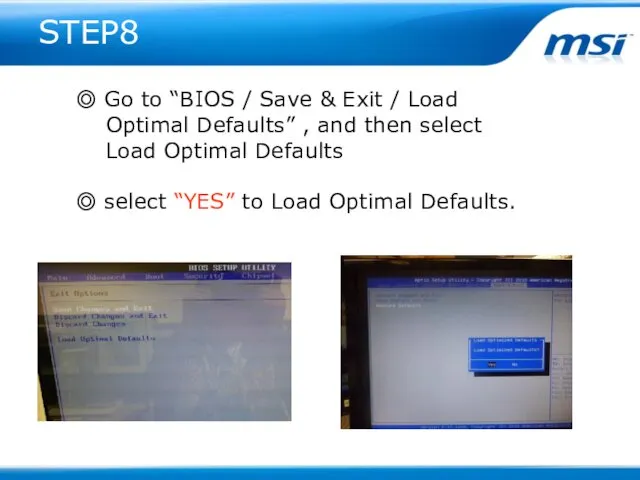
STEP8
◎ Go to “BIOS / Save & Exit / Load
STEP8
◎ Go to “BIOS / Save & Exit / Load
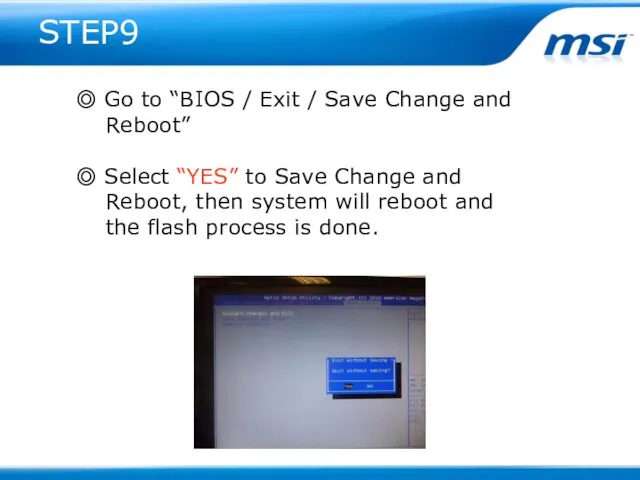
STEP9
◎ Go to “BIOS / Exit / Save Change and
STEP9
◎ Go to “BIOS / Exit / Save Change and
 Введение в объектно-ориентированное программирование Lazarus
 Госорган в соцсетях. Жизнь или имитация
 Определение и краткая история функционального программирования
 Безопасность ОС и сетей. Лекция 13
 Сайт компании Безант (для оптового отдела)
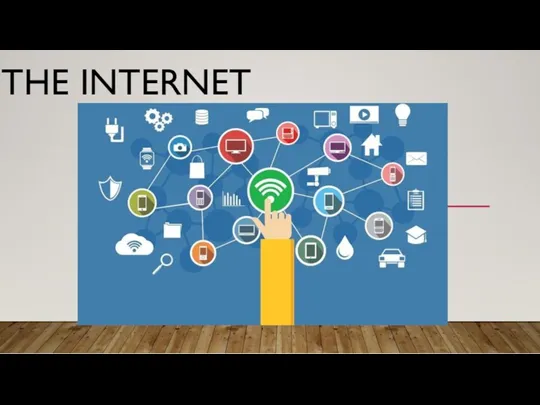 The Internet
 Интеллектуальная система безопасности на базе программно-аппаратного комплекса Orwell 2k
 Информационные модели
 Разработка Telegram-бота с помощью JavaScript
 Технология Умный дом
 Объекты администрирования в информационных системах
 ОСНОВНЫЕ КОМАНДЫ DOS
 Высказывания сложные и простые
 Microsoft Word жұмыс алаңы
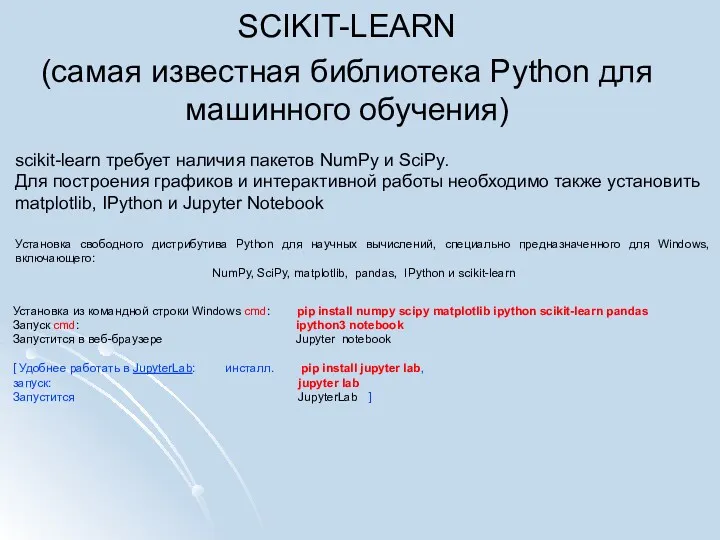 Scikit-learn
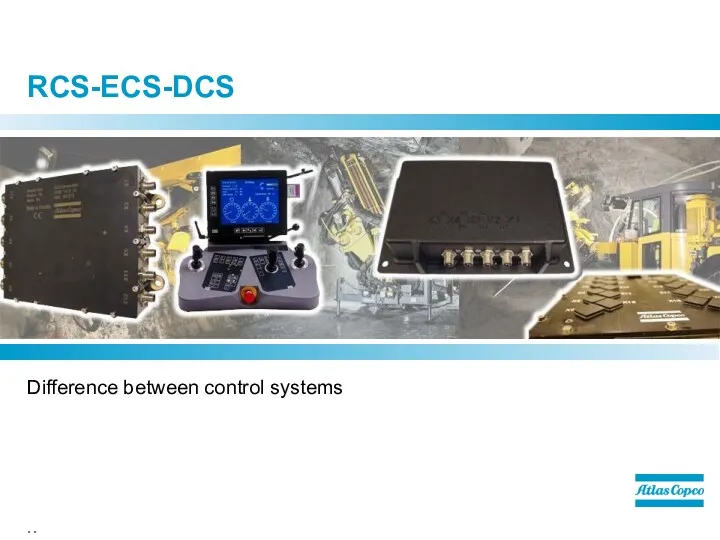 RCS-ECS-DCS. Difference between control systems
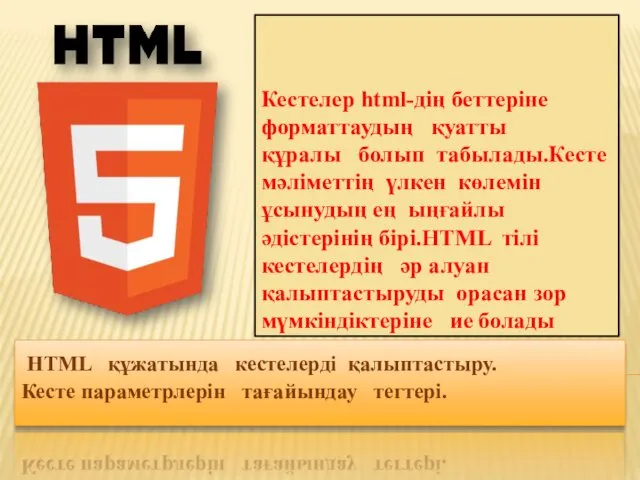 HTML құжатында кестелерді қалыптастыру. Кесте параметрлерін тағайындау тегтері
 Битва за килобиты
 Решение задач ЕГЭ типа А3
 Работа с файлами. Бинарные и текстовые файлы
 Что такое cad-cистема?
 Презентация по информатике и ИКТ на тему: Применение здоровьесберегающих технологий на уроках информатики и ИКТ
 Изучение методов создания прототипа модели с использованием установок аддитивного производства
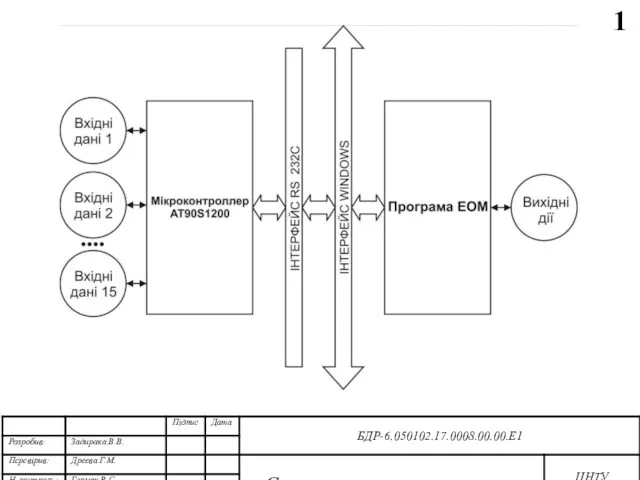 Структурна та функціональна схеми системи. Діаграма взаємодії процесів. Блок-схеми основної програми та роботи підпрограм
 Тема 4. Ветвления Python
 Представление текстов в памяти компьютера. Кодировочные таблицы
 Операционная система Windows 7 Aero
 Access (Форми). Лекція 5. Конструктор форм