- Mobile automation basic tools for working with mobile devices

Содержание
- 2. Basic tools Physical devices, emulators and cloud solutions Appium How to write auto-tests Basics of Mobile
- 3. Physical devices, emulators and cloud solutions
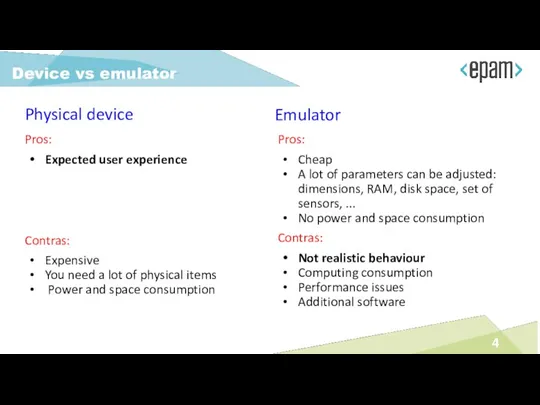
- 4. Device vs emulator Pros: Expected user experience Contras: Expensive You need a lot of physical items
- 5. Emulator: Prototyping (GUI, layouts, ...) Early stage of auto-tests development Device: Auto-tests finalising and debugging Auto-tests
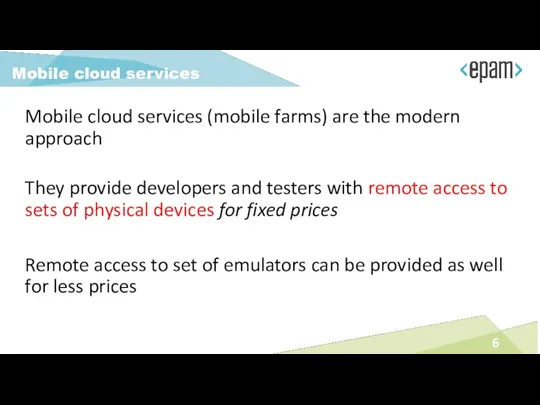
- 6. Mobile cloud services (mobile farms) are the modern approach They provide developers and testers with remote
- 7. IOS You have to be a registered Android developer You have to use Apple/Mac environment (Xcode)
- 8. General environment settings for Android platform
- 9. You need JDK to work with Android development tools. Please use 8th release (9th has some
- 10. Android Studio is the common toolset Android SDK (includes some CLI tools) Android Debug Bridge -
- 11. Currently, Android Studio is used for most tasks to develop, debug and test Android applications Android
- 12. JAVA_HOME = Program Files\Java\jdkXX.YY (actual JDK location) ANDROID_HOME = ~\AppData\Local\Android\sdk (actual path to Android SDK) PATH
- 13. Android emulators setting up
- 14. This is emulator of a certain Android device. NOTE: AVD emulates mobile hardware (instead of iOS
- 15. Consist of AVD Hardware profile: pre-sets of characteristics of a (real) devices. Some profiles include Play
- 16. To open the AVD Manager in Android Studio, do one of the following: Select Tools >
- 17. Start to create an AVD Click Create Virtual Device at the bottom of the AVD Manager
- 18. Select hardware profile Select a hardware profile Click Next The System Image page appears.
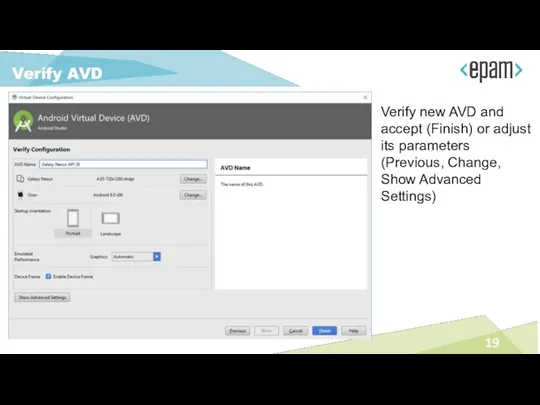
- 19. Verify AVD Verify new AVD and accept (Finish) or adjust its parameters (Previous, Change, Show Advanced
- 20. Each existing AVD parameter or feature can be changed and saved for future using New changes
- 21. Click “Show Advanced Settings“ button to get access to more editable settings. Scroll down to see
- 22. Run, stop and wipe an AVD Double-click the required AVD or click Launch to run an
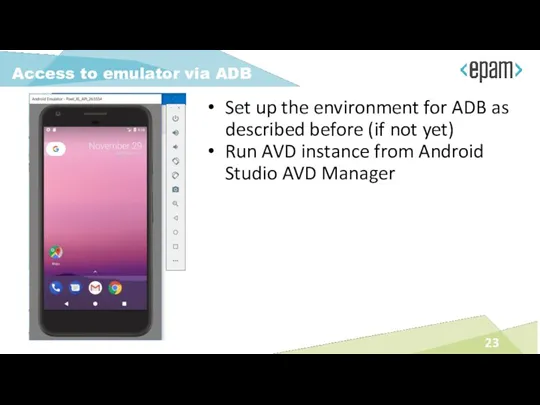
- 23. Set up the environment for ADB as described before (if not yet) Run AVD instance from
- 24. Android physical devices setting up
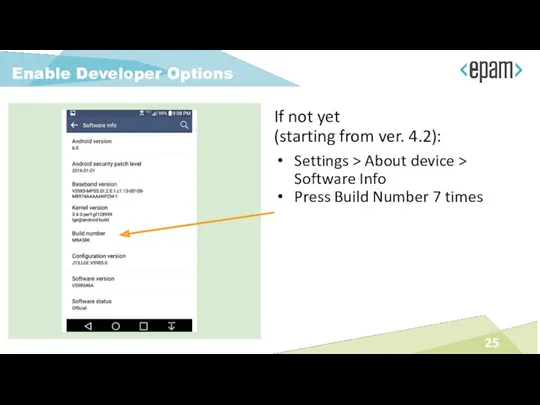
- 25. If not yet (starting from ver. 4.2): Settings > About device > Software Info Press Build
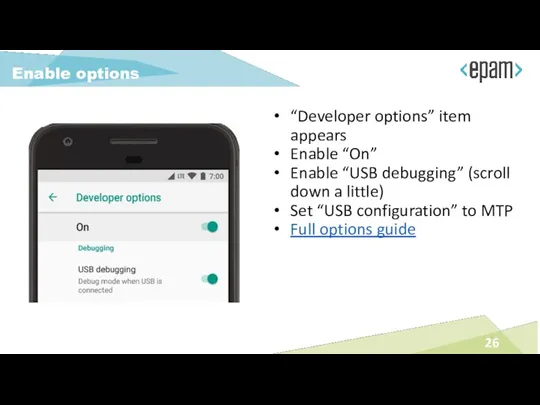
- 26. “Developer options” item appears Enable “On” Enable “USB debugging” (scroll down a little) Set “USB configuration”
- 27. Check connection
- 28. Use ADB to get access to Android device under testing via USB or WiFi (TCP/IP) Install
- 29. Connect Android device to computer by USB Open command-line terminal Use adb devices command to verify
- 30. Device status: Device - device connected Offline - device is not connected Device identification by ADB
- 31. adb kill-server: for re-initialization of adb if something goes wrong adb start-server: the adb server start
- 32. Type “adb devices” in console AVD listed by ADB
- 33. Run another one AVD instance from Android Studio AVD Manager Get another one AVD
- 34. Type “adb devices” in console once again 2 AVDs listed by ADB
- 35. Connect physical device to USB (do not stop running AVDs) Type “adb devices” in console once
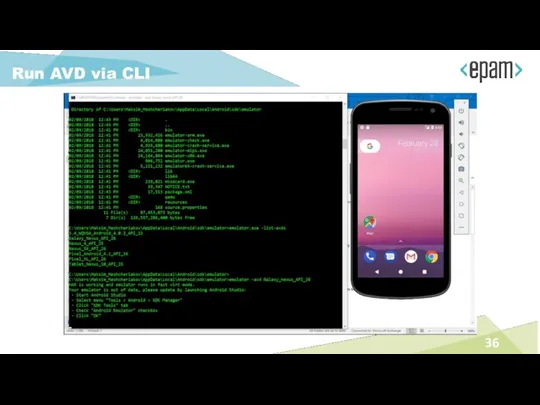
- 36. Run AVD via CLI
- 37. You can use CLI AVD tools as well: tools/bin/avdmanager.bat to create and maintain AVD instances ANDROID_HOME/emulator
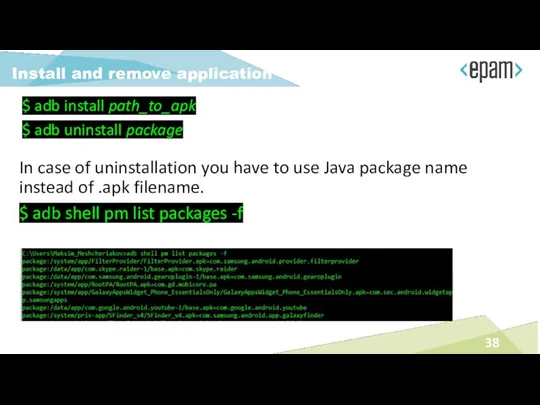
- 38. $ adb install path_to_apk $ adb uninstall package Install and remove application In case of uninstallation
- 39. Push a file to device $ adb push path2local_file path2remote_file Pull a file from device $
- 40. Logcat is a command-line tool that dumps a log of system messages, including stack traces when
- 41. Default output is ‘stdout’, but you can write output down to required file with -f option
- 42. The root of information about Android-related command line tools: https://developer.android.com/studio/command-line/index.html Command line tools info
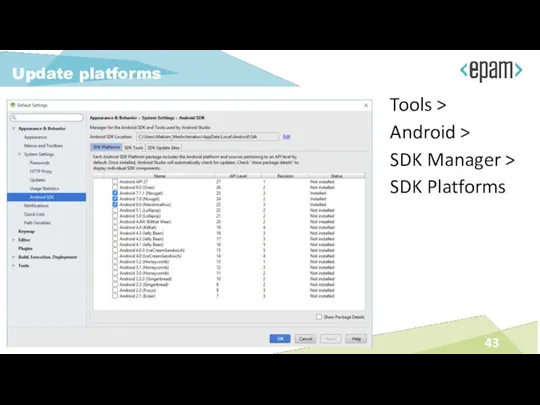
- 43. Tools > Android > SDK Manager > SDK Platforms Update platforms
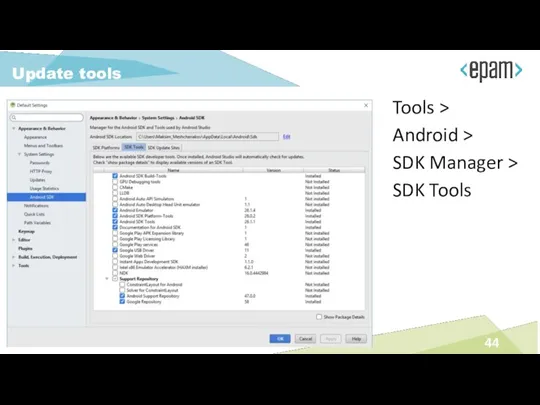
- 44. Tools > Android > SDK Manager > SDK Tools Update tools
- 45. Appium
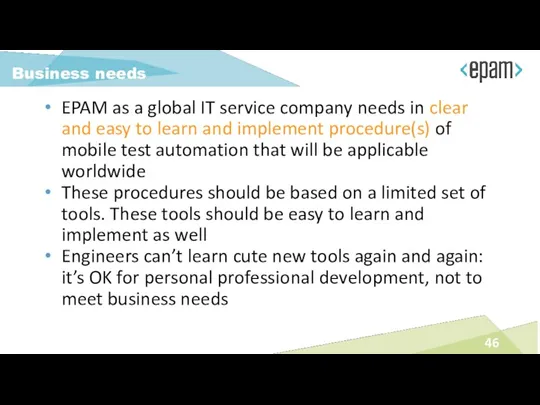
- 46. EPAM as a global IT service company needs in clear and easy to learn and implement
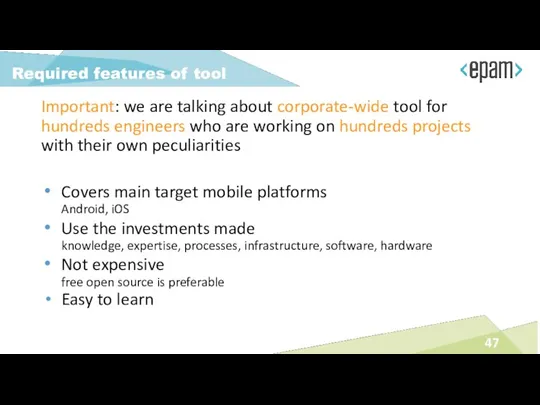
- 47. Important: we are talking about corporate-wide tool for hundreds engineers who are working on hundreds projects
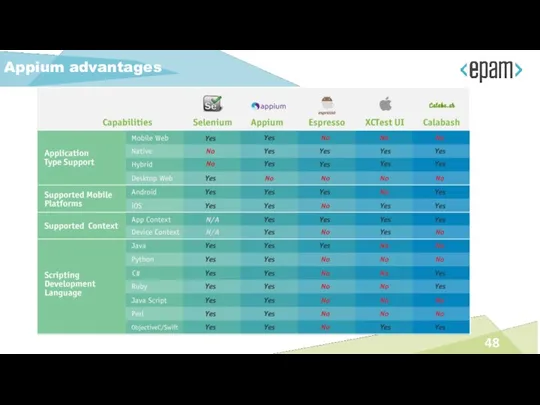
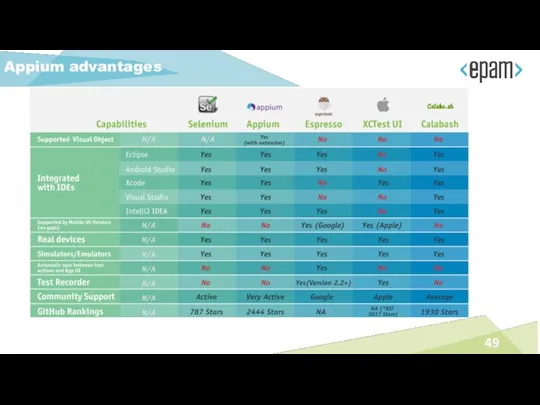
- 48. Appium advantages
- 49. Appium advantages
- 50. Layers of test automation harness Driver Test runner Entities DSL Test scripts (implementation of test cases)
- 51. The essence of Appium Appium server Appium client: libraries (in Java, Ruby, Python, PHP, JavaScript, and
- 52. Prerequisites About installation of JDK-8, Android SDK, mobile devices and emulators please refer to module “General
- 53. The most efficient, cross-platform way to use Appium as a node module. Download Node.js package suitable
- 54. Appium Desktop installation Appium Server and Inspector in desktop GUIs for Mac, Windows, and Linux Download
- 55. Start an emulator or attach a device Run Appium DT by clicking on desktop Use default
- 56. Click to start an Inspector session Start Appium Inspector
- 57. Default capabilities screen
- 58. Use “Save As” button to store capability set for further usage Saved sets will be available
- 59. Appium Inspector tool more convenient than Device Monitor one Select desired element
- 60. Recorder tool: not for production code help explore Appium API demonstration It is a learning tool,
- 61. Basic tools Physical devices, emulators and cloud solutions Appium How to write auto-tests Basics of Mobile
- 63. Скачать презентацию
Basic tools
Physical devices, emulators and cloud solutions
Appium
How to write auto-tests
Basics of
Basic tools
Physical devices, emulators and cloud solutions
Appium
How to write auto-tests
Basics of
Physical devices, emulators and
cloud solutions
Physical devices, emulators and
cloud solutions
Device vs emulator
Pros:
Expected user experience
Contras:
Expensive
You need a lot of physical items
Power
Device vs emulator
Pros:
Expected user experience
Contras:
Expensive
You need a lot of physical items
Power

Emulator:
Prototyping (GUI, layouts, ...)
Early stage of auto-tests development
Device:
Auto-tests finalising and debugging
Auto-tests
Emulator:
Prototyping (GUI, layouts, ...)
Early stage of auto-tests development
Device:
Auto-tests finalising and debugging
Auto-tests
Mobile cloud services (mobile farms) are the modern approach
They provide developers
Mobile cloud services (mobile farms) are the modern approach
They provide developers
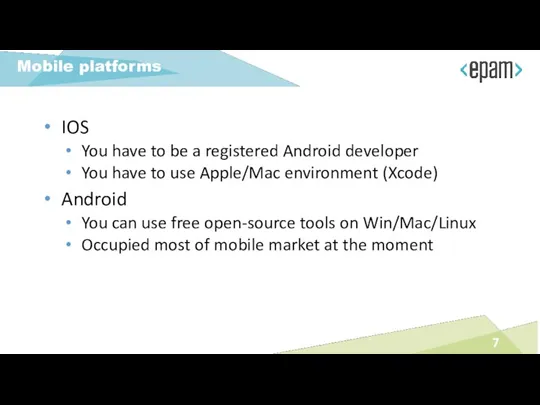
IOS
You have to be a registered Android developer
You have to use
IOS
You have to be a registered Android developer
You have to use
General environment settings
for Android platform
General environment settings
for Android platform
You need JDK to work with Android development tools. Please use
You need JDK to work with Android development tools. Please use
Android Studio is the common toolset
Android SDK (includes some CLI tools)
Android
Android Studio is the common toolset
Android SDK (includes some CLI tools)
Android
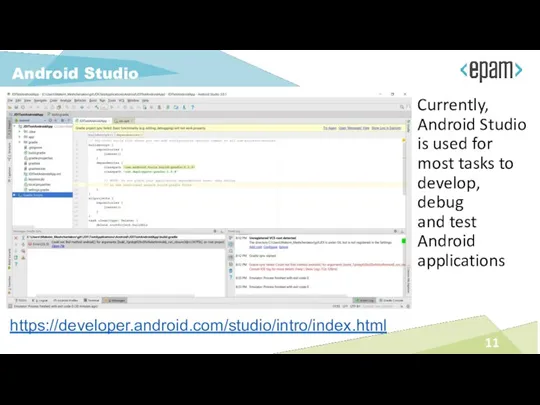
Currently, Android Studio is used for most tasks to develop, debug
Currently, Android Studio is used for most tasks to develop, debug
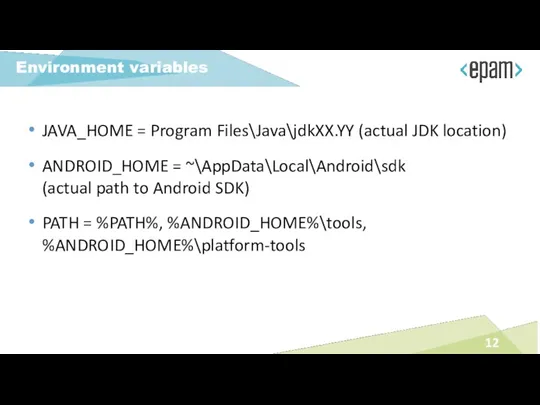
JAVA_HOME = Program Files\Java\jdkXX.YY (actual JDK location)
ANDROID_HOME = ~\AppData\Local\Android\sdk
(actual path to Android
JAVA_HOME = Program Files\Java\jdkXX.YY (actual JDK location)
ANDROID_HOME = ~\AppData\Local\Android\sdk
(actual path to Android
Android emulators setting up
Android emulators setting up
This is emulator of a certain Android device.
NOTE: AVD emulates mobile
This is emulator of a certain Android device. NOTE: AVD emulates mobile
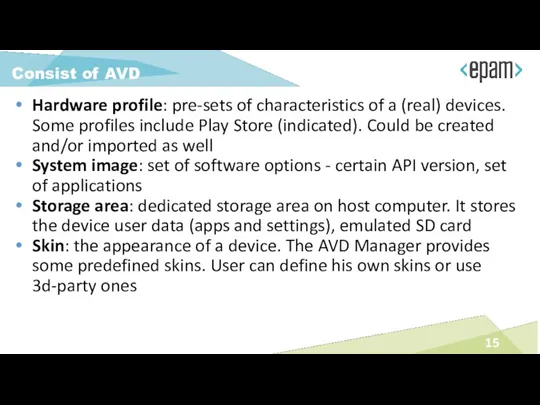
Consist of AVD
Hardware profile: pre-sets of characteristics of a (real) devices.
Consist of AVD
Hardware profile: pre-sets of characteristics of a (real) devices.
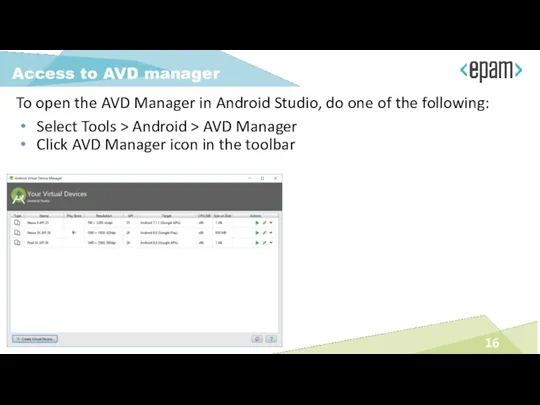
To open the AVD Manager in Android Studio, do one of
To open the AVD Manager in Android Studio, do one of
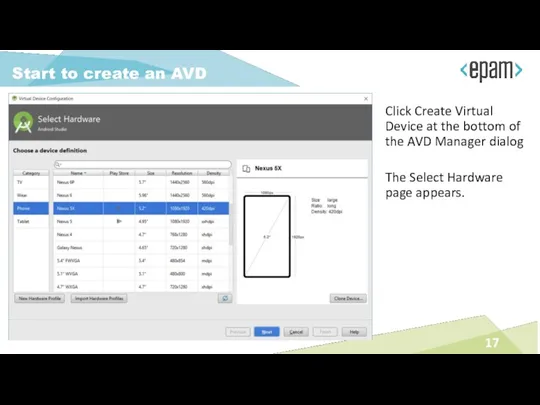
Start to create an AVD
Click Create Virtual Device at the bottom
Start to create an AVD
Click Create Virtual Device at the bottom
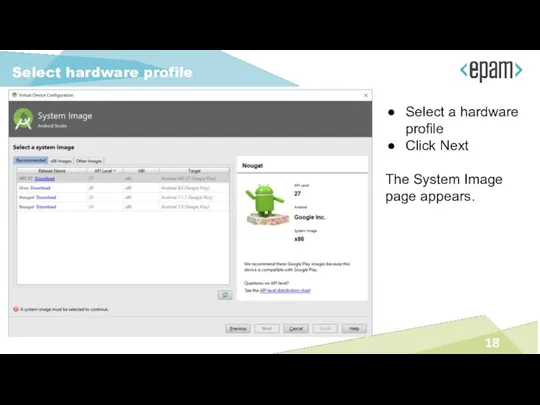
Select hardware profile
Select a hardware profile
Click Next
The System Image page appears.
Select hardware profile
Select a hardware profile
Click Next
The System Image page appears.
Verify AVD
Verify new AVD and accept (Finish) or adjust its parameters
Verify AVD
Verify new AVD and accept (Finish) or adjust its parameters
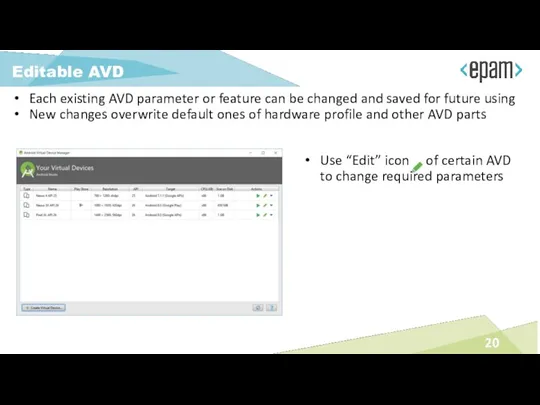
Each existing AVD parameter or feature can be changed and saved
Each existing AVD parameter or feature can be changed and saved
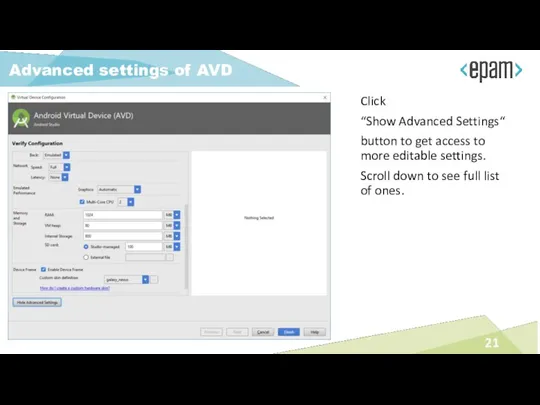
Click
“Show Advanced Settings“
button to get access to more editable settings.
Scroll
Click
“Show Advanced Settings“
button to get access to more editable settings.
Scroll
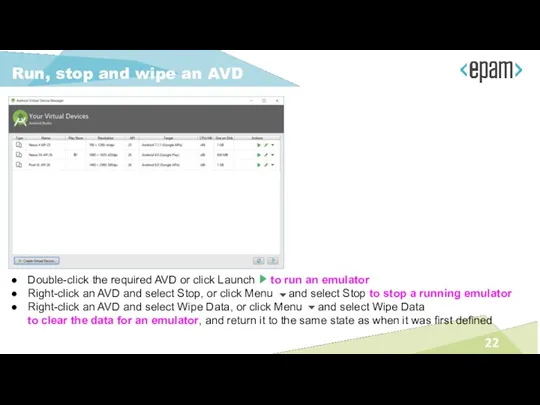
Run, stop and wipe an AVD
Double-click the required AVD or click
Run, stop and wipe an AVD
Double-click the required AVD or click
Set up the environment for ADB as described before (if not
Set up the environment for ADB as described before (if not
Android
physical devices
setting up
Android
physical devices
setting up
If not yet
(starting from ver. 4.2):
Settings > About device >
If not yet
(starting from ver. 4.2):
Settings > About device >
“Developer options” item appears
Enable “On”
Enable “USB debugging” (scroll down a little)
Set
“Developer options” item appears
Enable “On”
Enable “USB debugging” (scroll down a little)
Set

Check connection
Check connection
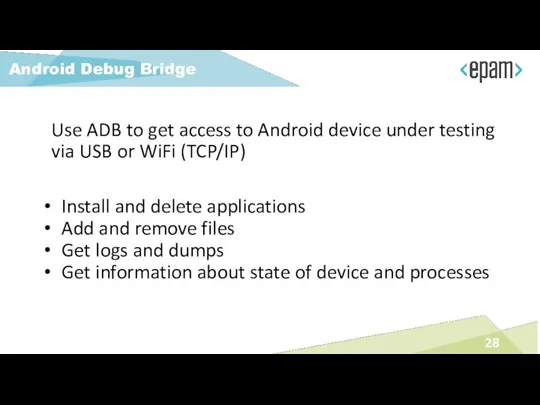
Use ADB to get access to Android device under testing via
Use ADB to get access to Android device under testing via

Connect Android device to computer by USB
Open command-line terminal
Use adb
Connect Android device to computer by USB
Open command-line terminal
Use adb
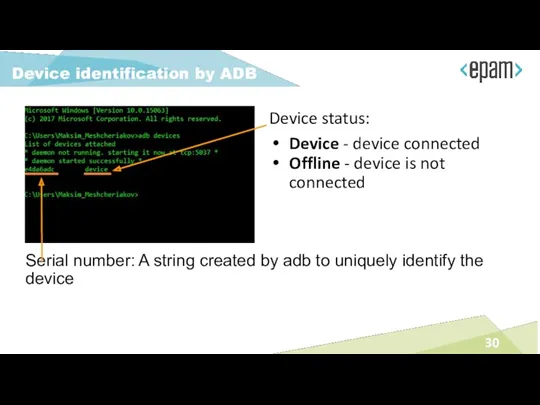
Device status:
Device - device connected
Offline - device is not connected
Device identification
Device status:
Device - device connected
Offline - device is not connected
Device identification
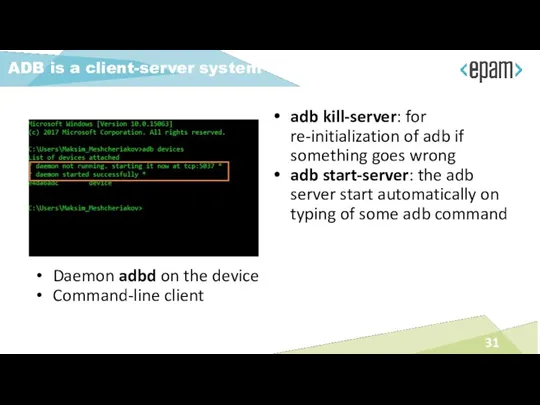
adb kill-server: for re-initialization of adb if something goes wrong
adb start-server:
adb kill-server: for re-initialization of adb if something goes wrong
adb start-server:
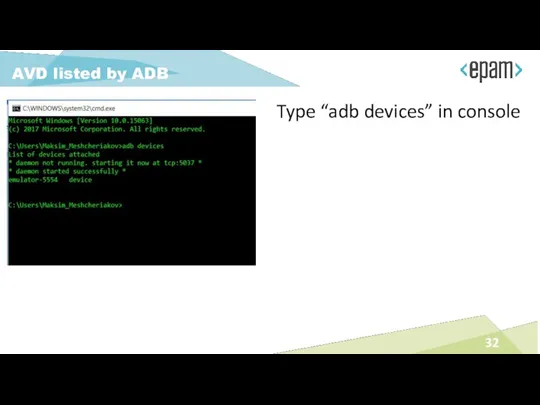
Type “adb devices” in console
AVD listed by ADB
Type “adb devices” in console
AVD listed by ADB
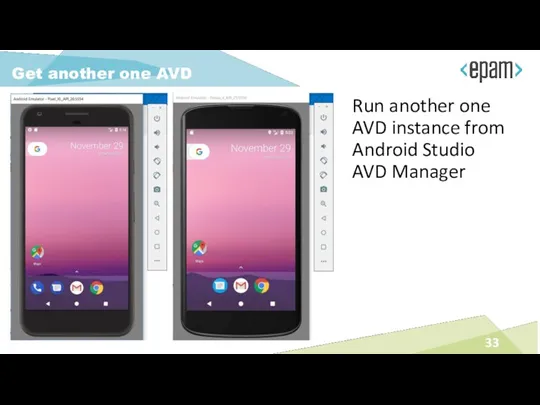
Run another one AVD instance from Android Studio AVD Manager
Get another
Run another one AVD instance from Android Studio AVD Manager
Get another
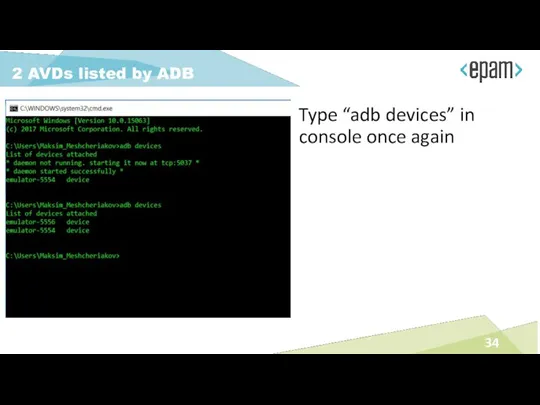
Type “adb devices” in console once again
2 AVDs listed by ADB
Type “adb devices” in console once again
2 AVDs listed by ADB
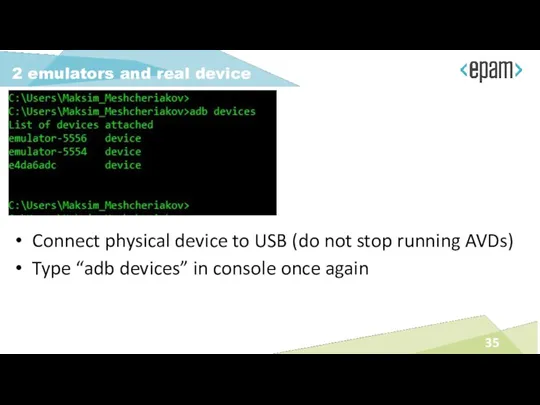
Connect physical device to USB (do not stop running AVDs)
Type “adb
Connect physical device to USB (do not stop running AVDs)
Type “adb
Run AVD via CLI
Run AVD via CLI
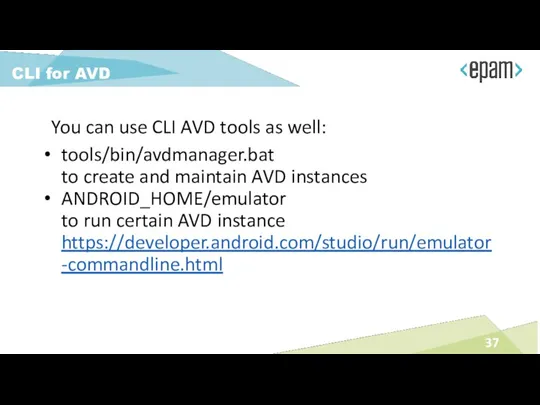
You can use CLI AVD tools as well:
tools/bin/avdmanager.bat
to create and
You can use CLI AVD tools as well:
tools/bin/avdmanager.bat
to create and
$ adb install path_to_apk
$ adb uninstall package
Install and remove application
In
$ adb install path_to_apk
$ adb uninstall package
Install and remove application
In
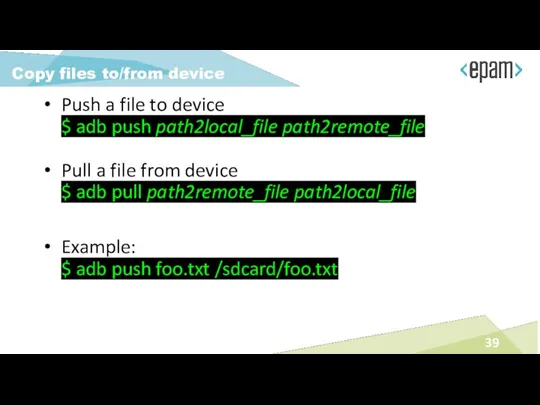
Push a file to device
$ adb push path2local_file path2remote_file
Pull a file
Push a file to device
$ adb push path2local_file path2remote_file
Pull a file
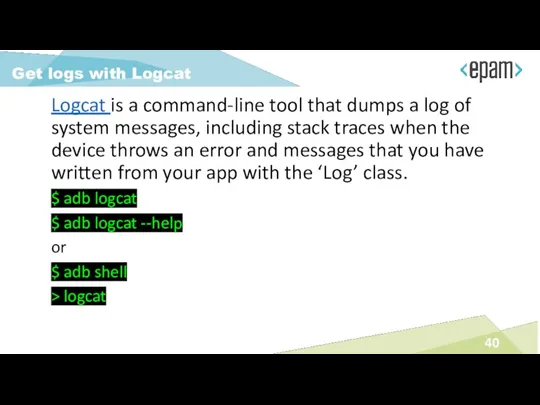
Logcat is a command-line tool that dumps a log of system
Logcat is a command-line tool that dumps a log of system
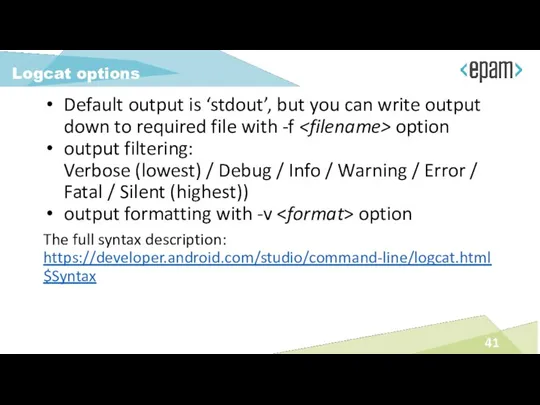
Default output is ‘stdout’, but you can write output down to
Default output is ‘stdout’, but you can write output down to
The root of information about Android-related command line tools:
https://developer.android.com/studio/command-line/index.html
Command line tools
The root of information about Android-related command line tools:
https://developer.android.com/studio/command-line/index.html
Command line tools
Tools >
Android >
SDK Manager >
SDK Platforms
Update platforms
Tools >
Android >
SDK Manager >
SDK Platforms
Update platforms
Tools >
Android >
SDK Manager >
SDK Tools
Update tools
Tools >
Android >
SDK Manager >
SDK Tools
Update tools
Appium
Appium
EPAM as a global IT service company needs in clear and
EPAM as a global IT service company needs in clear and
Important: we are talking about corporate-wide tool for hundreds engineers who
Important: we are talking about corporate-wide tool for hundreds engineers who
Appium advantages
Appium advantages
Appium advantages
Appium advantages
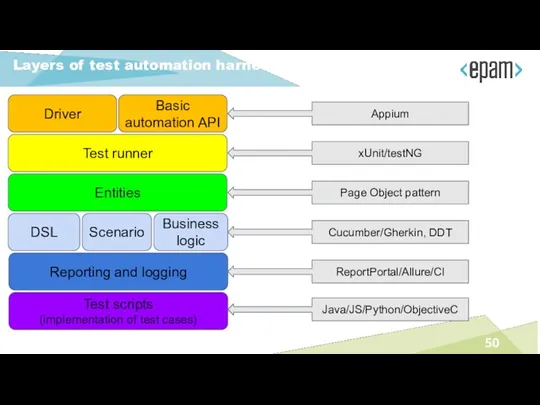
Layers of test automation harness
Driver
Test runner
Entities
DSL
Test scripts
(implementation of test cases)
Reporting and
Layers of test automation harness
Driver
Test runner
Entities
DSL
Test scripts
(implementation of test cases)
Reporting and
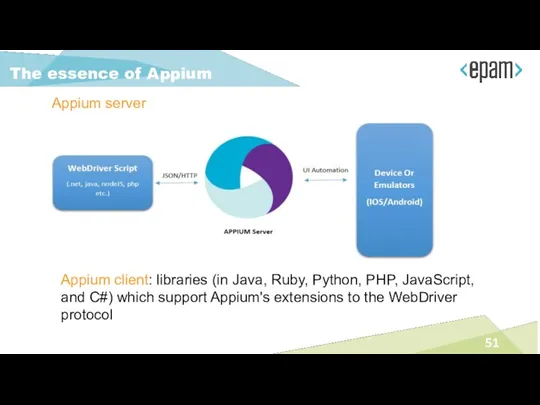
The essence of Appium
Appium server
Appium client: libraries (in Java, Ruby, Python,
The essence of Appium
Appium server
Appium client: libraries (in Java, Ruby, Python,
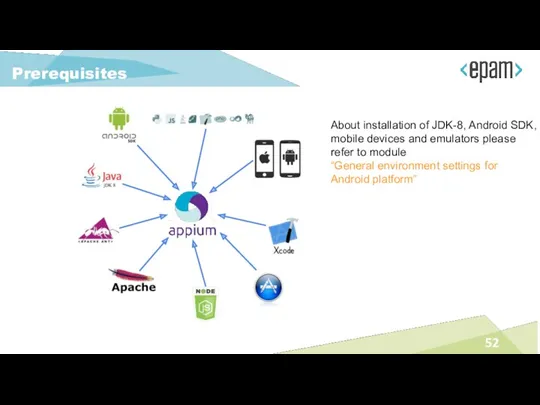
Prerequisites
About installation of JDK-8, Android SDK, mobile devices and emulators please
Prerequisites
About installation of JDK-8, Android SDK, mobile devices and emulators please
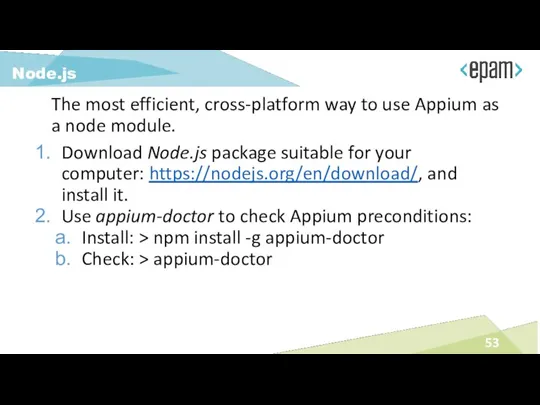
The most efficient, cross-platform way to use Appium as a node
The most efficient, cross-platform way to use Appium as a node

Appium Desktop installation
Appium Server and Inspector in desktop GUIs for Mac,
Appium Desktop installation
Appium Server and Inspector in desktop GUIs for Mac,
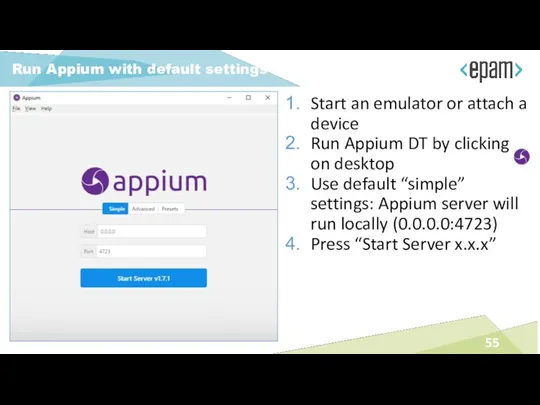
Start an emulator or attach a device
Run Appium DT by clicking
Start an emulator or attach a device
Run Appium DT by clicking
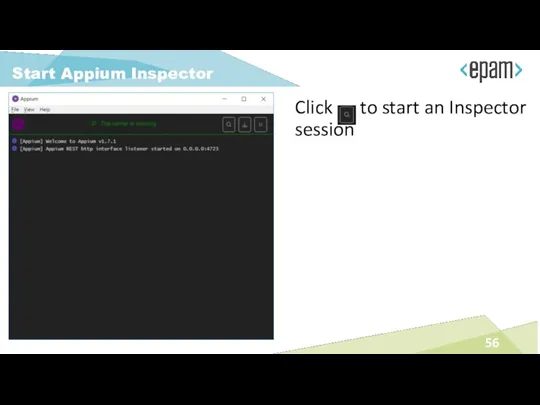
Click to start an Inspector session
Start Appium Inspector
Click to start an Inspector session
Start Appium Inspector
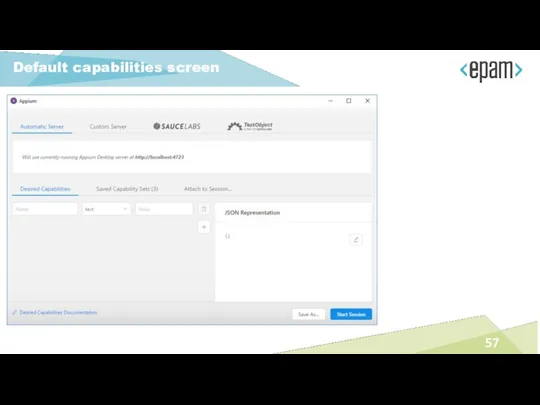
Default capabilities screen
Default capabilities screen

Use “Save As” button to store capability set for further usage
Saved
Use “Save As” button to store capability set for further usage
Saved
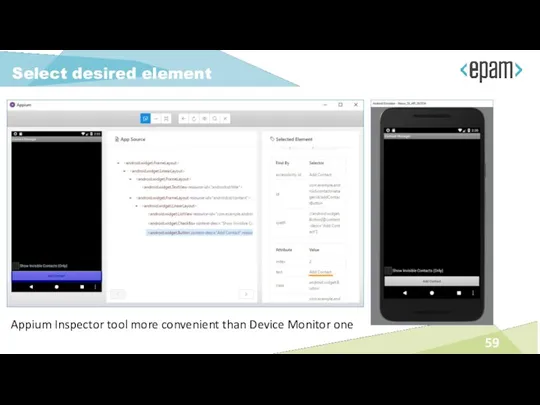
Appium Inspector tool more convenient than Device Monitor one
Select desired element
Appium Inspector tool more convenient than Device Monitor one
Select desired element
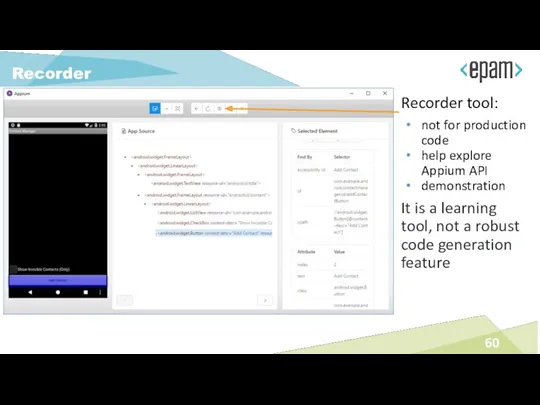
Recorder tool:
not for production code
help explore Appium API
demonstration
It is a learning
Recorder tool:
not for production code
help explore Appium API
demonstration
It is a learning
Basic tools
Physical devices, emulators and cloud solutions
Appium
How to write auto-tests
Basics of
Basic tools
Physical devices, emulators and cloud solutions
Appium
How to write auto-tests
Basics of
 Оператор цикла с предусловием
 Другие нейросети. Урок 4.3
 Методы сортировок массивов
 Динамикалық SQL
 Программирование на Паскале - первый уровень. Простые (линейные) программы
 Основы алгебры логики. Логические основы компьютера
 Числовые данные 2 класс
 Структура и функции MS DOS
 Организация труда в конвергентной редакции мультимедийного СМИ
 Массивы
 Quicksort
 Основные понятия и принципы математического моделирования
 География сферы услуг (инфографика)
 Разработка клиентских веб-приложений
 Кодирование графической информации
 Этапы проектирования базы данных
 Информационное общество
 MobileTrans. Поддержка 3000 + телефонов и различных сетей
 Общие сведения о языке программирования Паскаль
 Умовні і циклічні конструкції JavaScript
 Зачем нужна информатика
 Параллельные и последовательные интерфейсы. ААС 05
 MS Excel в курсовой работе
 Электронное пособие для оказания профориентационной поддержки школьникам
 Основы логики.
 Основы алгоритмизации и программирования
 Website redesign
 ВКР: Совершенствование системы управления персоналом сервисного предприятия