- WebAPI

Содержание
- 2. In this tutorial, you will use ASP.NET Web API to create a web API that returns
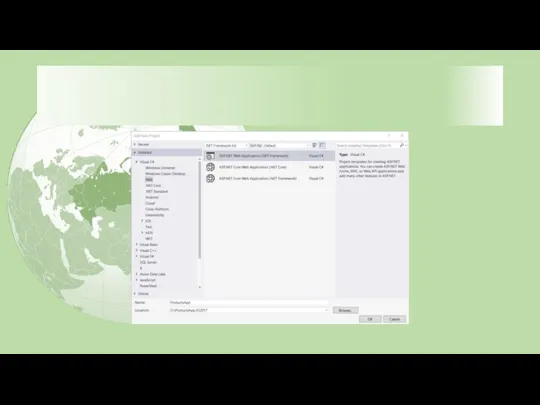
- 3. Start Visual Studio and select New Project from the Start page. Or, from the File menu,
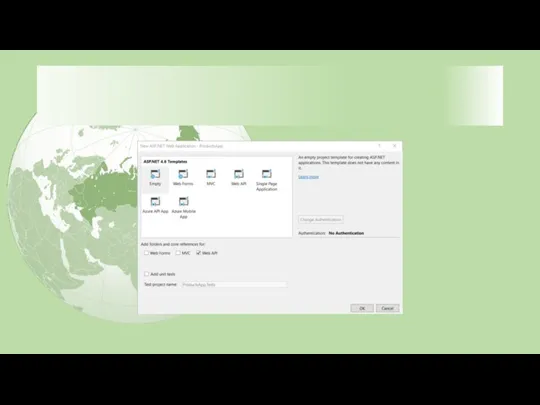
- 5. In the New ASP.NET Project dialog, select the Empty template. Under "Add folders and core references
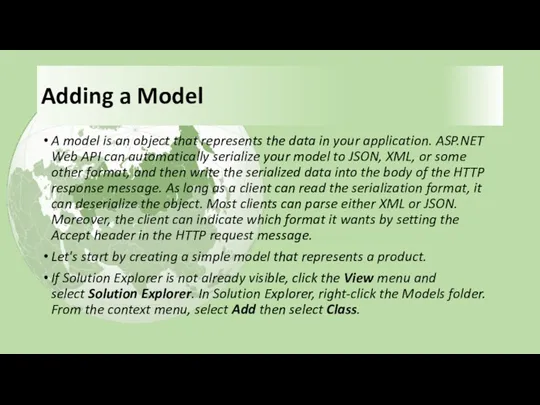
- 7. Adding a Model A model is an object that represents the data in your application. ASP.NET
- 9. Name the class "Product". Add the following properties to the Product class. namespace ProductsApp.Models { public
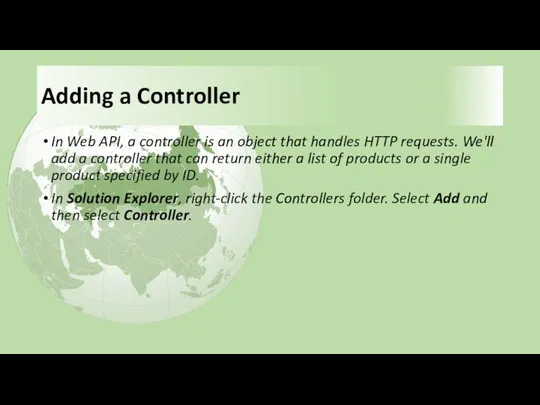
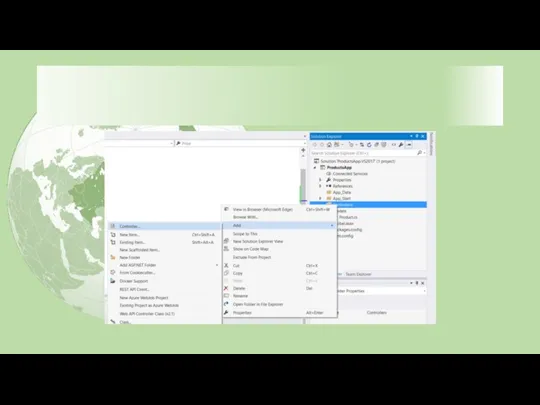
- 10. Adding a Controller In Web API, a controller is an object that handles HTTP requests. We'll
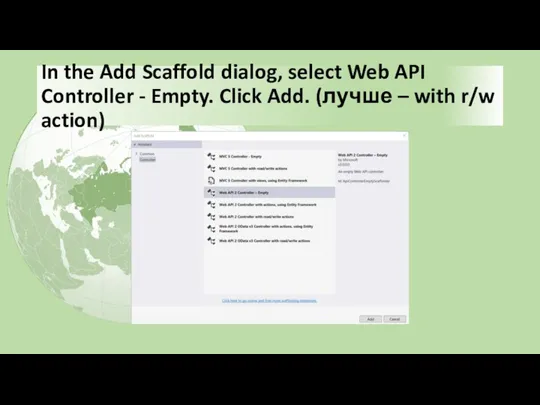
- 12. In the Add Scaffold dialog, select Web API Controller - Empty. Click Add. (лучше – with
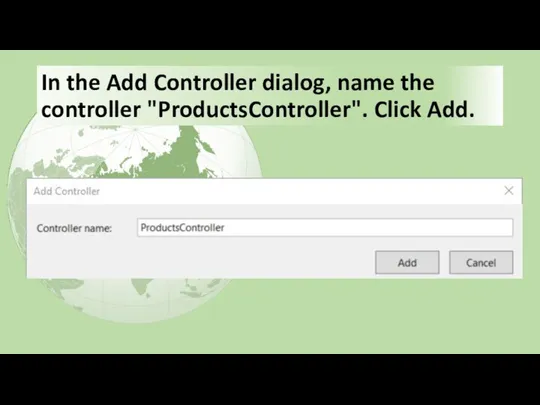
- 13. In the Add Controller dialog, name the controller "ProductsController". Click Add.
- 14. The scaffolding creates a file named ProductsController.cs in the Controllers folder.
- 15. If this file is not open already, double-click the file to open it. Replace the code
- 16. Вы делаете: 1 – тестовый массив данных 2 – метод, который ищет элемент массива по его
- 17. That's it! You have a working web API. Each method on the controller corresponds to one
- 18. Calling the Web API with Javascript and jQuery In this section, we'll add an HTML page
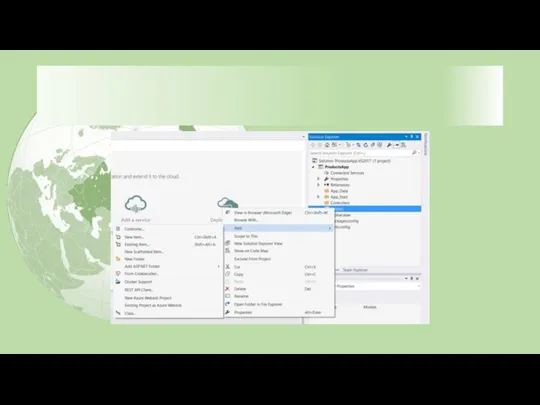
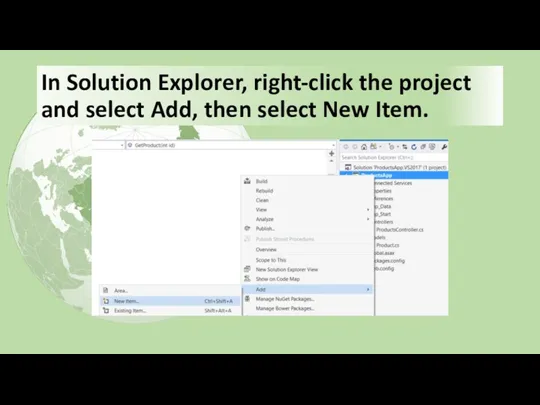
- 19. In Solution Explorer, right-click the project and select Add, then select New Item.
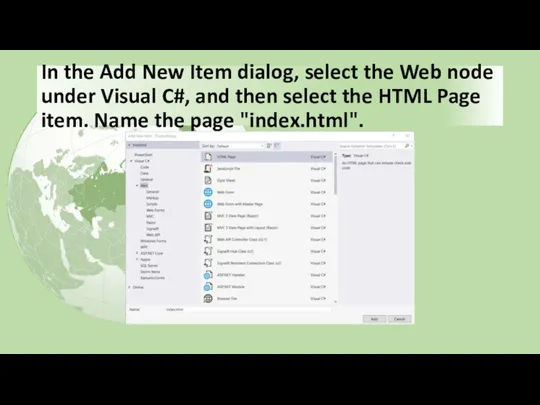
- 20. In the Add New Item dialog, select the Web node under Visual C#, and then select
- 21. Полный код по ссылке https://github.com/aspnet/Docs/blob/master/aspnet/web-api/overview/getting-started-with-aspnet-web-api/tutorial-your-first-web-api/samples/sample3.html
- 22. Получение всего списка данных $(document).ready(function () { // Send an AJAX request $.getJSON(apiUrl) .done(function (data) {
- 23. Поиск по Id function find() { var id = $('#prodId').val(); $.getJSON(apiUrl + '/' + id) .done(function
- 24. Основное Страница обращается к сервису по адресу … Функция поиска запрашивает по этому адресу данные getJSON
- 25. Running the Application Press F5 to start debugging the application.
- 27. Скачать презентацию
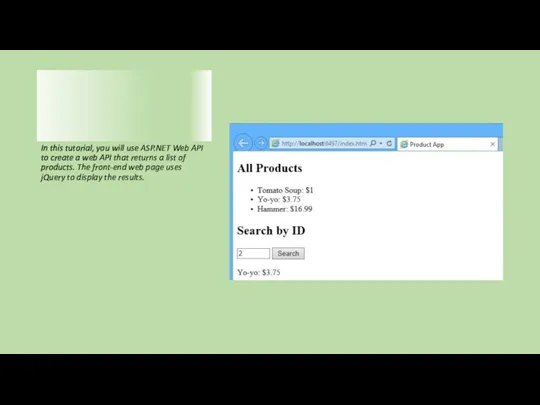
In this tutorial, you will use ASP.NET Web API to create
In this tutorial, you will use ASP.NET Web API to create
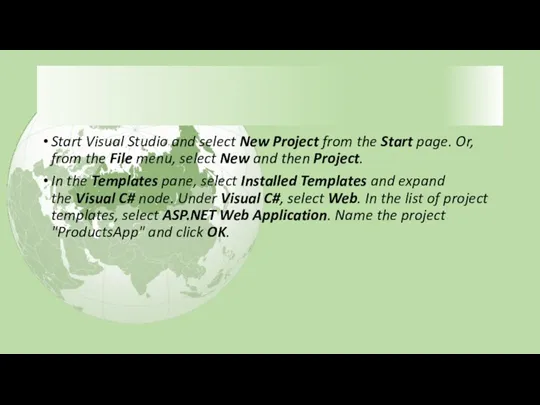
Start Visual Studio and select New Project from the Start page. Or, from the File menu, select New and
Start Visual Studio and select New Project from the Start page. Or, from the File menu, select New and
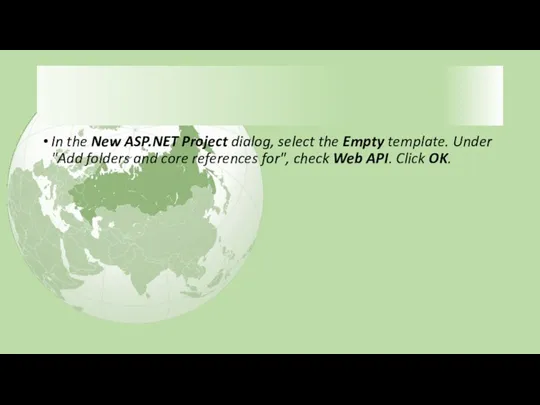
In the New ASP.NET Project dialog, select the Empty template. Under "Add folders and core
In the New ASP.NET Project dialog, select the Empty template. Under "Add folders and core
Adding a Model
A model is an object that represents the data in your
Adding a Model
A model is an object that represents the data in your
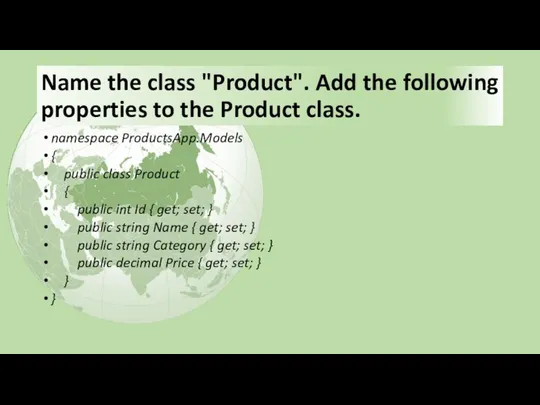
Name the class "Product". Add the following properties to the Product
Name the class "Product". Add the following properties to the Product
Adding a Controller
In Web API, a controller is an object that handles HTTP
Adding a Controller
In Web API, a controller is an object that handles HTTP
In the Add Scaffold dialog, select Web API Controller - Empty. Click Add. (лучше –
In the Add Scaffold dialog, select Web API Controller - Empty. Click Add. (лучше –
In the Add Controller dialog, name the controller "ProductsController". Click Add.
In the Add Controller dialog, name the controller "ProductsController". Click Add.
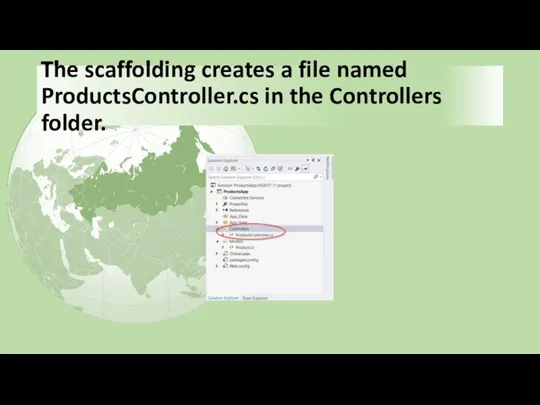
The scaffolding creates a file named ProductsController.cs in the Controllers folder.
The scaffolding creates a file named ProductsController.cs in the Controllers folder.
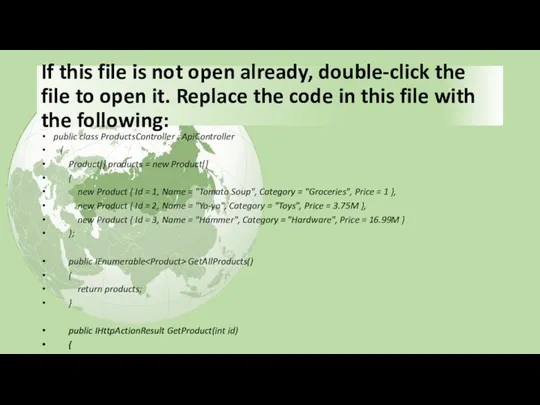
If this file is not open already, double-click the file to
If this file is not open already, double-click the file to
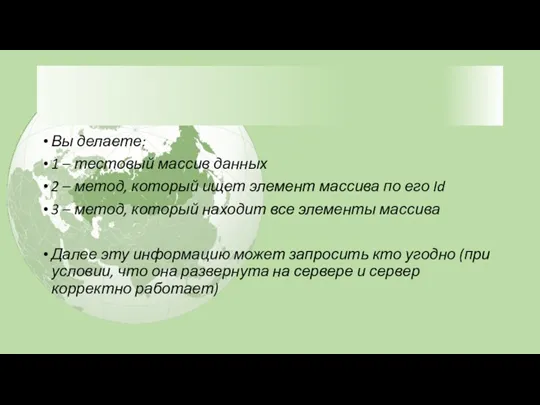
Вы делаете:
1 – тестовый массив данных
2 – метод, который ищет элемент
Вы делаете:
1 – тестовый массив данных
2 – метод, который ищет элемент
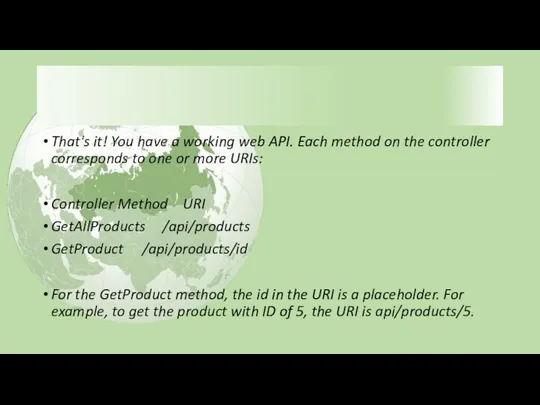
That's it! You have a working web API. Each method on
That's it! You have a working web API. Each method on
Calling the Web API with Javascript and jQuery
In this section, we'll
Calling the Web API with Javascript and jQuery
In this section, we'll
In Solution Explorer, right-click the project and select Add, then select
In Solution Explorer, right-click the project and select Add, then select
In the Add New Item dialog, select the Web node under
In the Add New Item dialog, select the Web node under
Полный код по ссылке
https://github.com/aspnet/Docs/blob/master/aspnet/web-api/overview/getting-started-with-aspnet-web-api/tutorial-your-first-web-api/samples/sample3.html
Полный код по ссылке
https://github.com/aspnet/Docs/blob/master/aspnet/web-api/overview/getting-started-with-aspnet-web-api/tutorial-your-first-web-api/samples/sample3.html
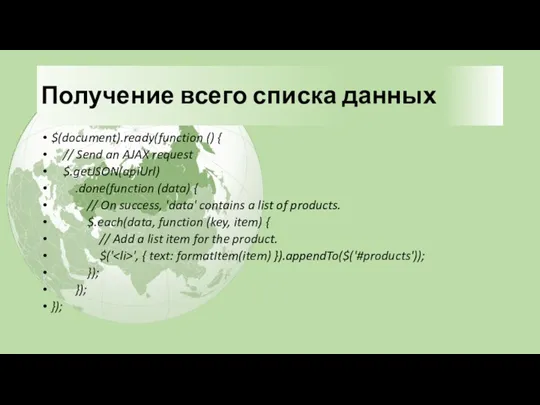
Получение всего списка данных
$(document).ready(function () {
// Send an AJAX request
Получение всего списка данных
$(document).ready(function () {
// Send an AJAX request
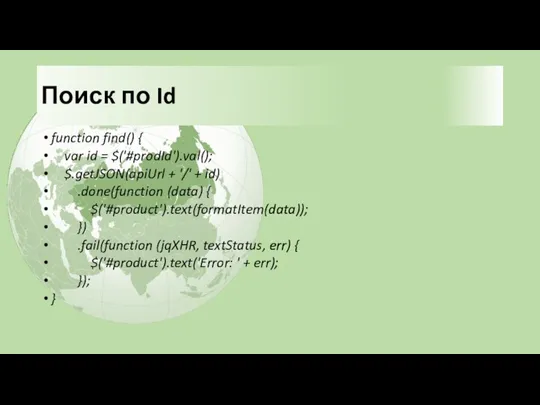
Поиск по Id
function find() {
var id = $('#prodId').val();
$.getJSON(apiUrl +
Поиск по Id
function find() {
var id = $('#prodId').val();
$.getJSON(apiUrl +
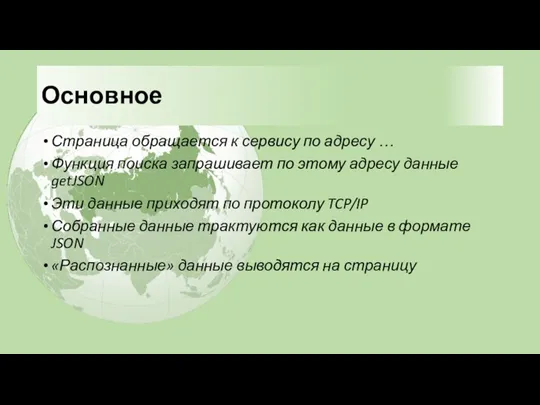
Основное
Страница обращается к сервису по адресу …
Функция поиска запрашивает по этому
Основное
Страница обращается к сервису по адресу …
Функция поиска запрашивает по этому
Running the Application
Press F5 to start debugging the application.
Running the Application
Press F5 to start debugging the application.
 Угадай и отгадай!
 Своя игра по информатике, 9 класс
 Организация глобальных сетей
 Компания ООО Отдел ИТ
 ПрезентацияПоGpss №10
 Принцип построения логической пирамиды при создании деловых документов. (Тема 9)
 Код. Кодирование.
 Операции и стандартные функции Turbo Pascal 7.0
 Формы представления чисел в ЭВМ
 Цели, задачи, этапы и объекты ревьюирования. Лекция №2
 Types and basic structures data in R
 Университет Дубна. Библиографический поиск и описание при подготовке рефератов, курсовых и дипломных работ
 Alfa Factory. Application Rulesets
 Процесс создания игры
 Правовые нормы, относящиеся к информации, правонарушения в информационной сфере, меры их предупреждения
 презентация к уроку Информационные технологии з класс
 Стан та перспективи розвитку електронної комерції у світі. Особливості інтернет-торгівлі у Китаї
 Антивирусные программы
 Вёрстка и дизайн газетной статьи
 Введение в Python. Как используется?
 MS DOS операциялық жүйесі
 Технология ATM. (Лекция 3)
 Межсетевые экраны
 Защита медицинской информации
 Методика обучения информатике в школе с использованием образовательных онлайн платформ
 Wi-Fi с авторизацией
 От скуки на все руки
 Компьютерная арифметика (§ 26 - § 30)