- Basic First Aid. Facilities Planning & Management

Содержание
- 2. Chain of Survival In order for a person to survive Early Access “112” Early First Aid/CPR
- 3. Basic First Aid What Is First Aid? The immediate care given to an injured or suddenly
- 4. Scene Survey When confronted with an accident or illness on duty it is important to assess
- 5. Initial Assessment Goal of the initial assessment: Visually determine whether there are life-threatening or other serious
- 6. Victim Assessment Sequence Assessment Sequence Components: If victim is responsive Ask them what injuries or difficulties
- 7. Bleeding Control Control Methods For External Bleeding: Direct pressure stops most bleeding. Wear medical exam gloves
- 8. Bleeding Control Cont. Control Methods For Internal Bleeding: Signs of internal bleeding: Bruises or contusions of
- 9. Shock Shock refers to circulatory system failure that happens when insufficient amounts of oxygenated blood is
- 10. Shock Cont. What to Look For Altered mental status Anxiety and restlessness Pale, cold, and clammy
- 11. Shock Cont. What to Do After first treating life-threatening injuries such as breathing or bleeding, the
- 12. Burns Burn injuries can be classified as follow: Thermal (heat) burns caused by: Flames Hot objects
- 13. Facilities Planning & Management UW-Eau Claire Burns Cont. Chemical burns The result of a caustic or
- 14. Burns Cont. What to Do: Remove the chemical by flushing the area with water Brush dry
- 15. Burns Burns have been described as: First-degree burns (Superficial) Only the skin’s outer layer (epidermis) is
- 16. First Degree Burns
- 17. Burns Cont. Second-degree burns (Partial Thickness) Epidermis and upper regions of dermis are damaged. Symptoms include
- 18. Second Degree Burns
- 19. Burns Cont. Third-degree burns (Full Thickness) Severe burns that penetrate all the skin layers, into the
- 20. Third Degree Burns
- 21. Burns Cont. Electrical Burns A mild electrical shock can cause serious internal injuries. There are three
- 22. Burns Cont. What to Do: Make sure the scene is safe Unplug, disconnect, or turn off
- 23. Choking What is it? Obstruction in the airway. General Precaution If someone is coughing, leave the
- 24. Choking Cont. What to Do: Perform Heimlich Maneuver if you are properly trained Conscious Victim: Approach
- 25. Choking Cont. What to Do: Unconscious Victim: Ask someone to call 112 for help Lower victim
- 26. Fractures There are two categories of fractures: Closed (Simple) fracture The skin is intact and no
- 28. Fractures Cont. What to Look for: General signs and Symptoms: Tenderness to touch. Swelling. Deformities may
- 29. Signs and Symptoms of Injury 14-
- 30. Fractures Cont. Additional signs and symptoms include: The history of the injury can lead to suspect
- 31. Foreign Body in the Eye Eye When on the pupil or embedded in the white of
- 32. Basic First Aid for Wounds Open Wounds A break in the skin’s surface that results in
- 33. Basic First Aid for Wounds Cont. Open Wounds Cont. Punctures Deep, narrow wounds such as a
- 34. Basic First Aid for Wounds Cont. What to Do: Wear gloves (if possible) and expose wound
- 35. Basic First Aid for Wounds Cont. Wounds Care Remove small objects that do not flush out
- 36. Basic First Aid for Wounds Cont. Signs of Wound Infection: Swelling, and redness around the wound
- 37. Dressings and Bandages The purpose of a dressing is to: Control bleeding Prevent infection and contamination
- 38. Dressings and Bandages Cont. Bandage can be used to: Hold a dressing in place over an
- 39. Amputation What to Do: Control the bleeding Treat the victim for shock Recover the amputated part
- 40. External Bleeding If an adult looses more than 1 liter of blood or a child looses
- 41. Checking for Spinal Injuries Spinal Injuries Head injuries may indicate that there are possible spinal injuries
- 42. Checking for Spinal Injuries Cont. What to Do: Stabilize the victim against any movement. Check ABCs.
- 43. Checking for Spinal Injuries Cont. Responsive Victim Upper Extremity Checks: Victim wiggles fingers. Victim feels rescuer
- 44. Stroke (Brain Attack) What is Stroke? Tissue damage to area of the brain due to disruption
- 45. Stroke (Brain Attack) Cont. Signs and Symptoms of Stroke: Weakness or numbness of the face, arm,
- 46. Bites and Stings Insect stings and bites What to Look For: Check the sting site to
- 47. Bites and Stings Cont. Insect stings and bites Cont. What to Do: Ask the victim if
- 48. Bites and Stings Cont. Tick bites Tick can remain embedded for days without the victim’s realizing
- 50. Скачать презентацию
 Биоэнергетика, основной и общий обмен
 Денсаулық сақтау ұйымындағы финанстық менеджменті: негізгі ерекшеліктері
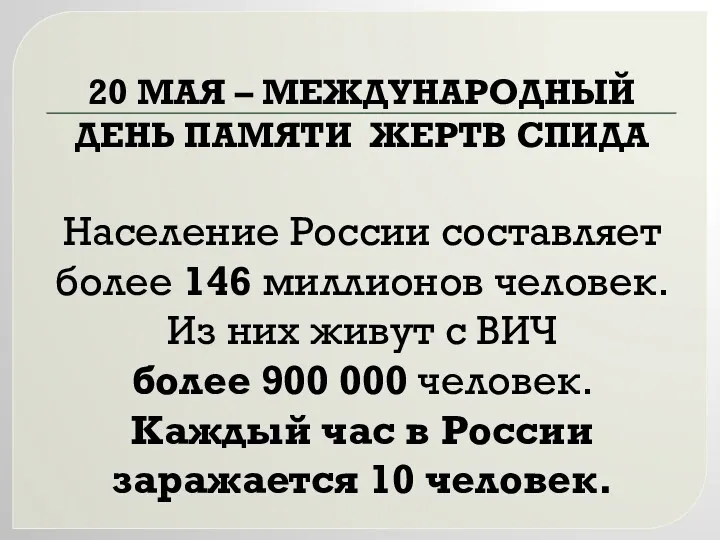 20 мая – международный день памяти жертв СПИДА
 Ранняя помощь детям с ОВЗ
 Профилактика синдрома эмоционального выгорания педагога
 Острый средний отит и отогенные внечерепные осложнения
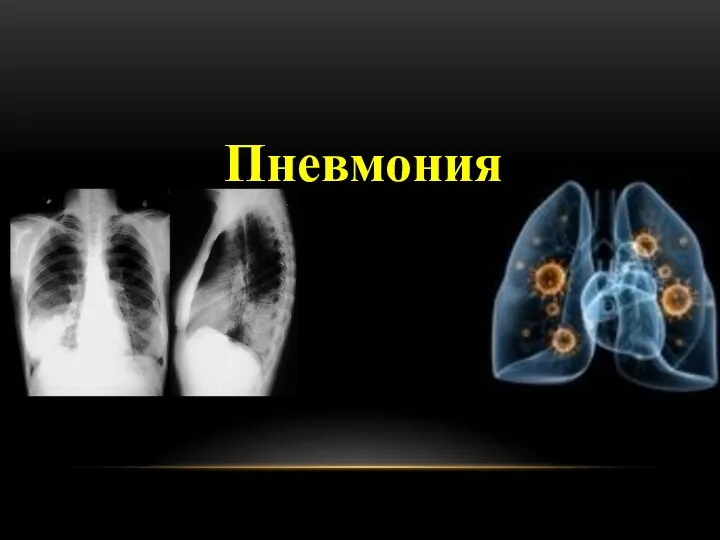 Пневмония. Клинические проявления пневмонии
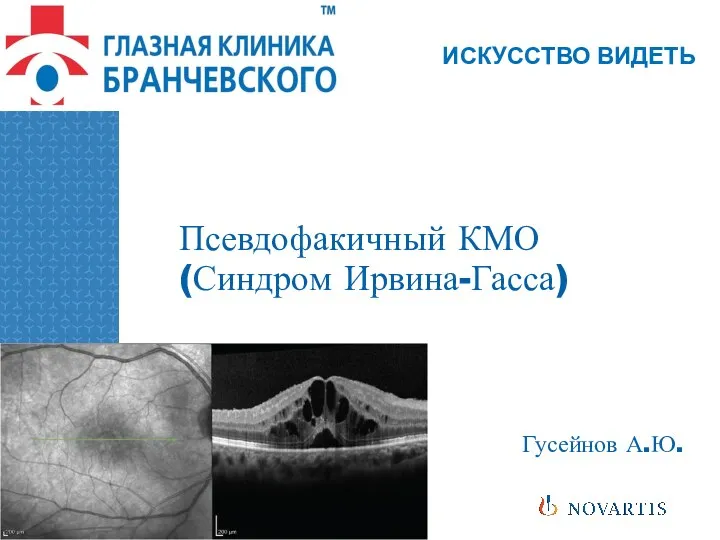 Псевдофакичный КМО (Синдром Ирвина-Гасса)
 Лимфатическая система человека
 Острая ревматическая лихорадка
 Су-Джок терапия
 Полиомиелит. Этиопатогенез
 Өкпенің ошақты туберкулезі
 Гипотиреоз
 Внутриротовая рентгенография в ветеринарной стоматологии
 Питание и здоровье. Методы, формы и средства гигиенического обучения и воспитания населения
 Менингит дегеніміз не?
 1 декабря – Всемирный день борьбы со СПИДом
 Клиникалық жағдай
 Рак молочной железы
 Эпилепсия. Причины развития
 Балалар мекемелеріндегі санитарлық-техникалық жабдықтарға қойылатын гигиеналық талаптар. (Дәріс 19)
 Профилактика ВИЧ-инфекции
 Профилактика профессионального заражения ВИЧ-инфекцией
 Гнойные заболевания костей и суставов. (Лекция 26)
 Оперативная хирургия. Гнойный плечевой артрит. Хирургия кисти и пальцев
 Гемофилия
 Реанимация и интенсивная терапия анафилактического шока