- Manifest Client Portal User Guide

Содержание
- 2. Accessing your Client Web Portal YOUR UNIQUE DOMAIN Each Manifest instance has an assigned domain. You
- 3. Domain Provisioning & Deployment
- 4. Receiving your Credentials When your Client Administrator creates your user, you will receive an email containing:
- 5. User Personal Info When you first create your password, you will be prompted to update your
- 6. Login Enter your email and password to login to your Client Web Portal. If your client
- 7. Menu Options Expanded Menu View Collapsed Menu View Tap the hamburger icon to either collapse or
- 8. Client Settings Admins can access the Client Settings via the gear icon in the upper-right corner
- 9. Users Visit the User screen to view what users have been provisioned, what permissions each has,
- 10. Create or Edit a User To create a new user, select “Add new user” Add email
- 11. User Roles & Permissions
- 12. Locations Visit the location screen to view locations that have been created along with associated child
- 13. Create a new location At least one location must exist in your application. This will be
- 14. Asset Classes An asset class would be product or equipment that your company would like to
- 15. Create a new asset class To add a new asset class, select “Add new asset class”
- 16. View/ Manage Asset Classes To view Asset Class details, select the > icon in the first
- 17. Add 3D Models to an Asset Class After creating an Asset Class, you can “Add a
- 18. Uploading 3D Model Files Under the Actions column, select the box for “Manage Models” Click on
- 19. Manage 3D Models Once you have created and uploaded 3D Model files to an asset class,
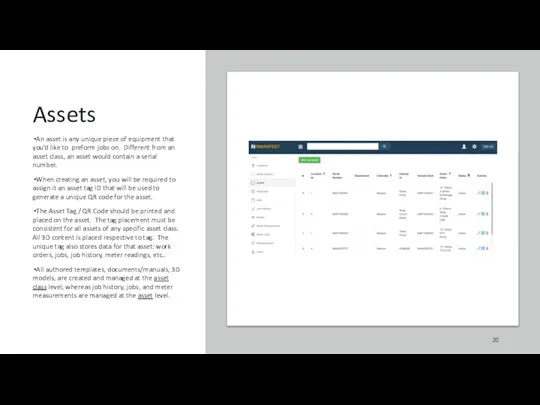
- 20. Assets An asset is any unique piece of equipment that you’d like to preform jobs on.
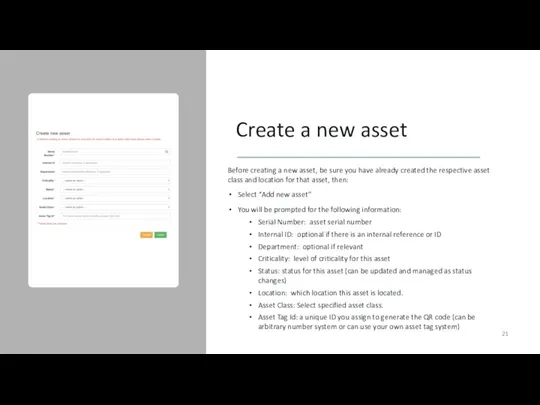
- 21. Create a new asset Before creating a new asset, be sure you have already created the
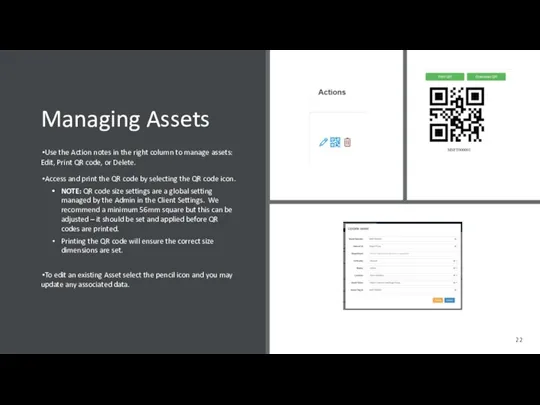
- 22. Managing Assets Use the Action notes in the right column to manage assets: Edit, Print QR
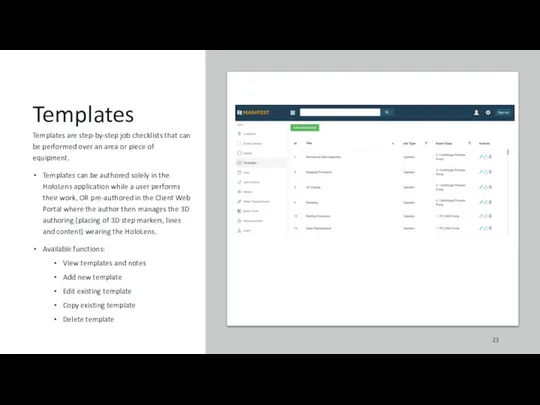
- 23. Templates Templates are step-by-step job checklists that can be performed over an area or piece of
- 24. Create a new job template Before creating a new template, be sure you have already created
- 25. Job Step Authoring Once you create a template, it will default to a prompt for the
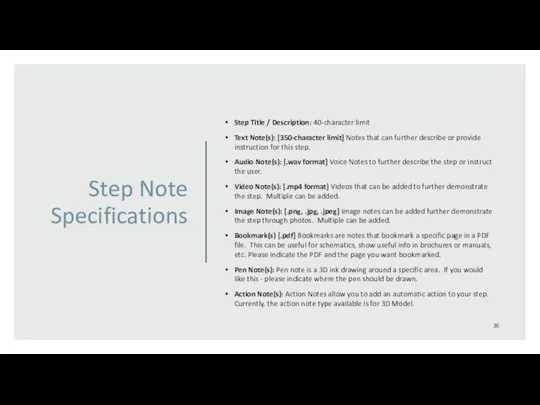
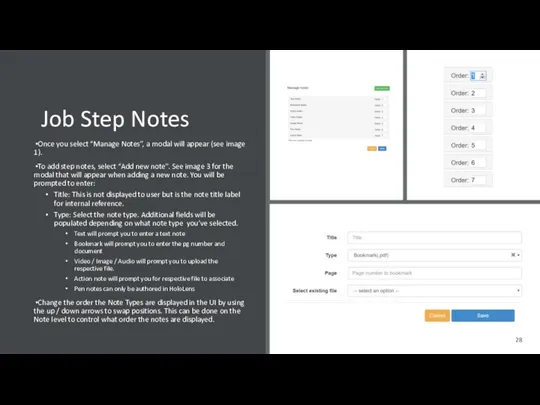
- 26. Step Note Specifications Step Title / Description: 40-character limit Text Note(s): [350-character limit] Notes that can
- 27. Step Note Best Practices When notes are authored outside of the HoloLens and uploaded via the
- 28. Job Step Notes Once you select “Manage Notes”, a modal will appear (see image 1). To
- 29. 3D Step Highlights 3D Markers and Step Line Leaders are best authored using the HoloLens. However,
- 30. Meter Requirements If you have meters set up for an asset class, you can author meter
- 31. Meter Units Whether you are manually creating meters to simulate meter sensor data or managing a
- 32. Create a new meter unit To create a new meter unit Select “Add new meter unit”
- 33. Meters Meters are created at the asset class level and represent any meter / sensor types
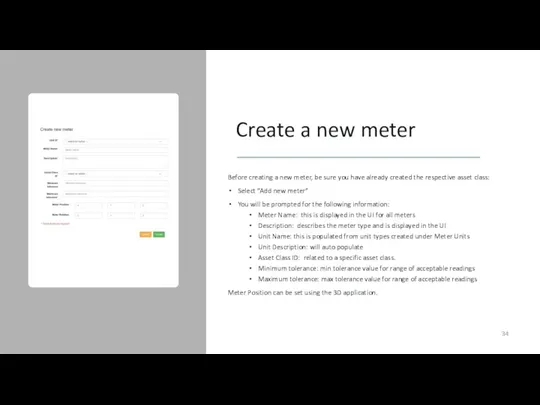
- 34. Create a new meter Before creating a new meter, be sure you have already created the
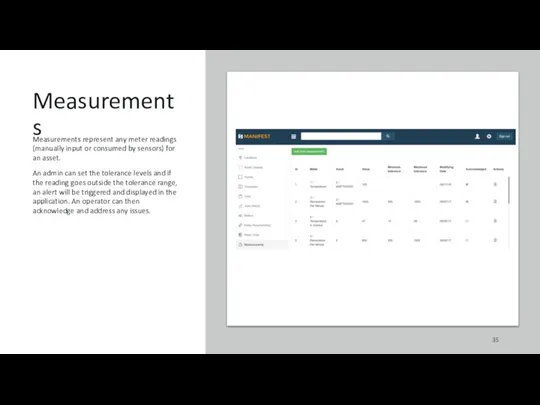
- 35. Measurements Measurements represent any meter readings (manually input or consumed by sensors) for an asset. An
- 36. Create a new measurement To create a new measurement Select “Add new measurement” You will be
- 37. How to Procure a 3D Model There are a variety of ways to obtain a 3D
- 38. 3D Model File Support Valid model file formats include: obj, fbx (ASCII 2013), collada (dae), 3ds,
- 39. Guidelines on Generating 3D Models to be HoloLens Ready When creating and exporting your model file,
- 40. 3D Model Set-up Pedestal vs. Scale Model There are 2 types of 3D models that can
- 42. Скачать презентацию
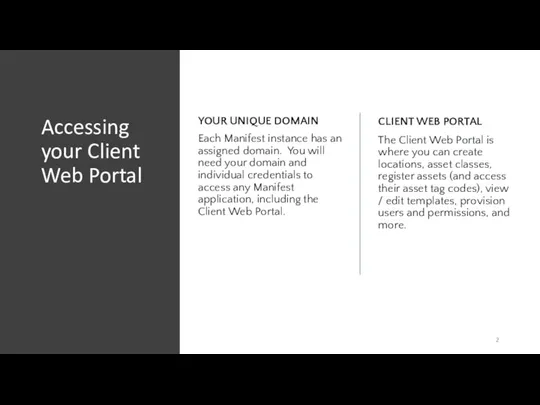
Accessing your Client Web Portal
YOUR UNIQUE DOMAIN
Each Manifest instance has an
Accessing your Client Web Portal
YOUR UNIQUE DOMAIN
Each Manifest instance has an
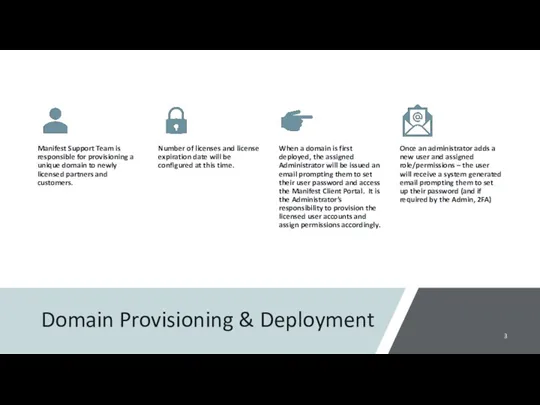
Domain Provisioning & Deployment
Domain Provisioning & Deployment
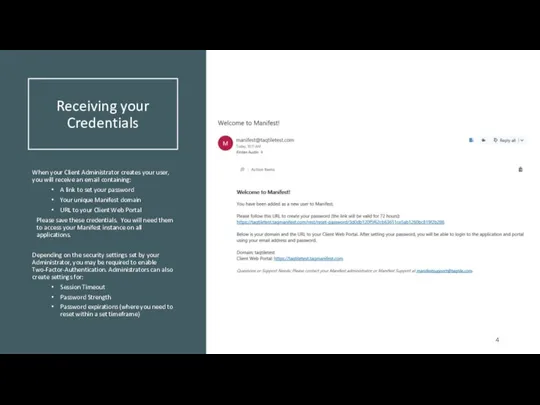
Receiving your Credentials
When your Client Administrator creates your user, you will
Receiving your Credentials
When your Client Administrator creates your user, you will

User Personal Info
When you first create your password, you will be
User Personal Info
When you first create your password, you will be
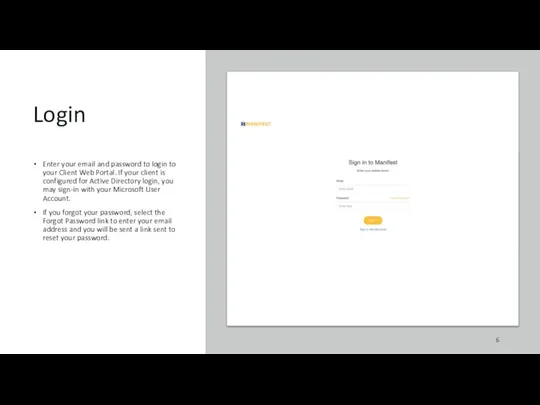
Login
Enter your email and password to login to your Client Web
Login
Enter your email and password to login to your Client Web
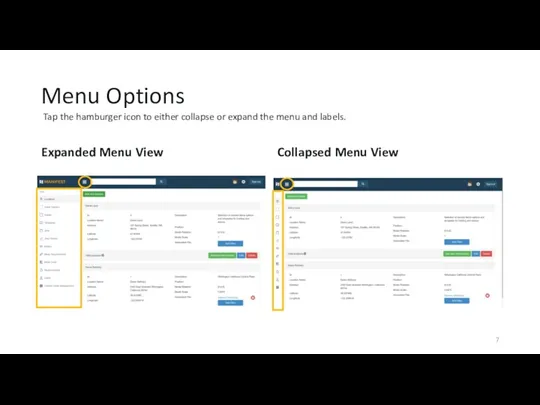
Menu Options
Expanded Menu View
Collapsed Menu View
Tap the hamburger icon to either
Menu Options
Expanded Menu View
Collapsed Menu View
Tap the hamburger icon to either
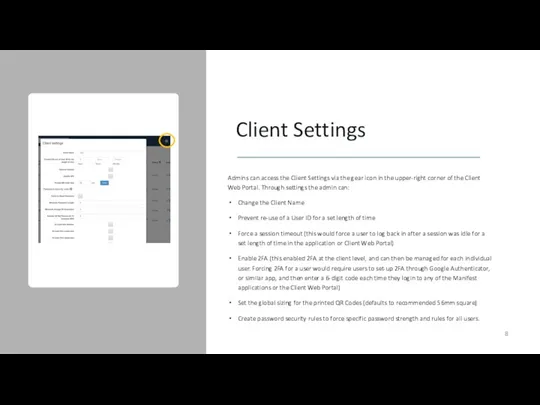
Client Settings
Admins can access the Client Settings via the gear icon
Client Settings
Admins can access the Client Settings via the gear icon
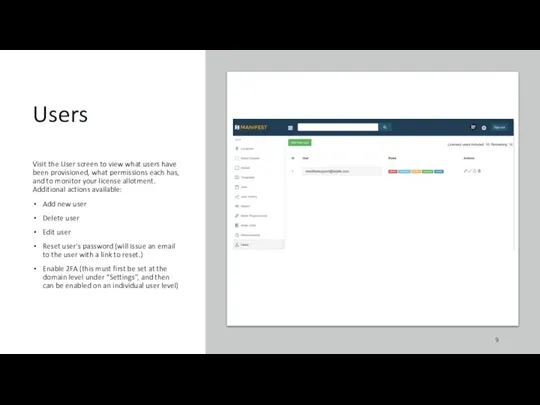
Users
Visit the User screen to view what users have been provisioned,
Users
Visit the User screen to view what users have been provisioned,
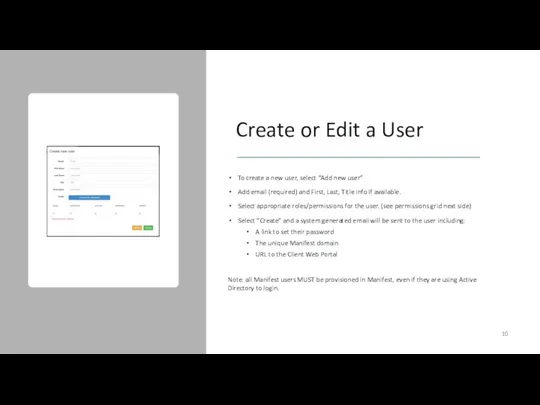
Create or Edit a User
To create a new user, select “Add
Create or Edit a User
To create a new user, select “Add
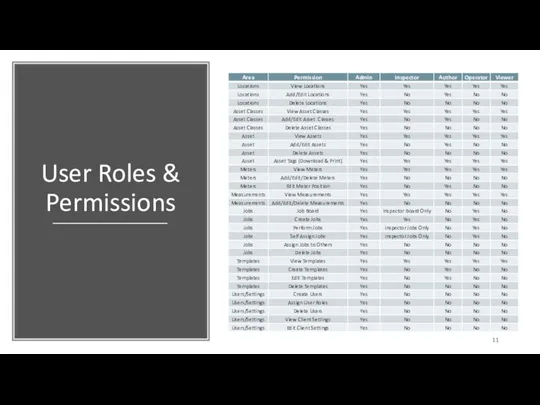
User Roles & Permissions
User Roles & Permissions
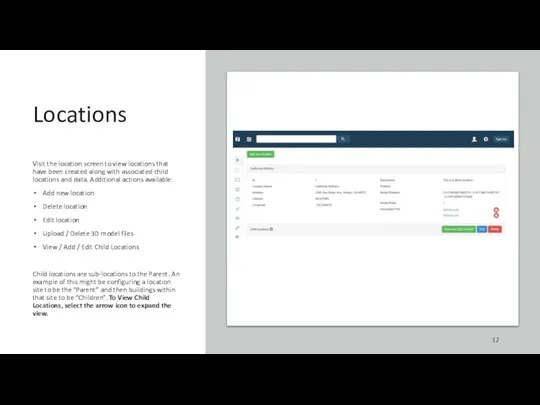
Locations
Visit the location screen to view locations that have been created
Locations
Visit the location screen to view locations that have been created

Create a new location
At least one location must exist in your
Create a new location
At least one location must exist in your
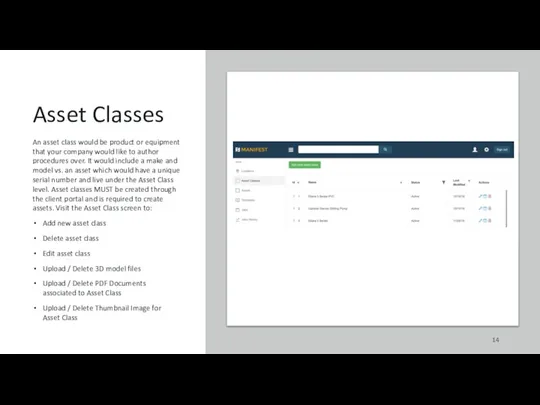
Asset Classes
An asset class would be product or equipment that your
Asset Classes
An asset class would be product or equipment that your
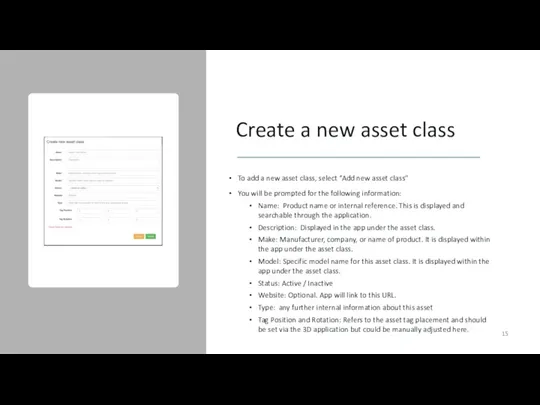
Create a new asset class
To add a new asset class, select
Create a new asset class
To add a new asset class, select
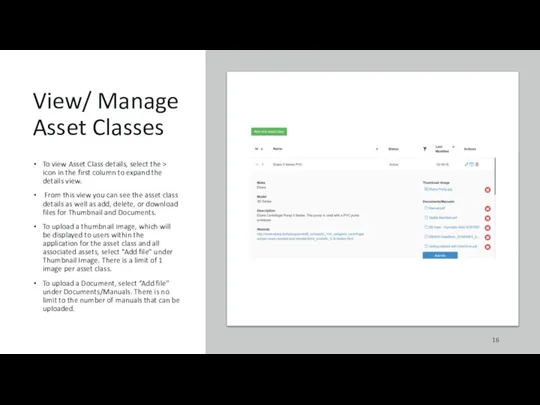
View/ Manage Asset Classes
To view Asset Class details, select the >
View/ Manage Asset Classes
To view Asset Class details, select the >
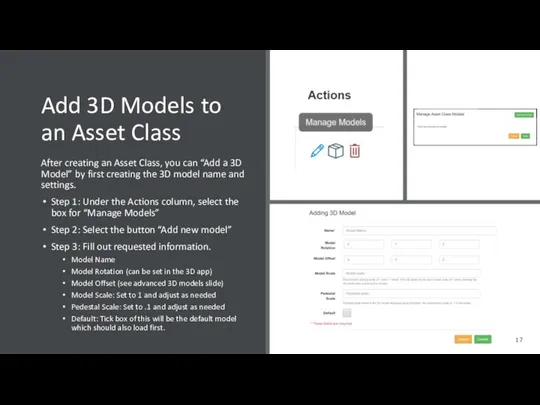
Add 3D Models to an Asset Class
After creating an Asset Class,
Add 3D Models to an Asset Class
After creating an Asset Class,
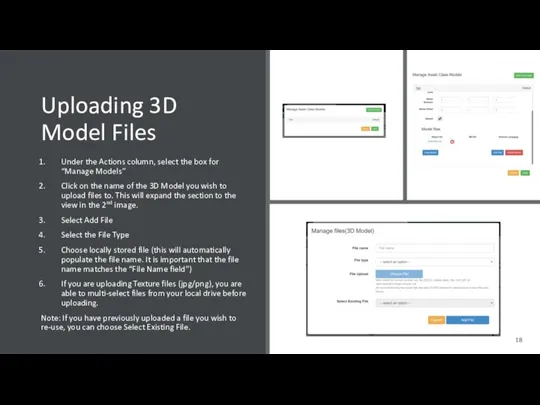
Uploading 3D Model Files
Under the Actions column, select the box for
Uploading 3D Model Files
Under the Actions column, select the box for
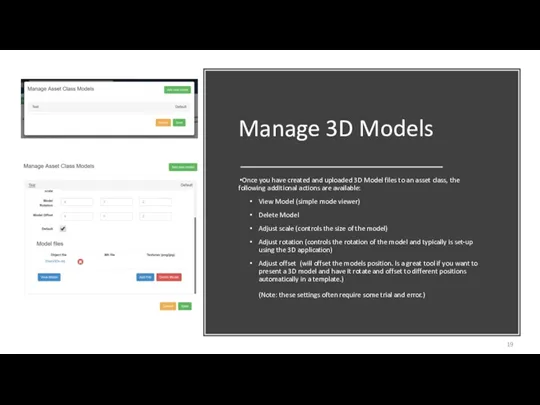
Manage 3D Models
Once you have created and uploaded 3D Model files
Manage 3D Models
Once you have created and uploaded 3D Model files
Assets
An asset is any unique piece of equipment that you’d like
Assets
An asset is any unique piece of equipment that you’d like
Create a new asset
Before creating a new asset, be sure you
Create a new asset
Before creating a new asset, be sure you
Managing Assets
Use the Action notes in the right column to manage
Managing Assets
Use the Action notes in the right column to manage
Templates
Templates are step-by-step job checklists that can be performed over an
Templates
Templates are step-by-step job checklists that can be performed over an
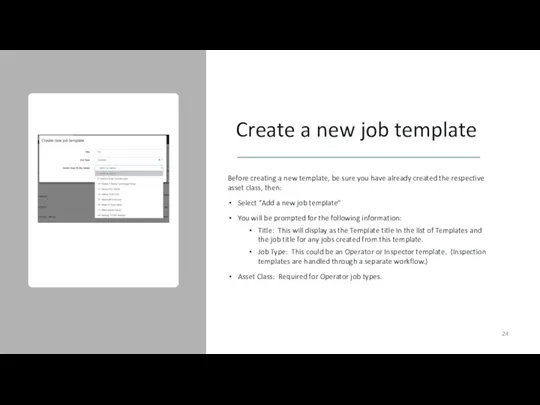
Create a new job template
Before creating a new template, be sure
Create a new job template
Before creating a new template, be sure
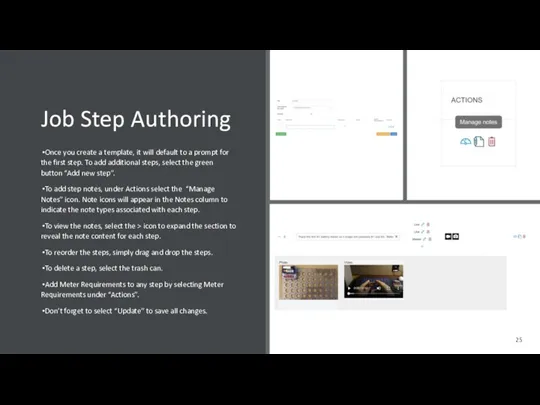
Job Step Authoring
Once you create a template, it will default to
Job Step Authoring
Once you create a template, it will default to
Step Note
Specifications
Step Title / Description: 40-character limit
Text Note(s): [350-character limit] Notes
Step Note
Specifications
Step Title / Description: 40-character limit
Text Note(s): [350-character limit] Notes
Step Note Best Practices
When notes are authored outside of the HoloLens
Step Note Best Practices
When notes are authored outside of the HoloLens
Job Step Notes
Once you select “Manage Notes”, a modal will appear
Job Step Notes
Once you select “Manage Notes”, a modal will appear
3D Step Highlights
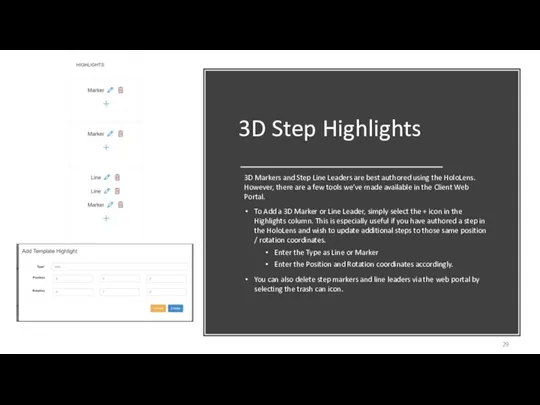
3D Markers and Step Line Leaders are best authored
3D Step Highlights
3D Markers and Step Line Leaders are best authored
Meter Requirements
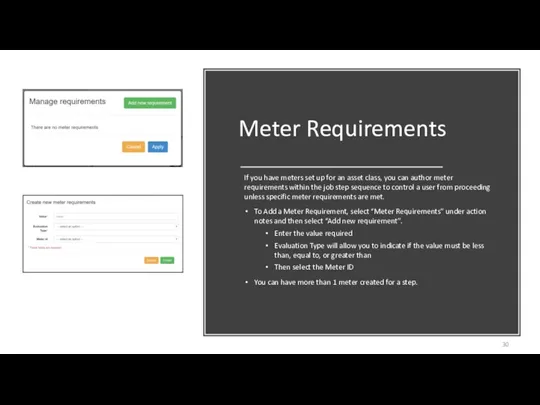
If you have meters set up for an asset class,
Meter Requirements
If you have meters set up for an asset class,
Meter Units
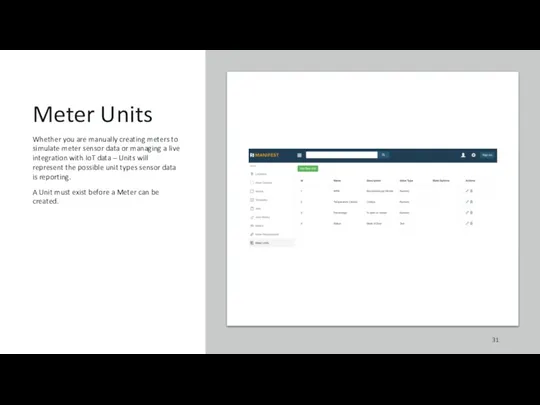
Whether you are manually creating meters to simulate meter sensor
Meter Units
Whether you are manually creating meters to simulate meter sensor
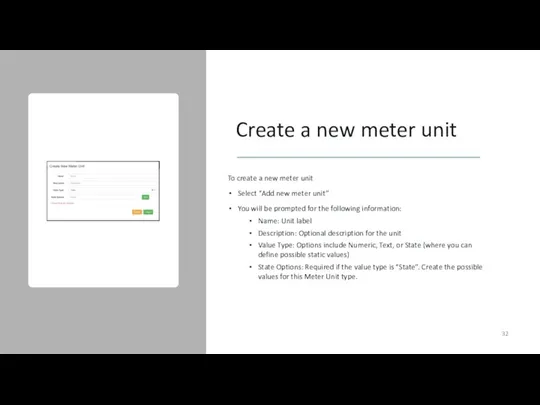
Create a new meter unit
To create a new meter unit
Select
Create a new meter unit
To create a new meter unit
Select
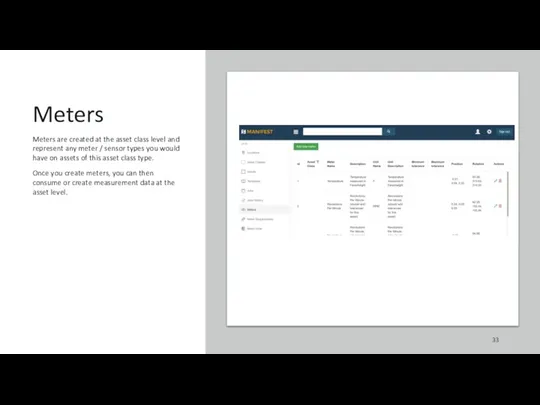
Meters
Meters are created at the asset class level and represent any
Meters
Meters are created at the asset class level and represent any
Create a new meter
Before creating a new meter, be sure you
Create a new meter
Before creating a new meter, be sure you
Measurements
Measurements represent any meter readings (manually input or consumed by sensors)
Measurements
Measurements represent any meter readings (manually input or consumed by sensors)
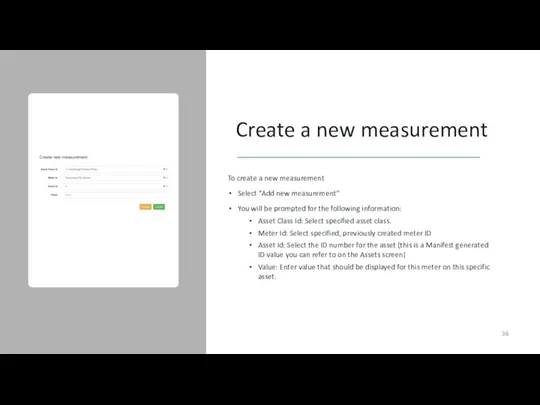
Create a new measurement
To create a new measurement
Select “Add new measurement”
You
Create a new measurement
To create a new measurement
Select “Add new measurement”
You
How to Procure a
3D Model
There are a variety of ways
How to Procure a
3D Model
There are a variety of ways
3D Model
File Support
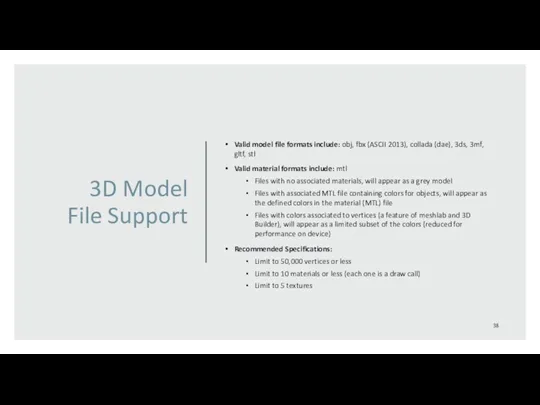
Valid model file formats include: obj, fbx (ASCII 2013),
3D Model
File Support
Valid model file formats include: obj, fbx (ASCII 2013),
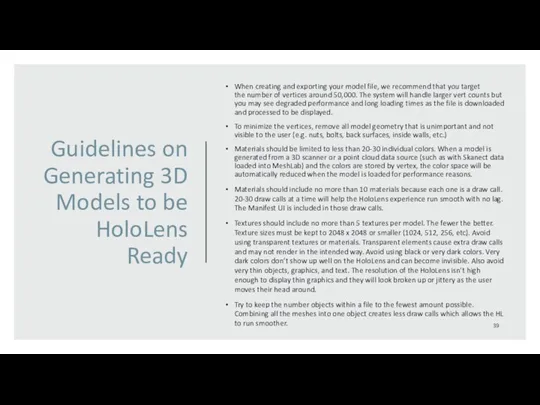
Guidelines on Generating 3D Models to be HoloLens Ready
When creating and
Guidelines on Generating 3D Models to be HoloLens Ready
When creating and

3D Model
Set-up
Pedestal vs. Scale Model
There are 2 types of 3D
3D Model
Set-up
Pedestal vs. Scale Model There are 2 types of 3D
 Числительные в английском языке: Numerals
 The timе
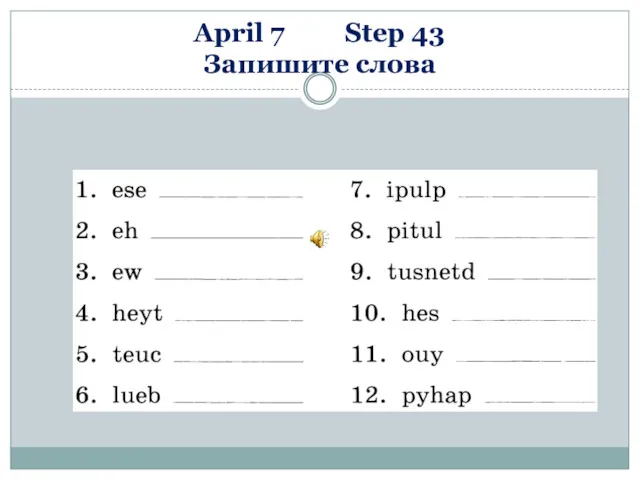 Правильные слова. 2 класс
 Present simple - простое настоящее время
 Past Perfect vs Past Perfect Progressive
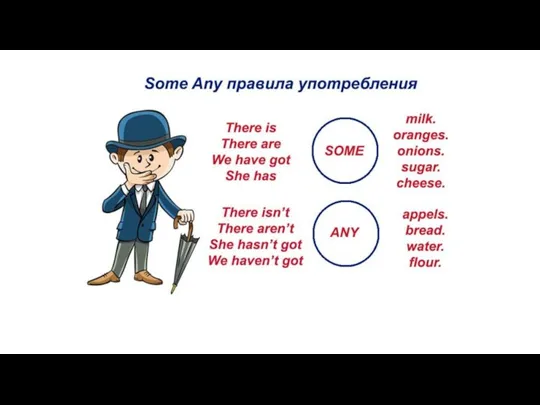 Some any, правила употребления
 The present continuous
 Present simple tense. Настоящее простое время
 Great inventions
 Имя числительное
 Tenses of the english verb
 Content and Language Integrated Learning technology for the formation of Intercultural Communicative Competency
 Switzerland
 Rules of reading
 My family. Семья, профессия, числительные, местоимения, досуг
 Non-verbal messages of Disney cartoons. The Walt Disney Company Overview
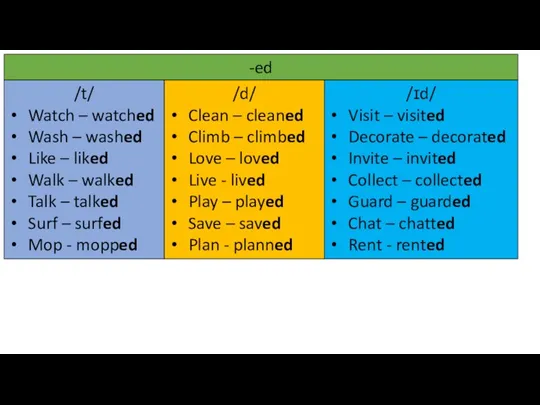 Past simple
 My favorite subjects
 Задания по английскому языку
 Рresent Perfect
 Conditionals
 Romny is a city in Ukraine and district administrative centre in Sumy Region
 To be
To be Semasiology is a branch of lexicology
 Flood
Flood Cars and names
 Role of Government in a Market Economy
 Active voice