- Puppet – configuration management tool

Содержание
- 2. CONTENT PART I – GETTING STARTED PART II – PUPPET INSIDE PART III – DEPLOYMENT OF
- 3. PART I GETTING STARTED
- 4. TYPICAL SYSADMIN JOB Repetitive Manual Tedious
- 5. WHO HELPS US Automation Unification Accuracy Reproducibility Centralized auditing Reduce time Save money
- 6. What is PUPPET ? configuration management tool open source Ruby-based system relying upon client-server model used
- 7. PUPPET’S BENEFITS Large developer base Optimized and easier configuration language Better documentation Abstracted from underlying OS
- 8. PART II PUPPET INSIDE
- 9. PUPPET MODEL Deployment Configuration Language Resource Abstraction Layer Transactional Layer Usually Client-Server Describe How to apply
- 10. Master - store & compile configs Agent - pull configuration from master PUPPET DEPLOYMENT MODEL Client-server
- 11. + better security + advanced management + authorization + centralized execution - huge load on server
- 12. ARCHITECTURE OF PUPPET compile on server Puppet master Puppet agent HTTPS/SSL connection CA/SSL cert Facter Manifest
- 13. MAIN COMPONENTS OF PUPPET SYSTEM Server daemon: puppet master ( uses WEBrick web server) run as
- 14. MAIN COMPONENTS OF PUPPET SYSTEM (continued) Puppet’s Certificate Authority: puppet ca, cert SSL certificates Provider apply
- 15. ELEMENTS OF PUPPET SYSTEM Manifests (code on puppet/ruby language) on server => *.pp use some programming
- 16. ELEMENTS OF PUPPET SYSTEM RESOURCE (file) RESOURCE (user) CLASS FILES TEMPLATES NODE manifest apply LIBS (facter,
- 17. PUPPET INFRASTRUCTURE /etc/puppet files/ manifests/ modules/ auth.conf autosign.conf fileserver.conf puppet.conf tagmail.conf byhost/ classes/ nodes.pp site.pp host1/
- 18. PART III DEPLOYMENT OF PUPPET
- 19. PROCEDURE OF DEPLOYMENT Setup (master and clients) Set up configuration files Deploy certificates Write and deploy
- 20. INSTALLATION OF PUPPET Most platforms will use the default package manager to install Puppet or from
- 21. SAMPLE PUPPET CONFIG FILE Can be configured via CLI or configuration file [main] vardir = /var/lib/puppet
- 22. SETUP CERTIFICATE Multiple ways to resolve this Setup puppetmaster to automatically sign certificates Setup puppetmaster to
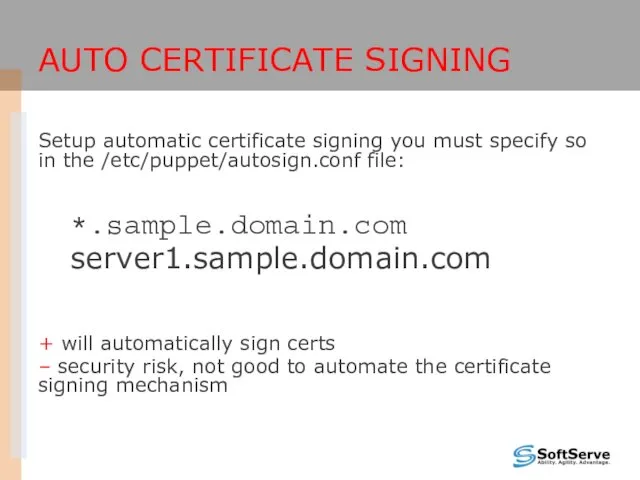
- 23. AUTO CERTIFICATE SIGNING Setup automatic certificate signing you must specify so in the /etc/puppet/autosign.conf file: *.sample.domain.com
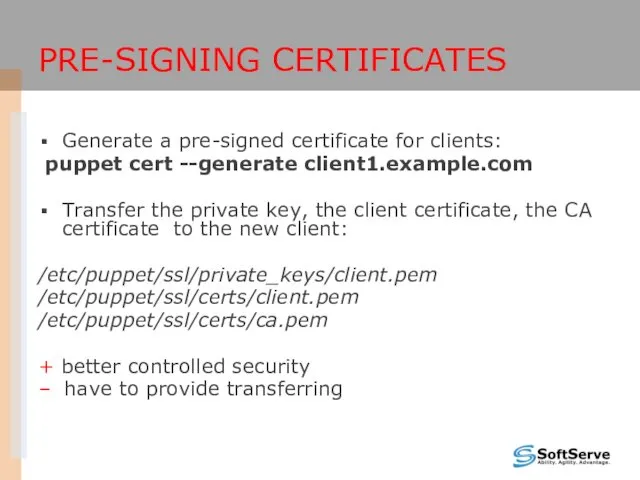
- 24. PRE-SIGNING CERTIFICATES Generate a pre-signed certificate for clients: puppet cert --generate client1.example.com Transfer the private key,
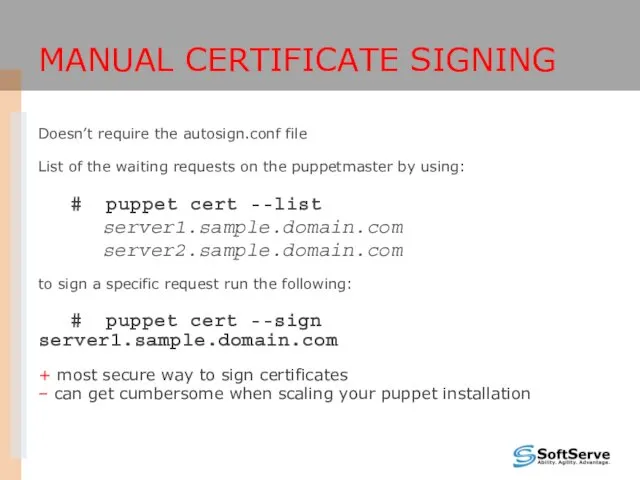
- 25. MANUAL CERTIFICATE SIGNING Doesn’t require the autosign.conf file List of the waiting requests on the puppetmaster
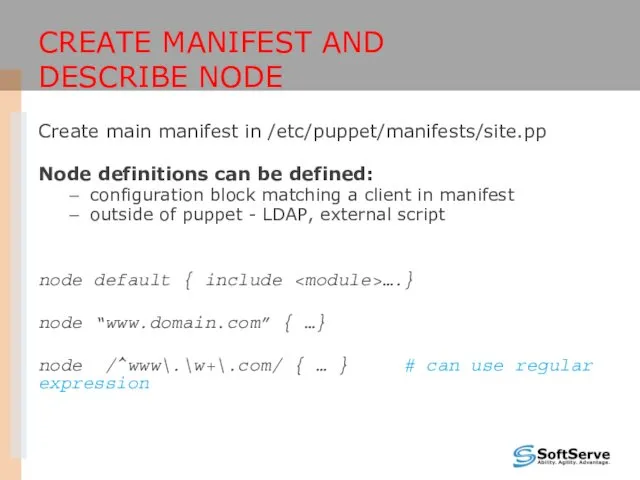
- 26. CREATE MANIFEST AND DESCRIBE NODE Create main manifest in /etc/puppet/manifests/site.pp Node definitions can be defined: configuration
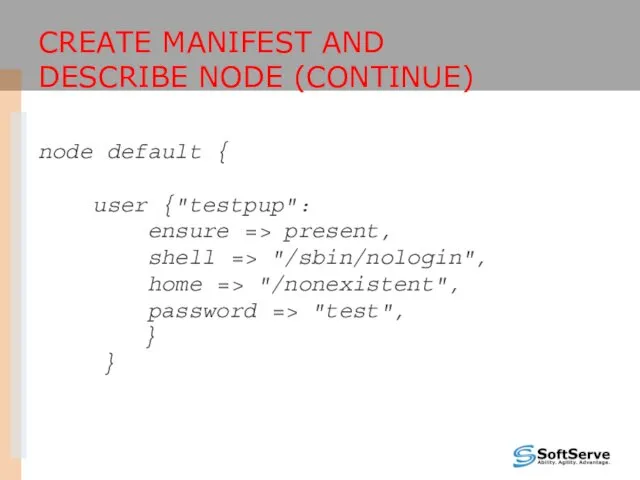
- 27. CREATE MANIFEST AND DESCRIBE NODE (CONTINUE) node default { user {"testpup": ensure => present, shell =>
- 28. PART IV SCENARIO OF DEPLOYMENT WITH HELP OF PUPPET
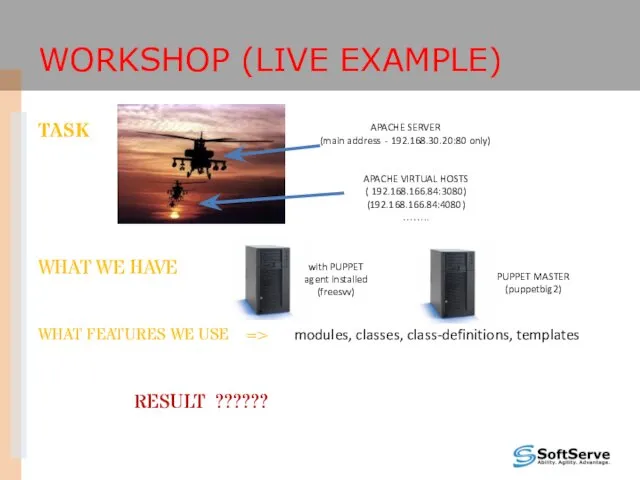
- 29. TASK WHAT WE HAVE WHAT FEATURES WE USE => modules, classes, class-definitions, templates RESULT ?????? WORKSHOP
- 30. HOW TO ORGANIZE MANIFESTS modules/mysql/init.pp modules/apache/init.pp install dbinit … vhost … install
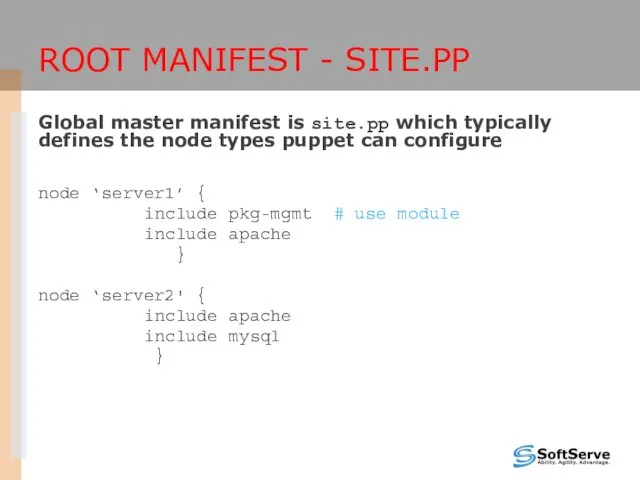
- 31. ROOT MANIFEST - SITE.PP Global master manifest is site.pp which typically defines the node types puppet
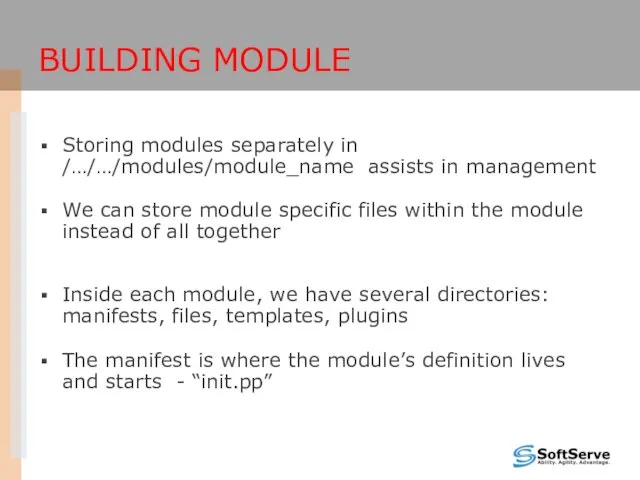
- 32. BUILDING MODULE Storing modules separately in /…/…/modules/module_name assists in management We can store module specific files
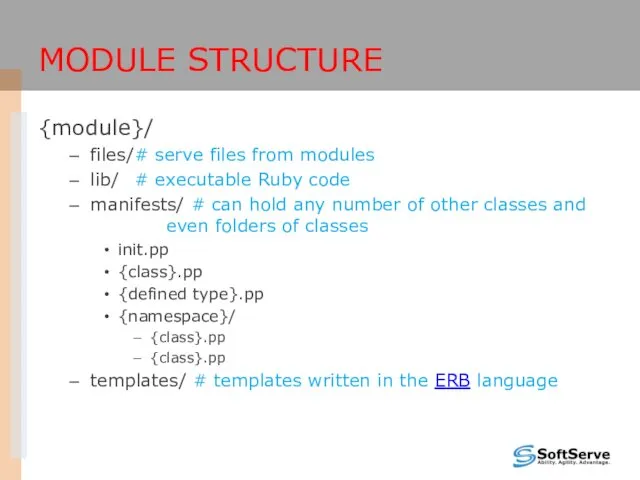
- 33. MODULE STRUCTURE {module}/ files/ # serve files from modules lib/ # executable Ruby code manifests/ #
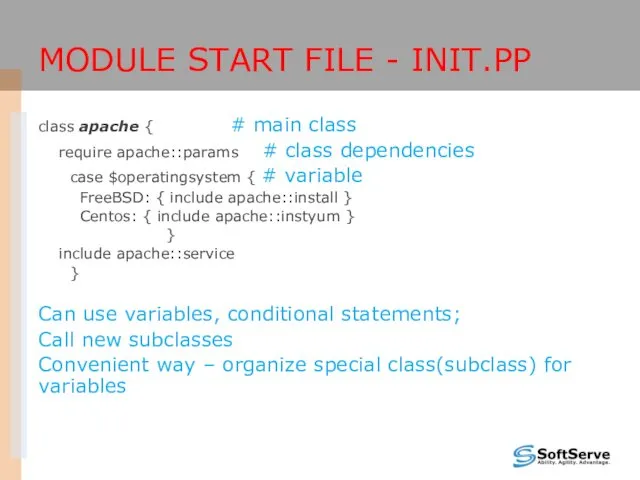
- 34. MODULE START FILE - INIT.PP class apache { # main class require apache::params # class dependencies
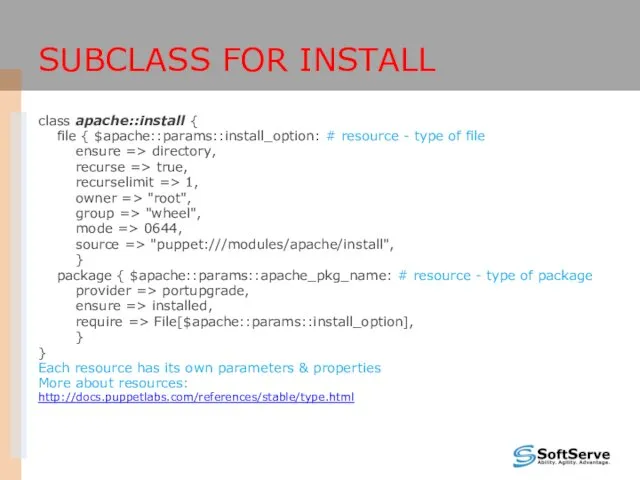
- 35. SUBCLASS FOR INSTALL class apache::install { file { $apache::params::install_option: # resource - type of file ensure
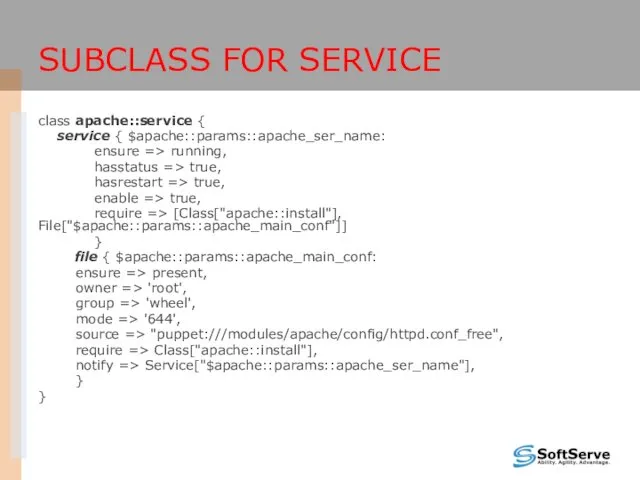
- 36. SUBCLASS FOR SERVICE class apache::service { service { $apache::params::apache_ser_name: ensure => running, hasstatus => true, hasrestart
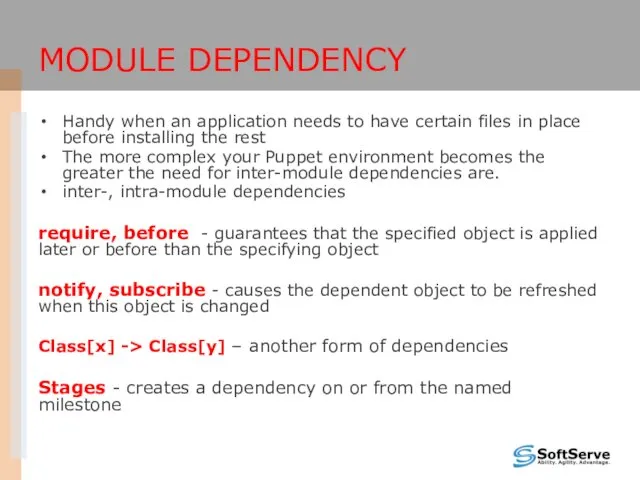
- 37. MODULE DEPENDENCY Handy when an application needs to have certain files in place before installing the
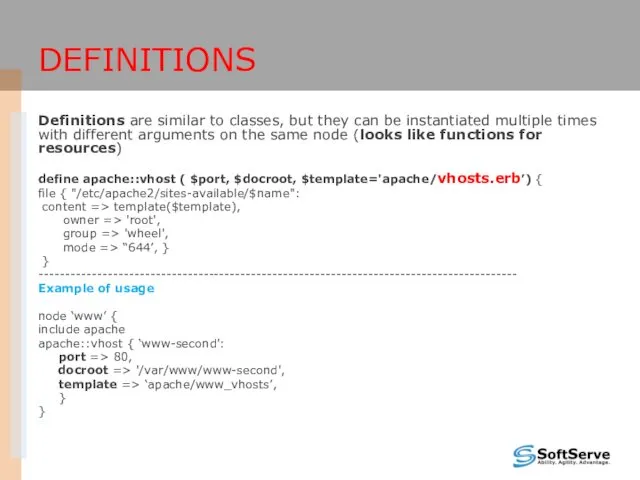
- 38. DEFINITIONS Definitions are similar to classes, but they can be instantiated multiple times with different arguments
- 39. TEMPLATES Templates are flat files containing Embedded Ruby (ERB) variables Allows you to create template configuration
- 40. System inventory tool on client Can be used as variables in manifests You can add custom
- 41. REPORTS, MONITORING Puppet has a few reporting options: YAML files RRD files EMAIL with changes HTTP
- 42. CONCLUSIONS What is the profit ? Quick and flexible deployment of our complicated system in production
- 44. Скачать презентацию
CONTENT
PART I – GETTING STARTED
PART II – PUPPET INSIDE
PART III –
CONTENT
PART I – GETTING STARTED
PART II – PUPPET INSIDE
PART III –

PART I
GETTING STARTED
PART I
GETTING STARTED
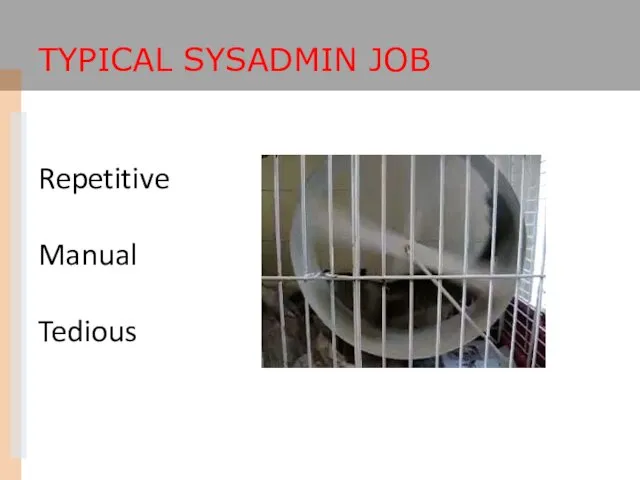
TYPICAL SYSADMIN JOB
Repetitive
Manual
Tedious
TYPICAL SYSADMIN JOB
Repetitive
Manual
Tedious
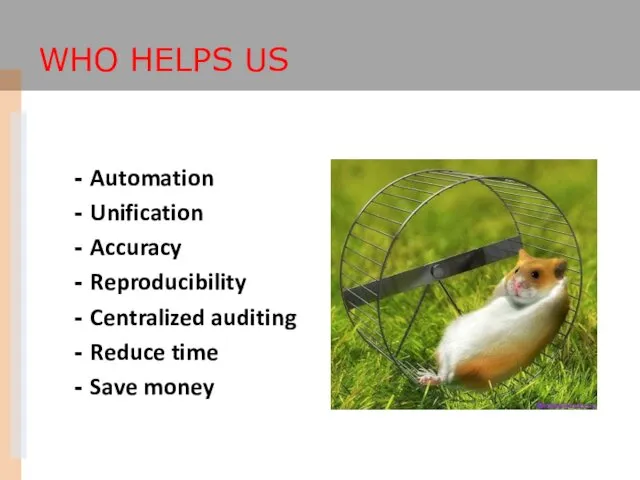
WHO HELPS US
Automation
Unification
Accuracy
Reproducibility
Centralized auditing
Reduce time
Save money
WHO HELPS US
Automation
Unification
Accuracy
Reproducibility
Centralized auditing
Reduce time
Save money
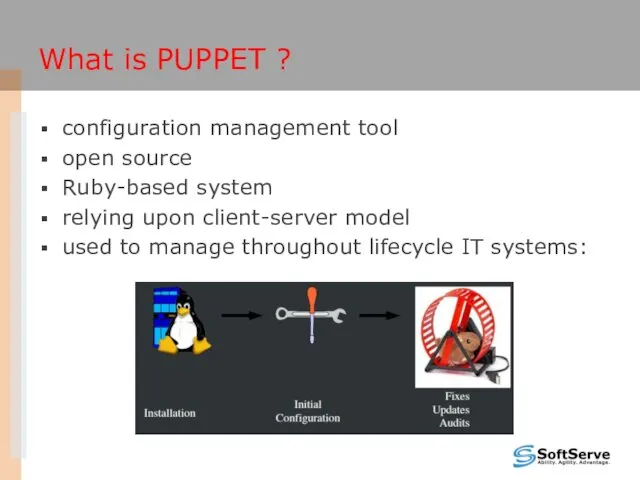
What is PUPPET ?
configuration management tool
open source
Ruby-based system
relying upon
What is PUPPET ?
configuration management tool
open source
Ruby-based system
relying upon
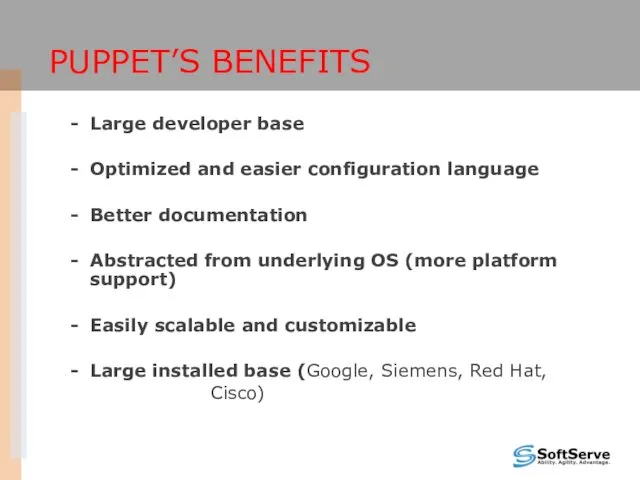
PUPPET’S BENEFITS
Large developer base
Optimized and easier configuration language
Better documentation
Abstracted from underlying OS (more platform
PUPPET’S BENEFITS
Large developer base
Optimized and easier configuration language
Better documentation
Abstracted from underlying OS (more platform

PART II
PUPPET INSIDE
PART II
PUPPET INSIDE
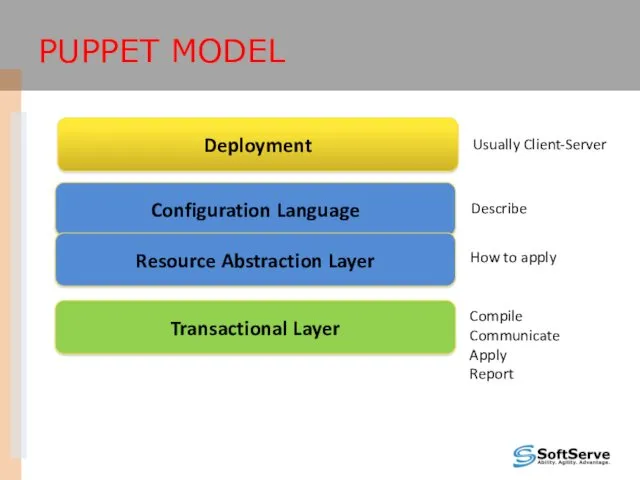
PUPPET MODEL
Deployment
Configuration Language
Resource Abstraction Layer
Transactional Layer
Usually Client-Server
Describe
How to apply
Compile
Communicate
Apply
Report
PUPPET MODEL
Deployment
Configuration Language
Resource Abstraction Layer
Transactional Layer
Usually Client-Server
Describe
How to apply
Compile
Communicate
Apply
Report
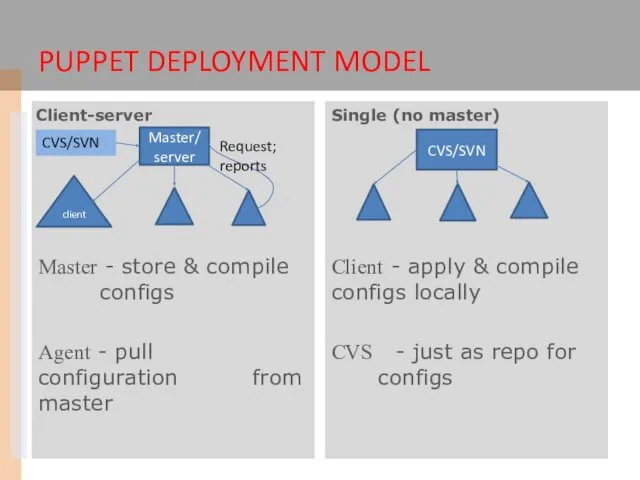
Master - store & compile configs
Agent - pull configuration from master
PUPPET
Master - store & compile configs
Agent - pull configuration from master
PUPPET
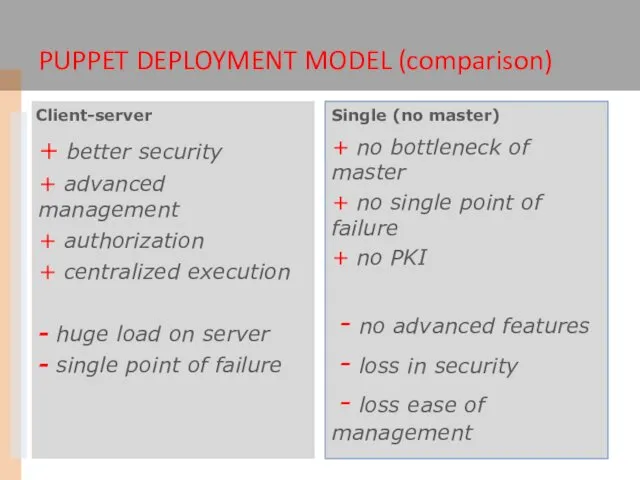
+ better security
+ advanced management
+ authorization
+ centralized execution
- huge load
+ advanced management
+ authorization
+ centralized execution
- huge load

ARCHITECTURE OF PUPPET
compile on server
Puppet master
Puppet agent
HTTPS/SSL connection
CA/SSL cert
Facter
Manifest (code of
ARCHITECTURE OF PUPPET
compile on server
Puppet master
Puppet agent
HTTPS/SSL connection
CA/SSL cert
Facter
Manifest (code of
MAIN COMPONENTS OF
PUPPET SYSTEM
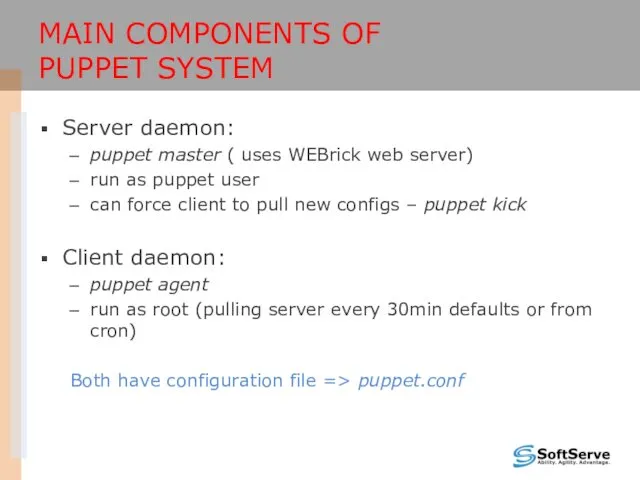
Server daemon:
puppet master ( uses WEBrick web
MAIN COMPONENTS OF
PUPPET SYSTEM
Server daemon:
puppet master ( uses WEBrick web
MAIN COMPONENTS OF PUPPET SYSTEM (continued)
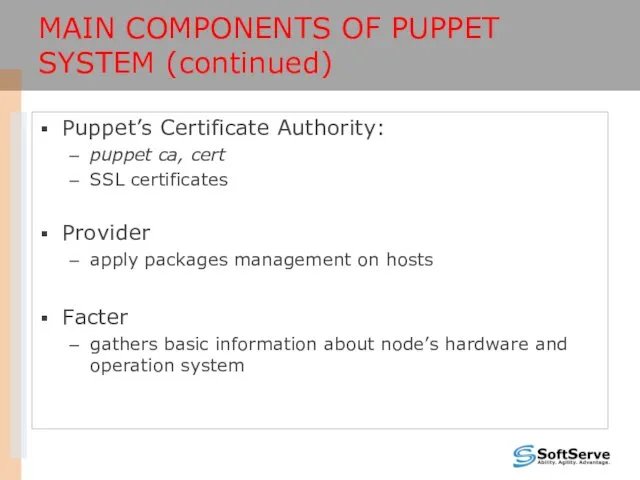
Puppet’s Certificate Authority:
puppet ca, cert
SSL certificates
Provider
apply
MAIN COMPONENTS OF PUPPET SYSTEM (continued)
Puppet’s Certificate Authority:
puppet ca, cert
SSL certificates
Provider
apply
ELEMENTS OF PUPPET SYSTEM
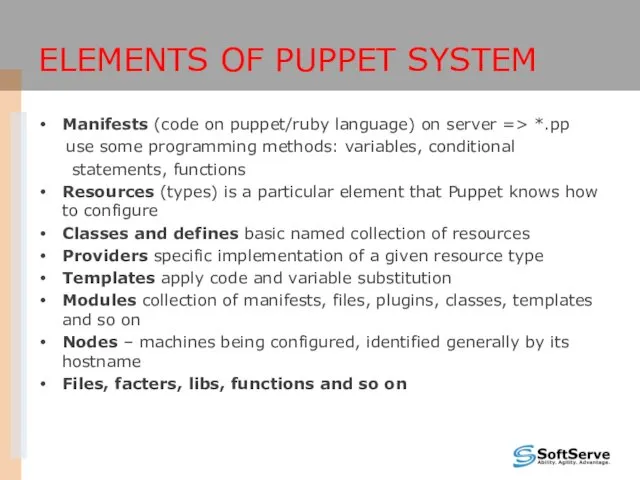
Manifests (code on puppet/ruby language) on server =>
ELEMENTS OF PUPPET SYSTEM
Manifests (code on puppet/ruby language) on server =>
ELEMENTS OF PUPPET SYSTEM
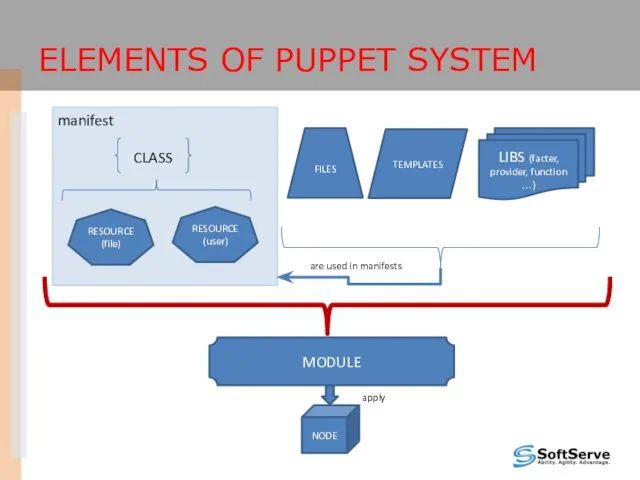
RESOURCE
(file)
RESOURCE
(user)
CLASS
FILES
TEMPLATES
NODE
manifest
apply
LIBS (facter, provider, function …)
are used in manifests
MODULE
ELEMENTS OF PUPPET SYSTEM
RESOURCE
(file)
RESOURCE
(user)
CLASS
FILES
TEMPLATES
NODE
manifest
apply
LIBS (facter, provider, function …)
are used in manifests
MODULE

PUPPET INFRASTRUCTURE
/etc/puppet
files/
manifests/
modules/
auth.conf
autosign.conf
fileserver.conf
puppet.conf
tagmail.conf
byhost/
classes/
nodes.pp
site.pp
host1/
host2/
host3/
class1.pp
class2.pp
mod1/
manifests/
files/
templates/
init.pp
Files
Folders
PUPPET INFRASTRUCTURE
/etc/puppet
files/
manifests/
modules/
auth.conf
autosign.conf
fileserver.conf
puppet.conf
tagmail.conf
byhost/
classes/
nodes.pp
site.pp
host1/
host2/
host3/
class1.pp
class2.pp
mod1/
manifests/
files/
templates/
init.pp
Files
Folders
PART III
DEPLOYMENT OF PUPPET
PART III
DEPLOYMENT OF PUPPET
PROCEDURE OF DEPLOYMENT
Setup (master and clients)
Set up configuration files
Deploy certificates
Write and
PROCEDURE OF DEPLOYMENT
Setup (master and clients)
Set up configuration files
Deploy certificates
Write and
INSTALLATION OF PUPPET
Most platforms will use the default package manager to
INSTALLATION OF PUPPET
Most platforms will use the default package manager to
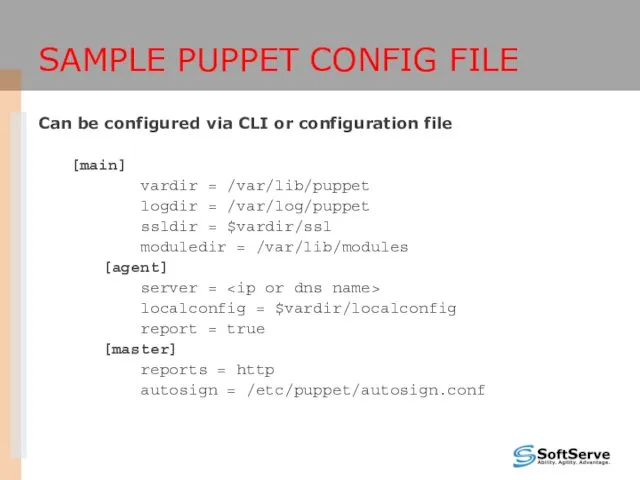
SAMPLE PUPPET CONFIG FILE
Can be configured via CLI or configuration file
[main]
SAMPLE PUPPET CONFIG FILE
Can be configured via CLI or configuration file
[main]

SETUP CERTIFICATE
Multiple ways to resolve this
Setup puppetmaster to automatically sign
SETUP CERTIFICATE
Multiple ways to resolve this
Setup puppetmaster to automatically sign
AUTO CERTIFICATE SIGNING
Setup automatic certificate signing you must specify so in
AUTO CERTIFICATE SIGNING
Setup automatic certificate signing you must specify so in
PRE-SIGNING CERTIFICATES
Generate a pre-signed certificate for clients:
puppet cert --generate client1.example.com
Transfer
PRE-SIGNING CERTIFICATES
Generate a pre-signed certificate for clients:
puppet cert --generate client1.example.com
Transfer
MANUAL CERTIFICATE SIGNING
Doesn’t require the autosign.conf file
List of the waiting requests
MANUAL CERTIFICATE SIGNING
Doesn’t require the autosign.conf file
List of the waiting requests
CREATE MANIFEST AND
DESCRIBE NODE
Create main manifest in /etc/puppet/manifests/site.pp
Node definitions can be
CREATE MANIFEST AND
DESCRIBE NODE
Create main manifest in /etc/puppet/manifests/site.pp
Node definitions can be
CREATE MANIFEST AND
DESCRIBE NODE (CONTINUE)
node default {
user {"testpup":
ensure =>
CREATE MANIFEST AND
DESCRIBE NODE (CONTINUE)
node default {
user {"testpup":
ensure =>
PART IV
SCENARIO OF DEPLOYMENT
WITH HELP OF PUPPET
PART IV
SCENARIO OF DEPLOYMENT
WITH HELP OF PUPPET
TASK
WHAT WE HAVE
WHAT FEATURES WE USE => modules, classes,
WHAT WE HAVE
WHAT FEATURES WE USE => modules, classes,
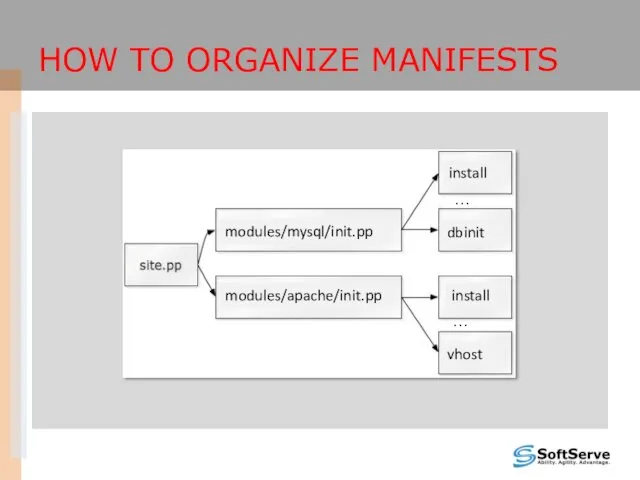
HOW TO ORGANIZE MANIFESTS
modules/mysql/init.pp
modules/apache/init.pp
install
dbinit
…
vhost
…
install
HOW TO ORGANIZE MANIFESTS
modules/mysql/init.pp
modules/apache/init.pp
install
dbinit
…
vhost
…
install
ROOT MANIFEST - SITE.PP
Global master manifest is site.pp which typically defines
ROOT MANIFEST - SITE.PP
Global master manifest is site.pp which typically defines
BUILDING MODULE
Storing modules separately in /…/…/modules/module_name assists in management
We can store
BUILDING MODULE
Storing modules separately in /…/…/modules/module_name assists in management
We can store
MODULE STRUCTURE
{module}/
files/ # serve files from modules
lib/ # executable Ruby code
MODULE STRUCTURE
{module}/
files/ # serve files from modules
lib/ # executable Ruby code
MODULE START FILE - INIT.PP
class apache { # main class
require apache::params
MODULE START FILE - INIT.PP
class apache { # main class
require apache::params
SUBCLASS FOR INSTALL
class apache::install {
file { $apache::params::install_option: # resource -
SUBCLASS FOR INSTALL
class apache::install {
file { $apache::params::install_option: # resource -
SUBCLASS FOR SERVICE
class apache::service {
service { $apache::params::apache_ser_name:
ensure => running,
SUBCLASS FOR SERVICE
class apache::service {
service { $apache::params::apache_ser_name:
ensure => running,
MODULE DEPENDENCY
Handy when an application needs to have certain files in
MODULE DEPENDENCY
Handy when an application needs to have certain files in
DEFINITIONS
Definitions are similar to classes, but they can be instantiated multiple
DEFINITIONS
Definitions are similar to classes, but they can be instantiated multiple
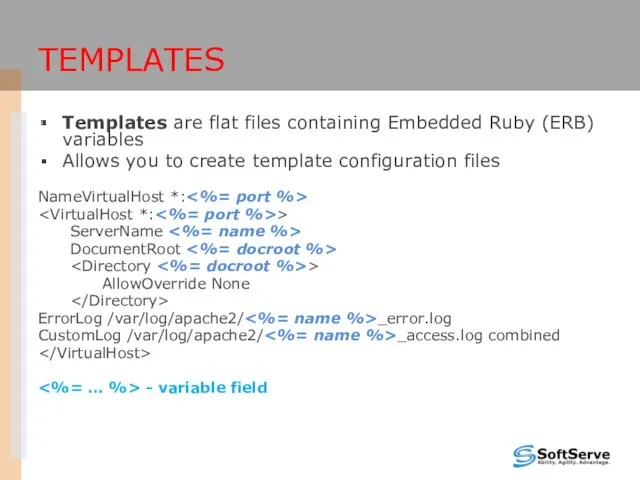
TEMPLATES
Templates are flat files containing Embedded Ruby (ERB) variables
Allows you to
TEMPLATES
Templates are flat files containing Embedded Ruby (ERB) variables
Allows you to
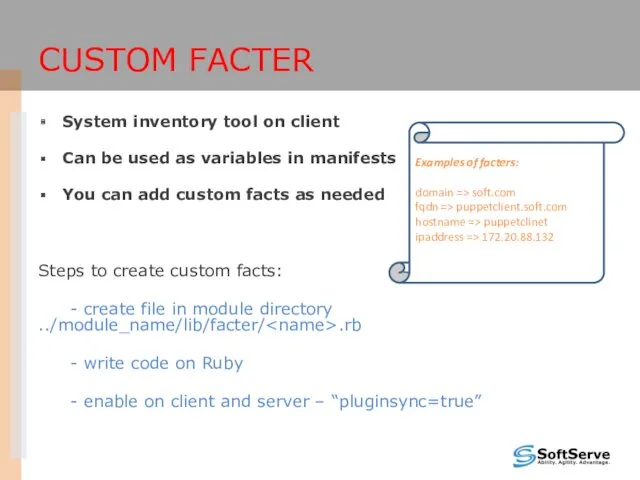
System inventory tool on client
Can be used as variables in manifests
You
System inventory tool on client
Can be used as variables in manifests
You
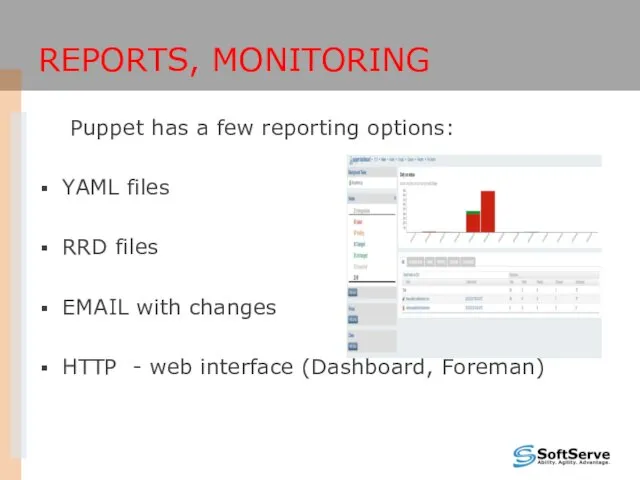
REPORTS, MONITORING
Puppet has a few reporting options:
YAML files
RRD files
EMAIL with changes
HTTP
REPORTS, MONITORING
Puppet has a few reporting options:
YAML files
RRD files
EMAIL with changes
HTTP
CONCLUSIONS
What is the profit ?
Quick and flexible deployment of our complicated
CONCLUSIONS
What is the profit ?
Quick and flexible deployment of our complicated
 Программное обеспечение. Основы построения баз данных. (Лекция 8)
 Безопасный интернет
 Ютуберы. Винди31
 Кодирование звуковой информации
 Селиверстова М.А., Информтика, основные понятия - ч.1
 Алгоритмы и способы их описания. Лекция 1.7
 Bitcoin- electronic money
 Керування оперативною пам'яттю у процесорах архітектури х86. (Лекція 8)
 Информация и знания
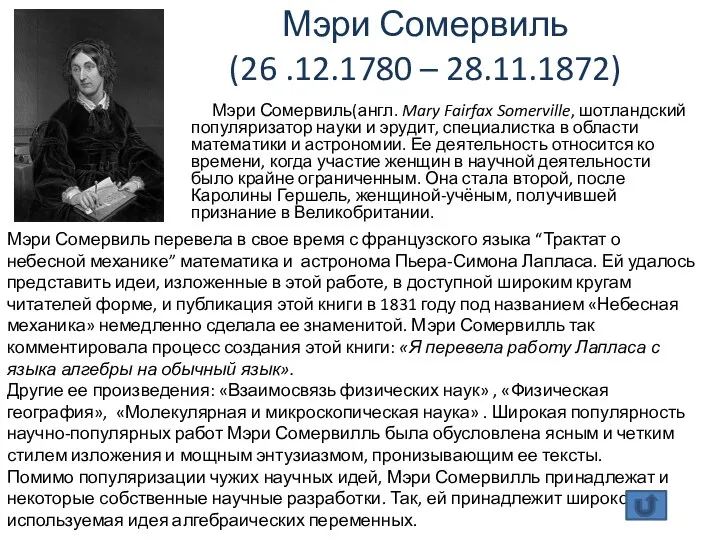 презентация о первой женщине-программисте Аде Лавлейс
 История создания Powerpoint
 Управление памятью. (Тема 12)
 Protocols. TCP/IP
 Happy New Year! By Slidesgo. Here is where your presentation begins
 Каналы утечки информации. Шифрование. Контроль целостности
 Электронные таблицы. Диаграммы
 Технологии и методы программирования
 Электронное государство на региональном уровне. (Раздел 2)
 Разработка современных мобильных приложений под Android
 ПДД проект
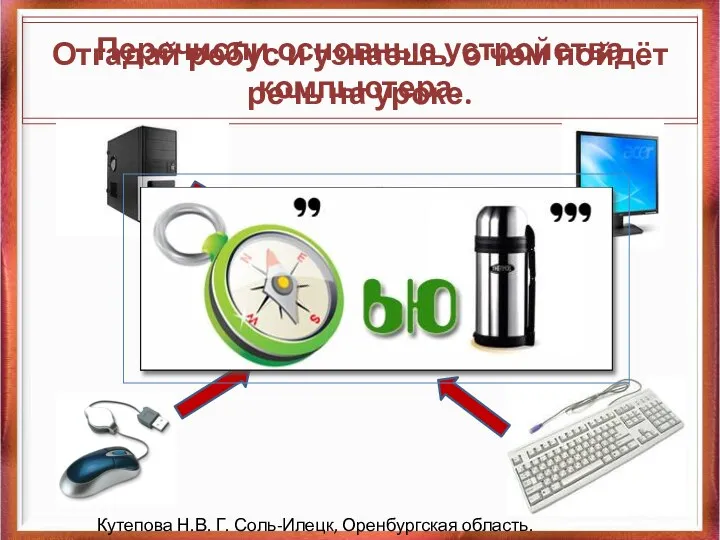 Основные устройства компьютера
 Физические основы информационных технологий. Глава 3. Физические основы записи, считывания и хранения информации
 Проект Социальные страницы ВКонтакте великих людей
 Інформаційна система готелю
 Альтернативный интернет
 История создания интернета
 Viber для бизнеса
 Платформа синтеза индивидуальных и системы распределённых ситуационных центров