- Veeam Replica

Содержание
- 2. Outline Replication job and its workflow Replication architecture Network Mapping and Re-IP Mapping/Seeding/Replica from Backup Key
- 3. process of copying a VM from its primary location to a destination location (redundant target host)
- 4. *on target site Direct SAN TM is available during the initial run of replication job Replication
- 5. Changes the VMWare network on the replica VM Applied directly to the target .vmx file on
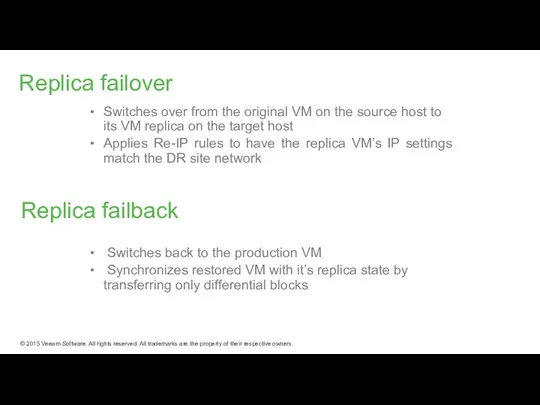
- 6. IP address, subnet mask, default gateway and DNS can all be changed for the replica VM
- 7. Have an existing VM on the target host that is similar to the production VM either
- 8. Make a backup locally, on-site Transfer it to the off-site (e.g. on a USB drive) to
- 9. Have backup(s) of VM on the target site Choose backup repositories that have backup(s) of the
- 10. Native VMWare snapshots are used as restore points on the replica VM Initial run: a copy
- 11. Detect best source and target proxies for each VM in the job Start Veeam agents: Source,
- 12. Key changes in vmx file
- 13. Replica failover Switches over from the original VM on the source host to its VM replica
- 14. 1) Revert to the selected restore point 2) Apply Re-IP rules to replica machine (involves mounting
- 15. Revert to the latest restore point Update replica summary field -> remove failover status Power off
- 16. Check replica and source vm configurations Detect source and target proxy modes Power-off original VM Create
- 17. Revert replica to the pre-failback state Update replica summary field -> return failover status Delete failback
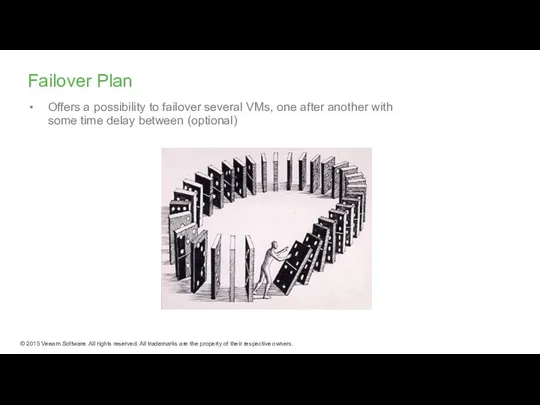
- 18. Failover Plan Offers a possibility to failover several VMs, one after another with some time delay
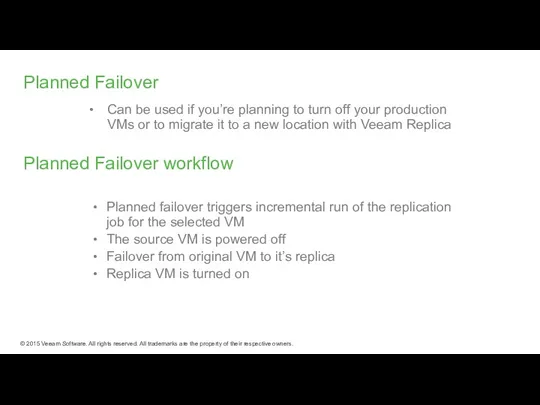
- 19. Planned Failover Can be used if you’re planning to turn off your production VMs or to
- 21. Скачать презентацию
Outline
Replication job and its workflow
Replication architecture
Network Mapping and Re-IP
Mapping/Seeding/Replica from Backup
Key
Outline
Replication job and its workflow
Replication architecture
Network Mapping and Re-IP
Mapping/Seeding/Replica from Backup
Key
process of copying a VM from its primary location to a
process of copying a VM from its primary location to a

*on target site Direct SAN TM is available during the initial
*on target site Direct SAN TM is available during the initial
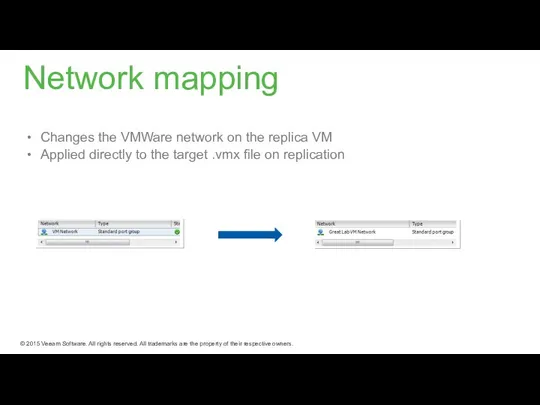
Changes the VMWare network on the replica VM
Applied directly to the
Changes the VMWare network on the replica VM
Applied directly to the
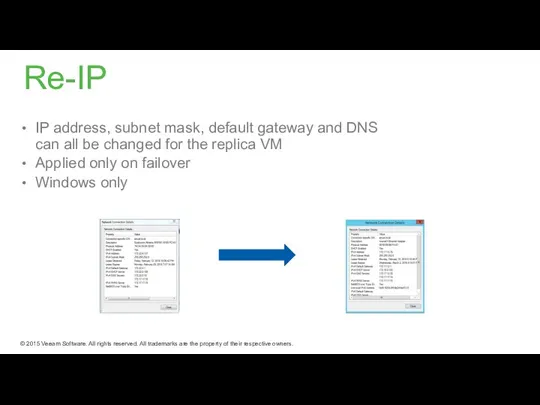
IP address, subnet mask, default gateway and DNS can all be
IP address, subnet mask, default gateway and DNS can all be

Have an existing VM on the target host that is similar
Have an existing VM on the target host that is similar
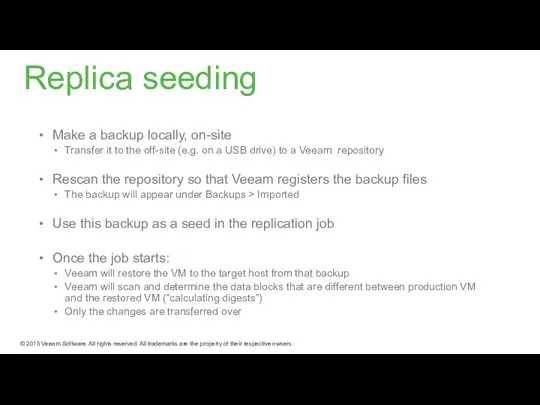
Make a backup locally, on-site
Transfer it to the off-site (e.g. on
Make a backup locally, on-site
Transfer it to the off-site (e.g. on
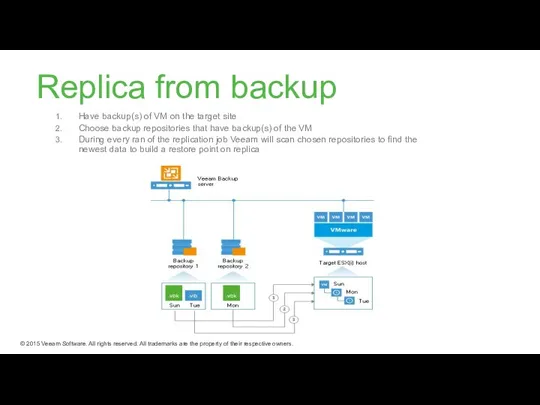
Have backup(s) of VM on the target site
Choose backup repositories that
Have backup(s) of VM on the target site
Choose backup repositories that

Native VMWare snapshots are used as restore points on the replica
Native VMWare snapshots are used as restore points on the replica

Detect best source and target proxies for each VM in the
Detect best source and target proxies for each VM in the
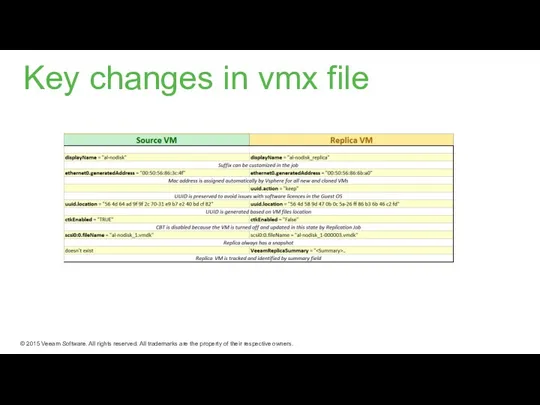
Key changes in vmx file
Key changes in vmx file
Replica failover
Switches over from the original VM on the source host
Replica failover
Switches over from the original VM on the source host
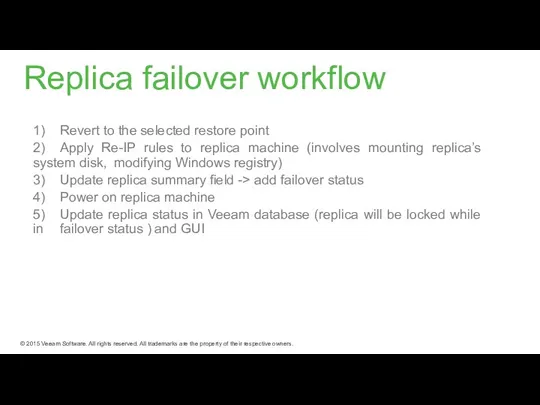
1) Revert to the selected restore point
2) Apply Re-IP rules to replica machine
1) Revert to the selected restore point
2) Apply Re-IP rules to replica machine

Revert to the latest restore point
Update replica summary field -> remove
Revert to the latest restore point
Update replica summary field -> remove

Check replica and source vm configurations
Detect source and target proxy modes
Power-off
Check replica and source vm configurations
Detect source and target proxy modes
Power-off
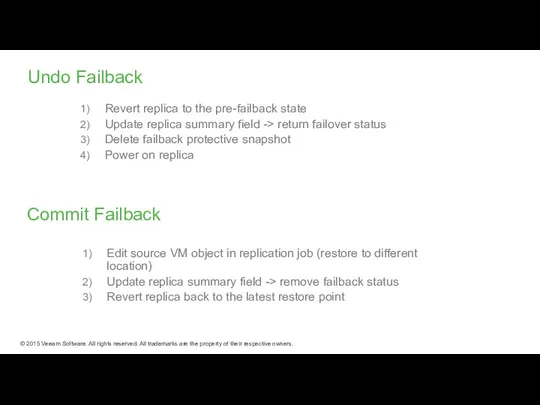
Revert replica to the pre-failback state
Update replica summary field -> return
Revert replica to the pre-failback state
Update replica summary field -> return
Failover Plan
Offers a possibility to failover several VMs, one after another
Failover Plan
Offers a possibility to failover several VMs, one after another
Planned Failover
Can be used if you’re planning to turn off your
Planned Failover
Can be used if you’re planning to turn off your
 Презентация по теме Компьютерные сети
 Представление о системах управления базами данных
 Ищем потерянный трафик
 Создание коллажа в программе Photoshop
 Social Media
 Причины создания распределенных приложений
 Язык HTML
 Табличные редакторы
 Теория алгоритмов. Алгоритмы сортировки массивов. (Лекция 2)
 Устройство компьютера. (10 класс)
 Логические элементы
 Амалдық жүйе
 Расчет параметров полнодоступных систем РИ с ожиданием
 Геоинформатика
 Программирование на языке C++. § 54. Алгоритм и его свойства
 Связь двоичной системы счисления с восьмеричной и шестнадцатеричной
 Стейты в React
 Введення до Oracle Database 11g
 Логистика. Производственная логистика
 Оператор выбора
 Алгоритми на графах 1
 Хранение информации в файлах. На примере c#
 Персональные данные
 Разработка метода повышения точности определения местоположения абонента мобильной связи
 Развивающие мобильные игры и приложения
 Библиотечно-библиографическая классификация (ББК)
 Как оставить отзыв о работе учреждения на официальном сайте для размещения информации
 Построение и анализ алгоритмов. Динамическое программирование. (Лекция 3)