Financial and information technology. Training. Travel and expense reimbursement. Workshop (WebGui) презентация
- Financial and information technology. Training. Travel and expense reimbursement. Workshop (WebGui)

Содержание
- 2. Table of Contents Travel and Expense Reimbursement Workshop (WebGui) Lesson 4: Create a Travel Request 31
- 3. Table of Contents Travel and Expense Reimbursement Workshop (WebGui) Lesson 5: Create an Expense Report 45
- 4. Overview Overview: Understand the different travel roles Learn how to create travel documents Learn how to
- 5. Objectives
- 6. Agenda
- 7. Agenda
- 8. Lesson 1: Travel Roles and Basic SAP Navigation (Travel Roles) Travel Reimbursement Requestor Can submit reimbursement
- 9. When to Use Travel Manager Travel Reimbursement To reimburse an individual’s out of pocket expenses Travel
- 10. Lesson 1: Travel Roles and Basic SAP Navigation WebGUI versus WinGUI Interface Everyone with the Travel
- 11. After logging into SAP, you will see the Welcome screen. Important information will be posted here,
- 12. Lesson 1: Travel Roles and Basic SAP Navigation (WebGUI Interface) WebGUI If you do not have
- 13. If you do not see the Welcome to the Travel Manager screen, click on TRIP –
- 14. Establish Settings: Use this to display Subsequent Activities, where you can create/change request or expense report
- 15. Lesson 2: Calculate Per Diem (Infocenter) Click the infocenter icon The Traveler Tab will default. This
- 16. Lesson 2: Calculate Per Diem (Search for Country) To obtain the correct Per Diem, enter the
- 17. Lesson 2: Calculate Per Diem (Search for Country) Search for Country The list displayed includes only
- 18. Lesson 2: Calculate Per Diem (Search for Country) Search for Country The search is case sensitive
- 19. Lesson 2: Calculate Per Diem (Search for Country) You can sort any column by clicking on
- 20. Lesson 2: Calculate Per Diem (Create Personal List) Create a Personal List You can create a
- 21. Lesson 2: Calculate Per Diem (Create Personal List) Create a Personal List Once the personal list
- 22. Lesson 2: Calculate Per Diem After selecting the Trip Country/Region: Click Enter on the keyboard to
- 23. Lesson 3: Change Personnel Number (via Travel Manager) Change Personnel Number This document will default with
- 24. Change Personnel Number If you know the Personnel Number you can enter if not click the
- 25. Change Personnel Number Search by employee name, enter the Last name and the * (wildcard), enter
- 26. Create a Travel Request Once you have changed the personnel number: Your name will no longer
- 27. Lesson 3: Change Personnel Number (via ZMTRR_Travel_Work_Li) Change Personnel Number (via transaction ZMTRR_TRAVEL_WORK_LI) If your security
- 28. Change Personnel Number (via transaction ZMTRR_TRAVEL_WORK_LI) Search by employee name enter the Last name and the
- 29. Change Personnel Number (via transaction ZMTRR_TRAVEL_WORK_LI) Double click the appropriate name from the list to select
- 30. Change Personnel Number (via transaction ZMTRR_TRAVEL_WORK_LI) Once you have changed the personnel number: Your name will
- 31. Lesson 4: Create a Travel Request Create a Travel Request This document is used to: Request
- 32. Lesson 4: Create a Travel Request (General Trip Data) Enter the Start of Trip The start
- 33. Lesson 4: Create a Travel Request (General Trip Data) Selecting the Time Select the hours as
- 34. Lesson 4: Create a Travel Request Additional Destinations Click the expand icon, to complete the additional
- 35. Lesson 4: Create a Travel Request (Advance) Advance Click the expand icon, to complete the Advance
- 36. Lesson 4: Create a Travel Request (Cost Distribution) The distribution can be split, by percentage, over
- 37. Lesson 4: Create a Travel Request (Comments) Comments Click the expand icon, to complete the Comments
- 38. Lesson 4: Create a Travel Request (Comments) Comments Loading an Excel File or Copy Paste Click
- 39. Lesson 4: Create a Travel Request (Travel Arrangements) Request Transportation/Accommodation This section is not required, but
- 40. Request Transportation/Accommodation Fill in information for each section you need an administrator to make the arrangements
- 41. Request Transportation/Accommodation The checks indicate that information is stored for that item. The information will be
- 42. Lesson 4: Create a Travel Request (Overview) Overview of the Travel Request Click the overview icon.
- 43. Lesson 4: Create a Travel Request (Save versus Submit) Save the Travel Request Click the icon
- 44. Follow-up Documentation Once the travel request has been submitted to workflow, a message will appear indicating
- 45. Lesson 5: Create an Expense Report To create a Travel Expense Report when a Travel Request
- 46. Lesson 5: Create an Expense Report (Trip Schema) Choose Trip Schema A trip schema has to
- 47. Domestic Trip Allows for a date range Cannot have more than one travel document with the
- 48. International Trip Allows for a date range Cannot have more than one travel document with the
- 49. Non-Travel Related Expense Only allows for one date (not a date range) Cannot have more than
- 50. Lesson 5: Create an Expense Report (General Trip Data) When creating an Expense Report that has
- 51. Lesson 5: Create an Expense Report (Cost Distribution) Alternative Cost Assignment When creating an Expense Report
- 52. Lesson 5: Create an Expense Report (Mileage) Mileage Either enter the total mileage in Miles/Km Or
- 53. Lesson 5: Create an Expense Report (Per Diem Meals) Meals This is used for Per Diem
- 54. Lesson 5: Create an Expense Report (Expense Receipts) Expense Receipt Select the Exp. Receipt from the
- 55. Lesson 5: Create an Expense Report (Airfare) Airfare Receipt If the traveler should be reimbursed the
- 56. Lesson 5: Create an Expense Report (Airfare) Search for Airline Provider Click the search icon in
- 57. Lesson 5: Create an Expense Report (Airfare) For each receipt you have the option of changing
- 58. Lesson 5: Create an Expense Report (Lodging) Lodging Receipt If the traveler should be reimbursed the
- 59. Lesson 5: Create an Expense Report (Lodging)
- 60. Lesson 5: Create an Expense Report (Lodging Excess of Max) Lodging in Excess of Max –
- 61. Lodging in Excess of Max – For Domestic Travel If you receive the message the expense
- 62. Lesson 5: Create an Expense Report (Receipt Wizard)
- 63. Lesson 5: Create an Expense Report (Receipt Wizard)
- 64. Split Receipt Use this to post the expenses to the proper GL account. The hotel bill
- 65. You can leave the remaining amount as a lump sum – select Do Not Divide Receipt
- 66. A summary of the itemized expenses will display If incorrect click icon to redo If correct
- 67. Import Expenses from American Express Bill If the traveler used the JHU Corporate American Express card
- 68. Lesson 5: Create an Expense Report (Foreign Currency Receipt) Enter a Receipt in Foreign Currency Select
- 69. When you transfer the receipt it will default with the outdated exchange rate. This must be
- 70. Lesson 5: Create an Expense Report (Attaching Scanned Receipts) Attaching Scanned Expense Receipts This is optional,
- 71. The document must be Saved to obtain a trip number and the Services for Object Icon.
- 72. Double click Travel Expense document-PDF format Locate your scanned PDF file and double click Click the
- 73. Lesson 5: Create an Expense Report (Attaching Scanned Receipts) To verify the documentation is attached: Click
- 74. Lesson 5: Create an Expense Report (Save versus Submit) Save the Expense Report Click the icon
- 75. Lesson 6: Check Document Status
- 76. Lesson 6: Check Document Status (Definitions) Document Status – Definitions Request or Trip Completd/To Be Settd
- 77. Request or Trip on Hold/To be Settd Sometimes the faxed receipts are unreadable when received in
- 78. Lesson 6: Check Document Status (Review Workflow) Display the Workflow Status From the List of All
- 79. This example shows an expense report that was modified multiple times. You need to look at
- 80. If there are five employees with the Travel Approver role for your cost object – the
- 81. Document Waiting for Approvals The Status displays ‘Ready’ The Agent displays ‘Information’ Click the Information link
- 82. To Change or Display an Expense Report Click to highlight (select) the expense report Click: to
- 84. Скачать презентацию
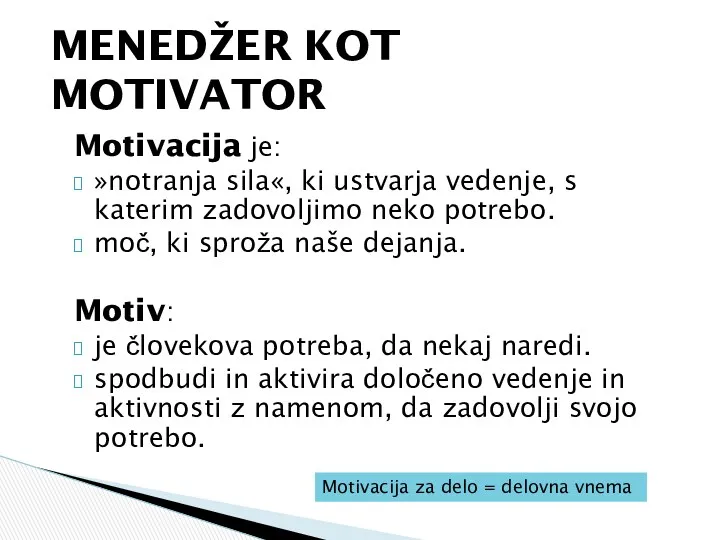 Menedžer kot motivator
 Цели и задачи стратегического планирования
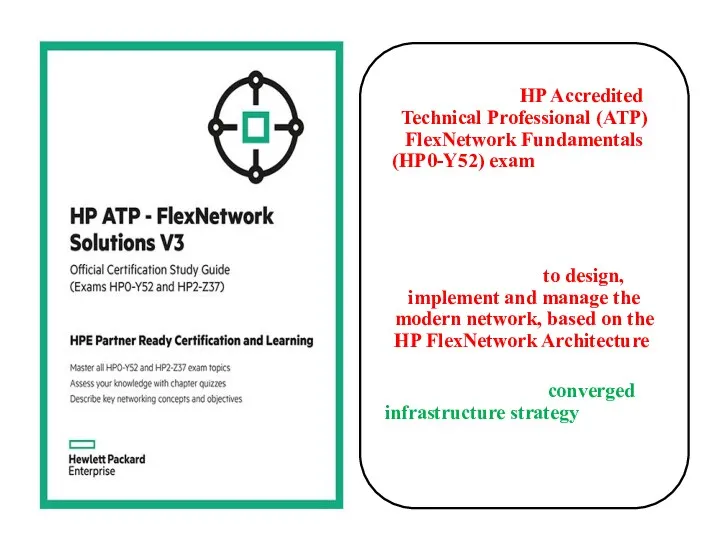 Introduction to HP Networking
 Обратная связь как регулятор эффективности подчинённых
 Innovation project management
 Стратегический менеджмент. Стратегии тоже нужна стратегия
 Риск-менеджмент. Отличительные признаки бизнеса в риск-менеджменте
 Наиболее значимые элементы внутренней среды ЗАО Костромской завод автокомпонентов
 Концепция lean production
 Служба сервиса ПАО КАМАЗ
 Понятие комплексной безопасности предприятия
 Национальная культура и кросскультурный менеджмент
 Тайм-менеджмент / Самоменеджмент
 Организационные формы и методы профессионального обучения. Коучинг - технология эффективного решения проблем. (Тема 12)
 Кодекс деловой этики акционерного общества Федеральная пассажирская компания
 Система сбалансированных показателей, ключевые показатели результативности
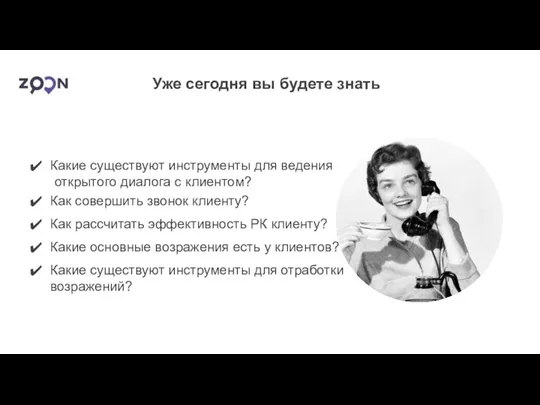 Инструменты для ведения открытого диалога с клиентом
 Введение в дисциплину Корпоративная социальная ответственность
 Скрипт Исходящий звонок по заявке с сайта
 Документоведение и делопроизводство
 Региональный менеджмент
 Логистика распределения
 Управление конфликтами. (Лекция 18)
 Процессуальные теории мотивации: теория ожиданий, теория справедливости, теория Портера-Лоулера
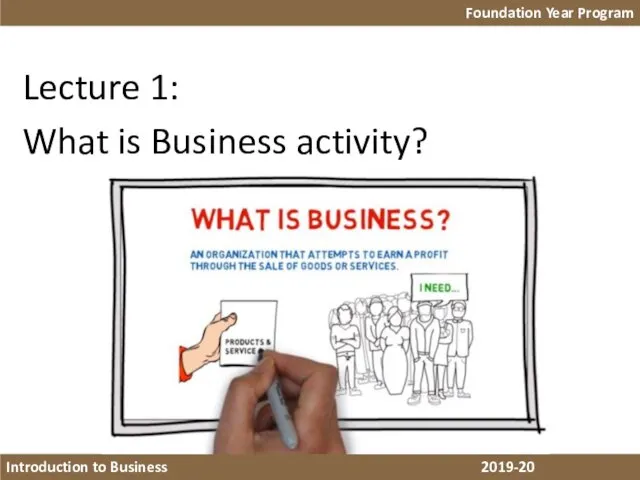 Business activity. (Lecture 1)
 Особенности управления персоналом в санатории им. А.А. Боброва
 Разработка проекта
 Европейская концепция гостиницы