- PyGame intro

Содержание
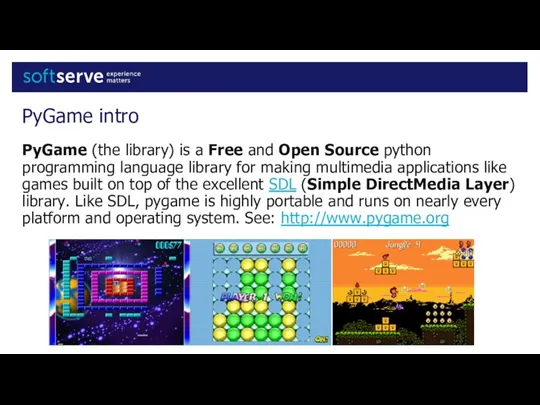
- 2. PyGame intro PyGame (the library) is a Free and Open Source python programming language library for
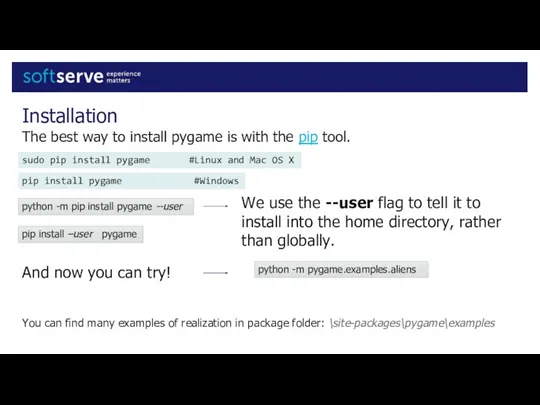
- 3. Installation The best way to install pygame is with the pip tool. python -m pip install
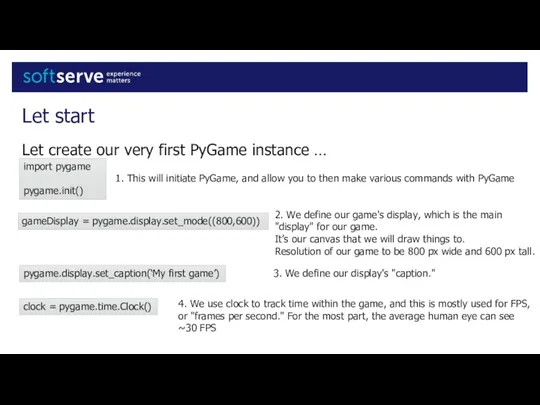
- 4. Let start Let create our very first PyGame instance … import pygame pygame.init() 1. This will
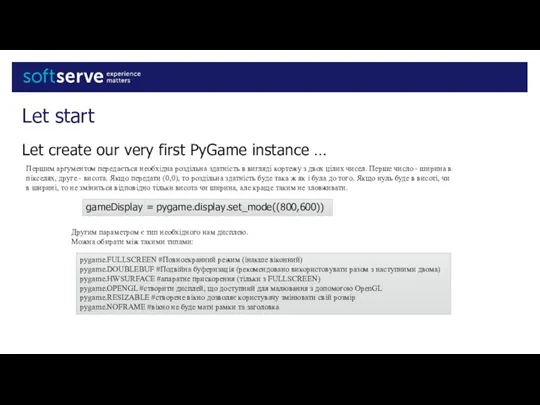
- 5. Let start Let create our very first PyGame instance … gameDisplay = pygame.display.set_mode((800,600)) Першим аргументом передається
- 6. Main game Loop
- 7. # Loop until the user clicks the close button. done = False # Used to manage
- 8. Main program Loop First we declarate variable done Then, we run our "game loop," which will
- 9. Quit pygame.quit() - will end our pygame instance. Then we can run a simple quit(), which
- 10. Handles events for event in pygame.event.get(): if event.type == pygame.QUIT: print("User asked to quit.") elif event.type
- 11. Pixel Coordinates and Colors In Pygame, we represent colors with tuples of three integers. RGB values.
- 12. Draw primitives A program can draw things like rectangles, polygons, circles, ellipses, arcs, and lines :
- 13. Drawing Text There are three things that need to be done. First, the program creates a
- 14. Documentation http://pygame.org/wiki/GettingStarted http://www.pygame.org/docs/ http://programarcadegames.com/index.php?lang=en https://pythonprogramming.net/pygame-python-3-part-1-intro/ http://inventwithpython.com/pygame/
- 16. Скачать презентацию
PyGame intro
PyGame (the library) is a Free and Open Source python
PyGame intro
PyGame (the library) is a Free and Open Source python
Installation
The best way to install pygame is with the pip tool.
python
Installation
The best way to install pygame is with the pip tool.
python
Let start
Let create our very first PyGame instance …
import pygame
pygame.init()
1. This
Let start
Let create our very first PyGame instance …
import pygame
pygame.init()
1. This
Let start
Let create our very first PyGame instance …
gameDisplay = pygame.display.set_mode((800,600))
Першим
Let start
Let create our very first PyGame instance …
gameDisplay = pygame.display.set_mode((800,600))
Першим
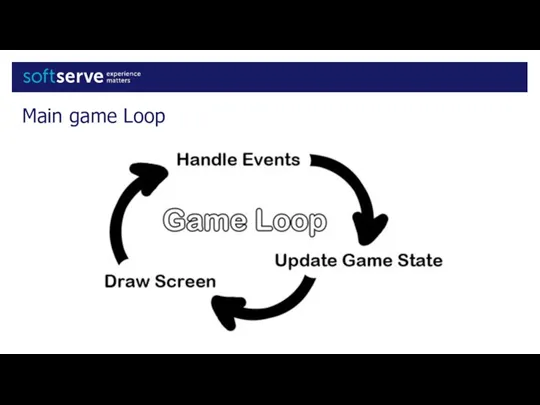
Main game Loop
Main game Loop
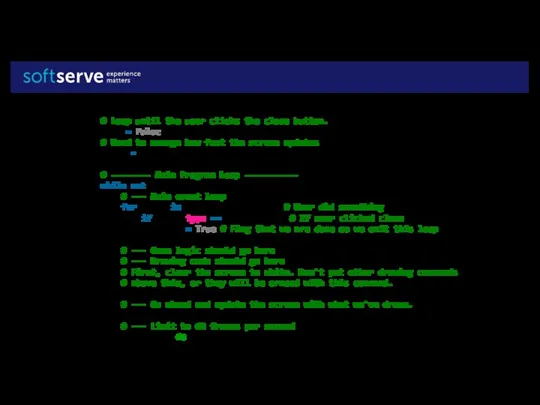
# Loop until the user clicks the close button.
done = False
#
# Loop until the user clicks the close button.
done = False
#
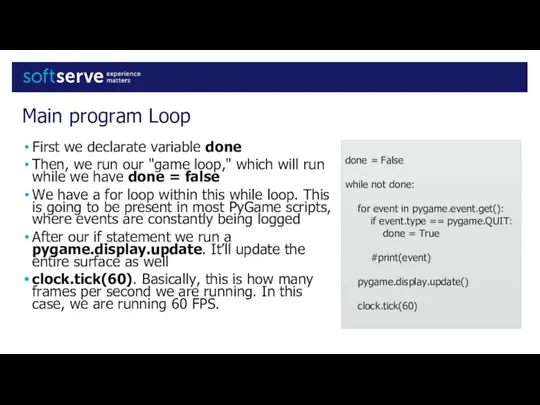
Main program Loop
First we declarate variable done
Then, we run our "game
Main program Loop
First we declarate variable done
Then, we run our "game

Quit
pygame.quit() - will end our pygame instance.
Then we can run
Quit
pygame.quit() - will end our pygame instance.
Then we can run
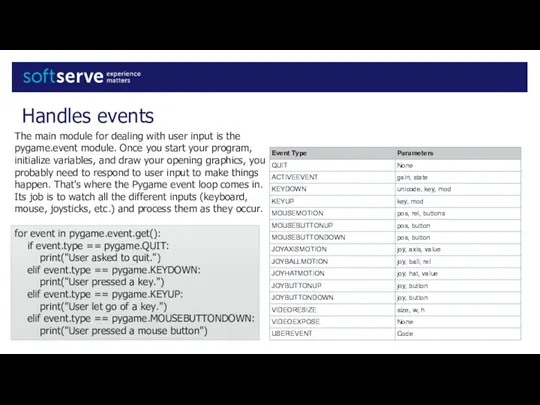
Handles events
for event in pygame.event.get():
if event.type == pygame.QUIT:
print("User asked
Handles events
for event in pygame.event.get():
if event.type == pygame.QUIT:
print("User asked
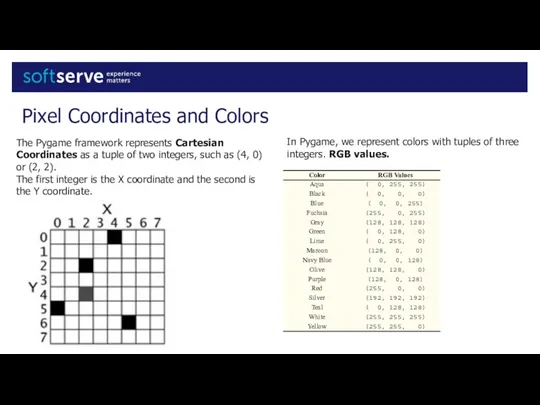
Pixel Coordinates and Colors
In Pygame, we represent colors with tuples of
Pixel Coordinates and Colors
In Pygame, we represent colors with tuples of
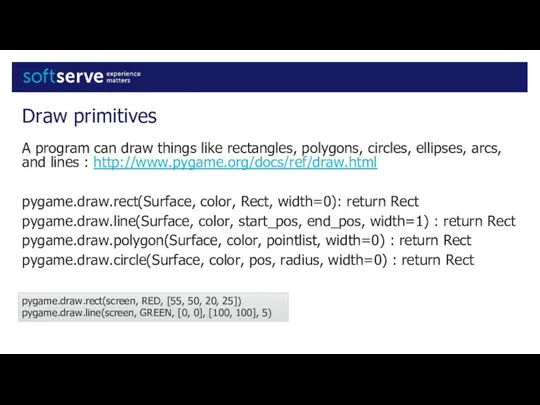
Draw primitives
A program can draw things like rectangles, polygons, circles, ellipses,
Draw primitives
A program can draw things like rectangles, polygons, circles, ellipses,
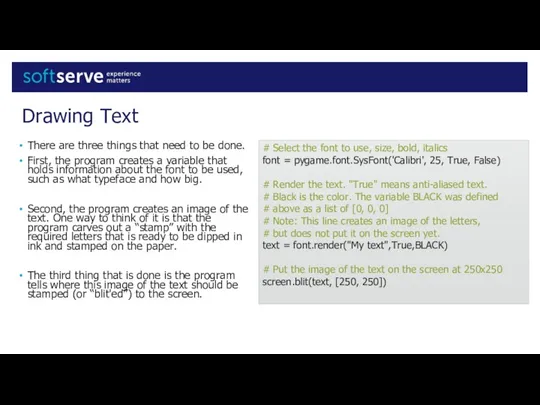
Drawing Text
There are three things that need to be done.
First,
Drawing Text
There are three things that need to be done.
First,
Documentation
http://pygame.org/wiki/GettingStarted
http://www.pygame.org/docs/
http://programarcadegames.com/index.php?lang=en
https://pythonprogramming.net/pygame-python-3-part-1-intro/
http://inventwithpython.com/pygame/
Documentation
http://pygame.org/wiki/GettingStarted
http://www.pygame.org/docs/
http://programarcadegames.com/index.php?lang=en
https://pythonprogramming.net/pygame-python-3-part-1-intro/
http://inventwithpython.com/pygame/
 Выбор профессии-дело серьезное!
 Моя будущая профессия - милиционер
 Тестопластика
 Воспитательная деятельность
 Активные методы обучения
 Анализ отечественного опыта стандартизации в образовании
 Организация психолого-педагогической работы по речевому развитию
 Мастер-класс Создание теста при помощи шаблонов. Технологический прием Универсальный тренажёр
 Технология развивающего обучения
 Школьная форма. Родительское собрание
 Семья - ячейка общества и фактор социализации человека
 День здоровья
 Учителями славится Россия
 Волшебные превращения комочка пластилина
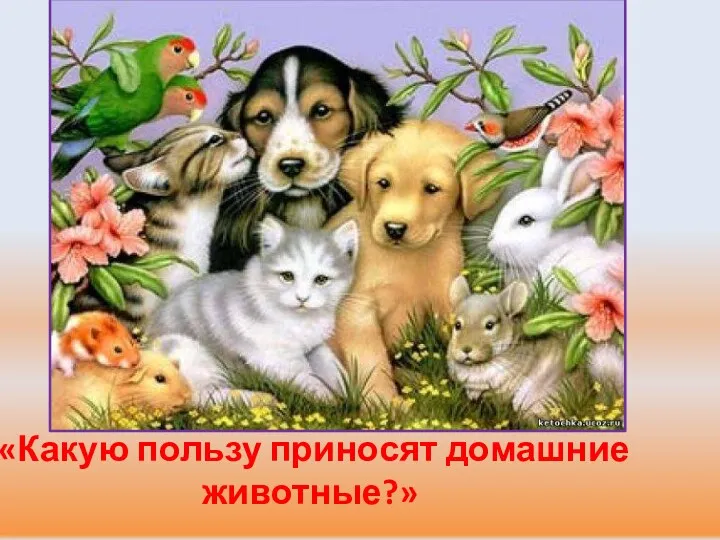 Домашние животные
 родительское собрание - идеальные родители и дети глазами друг друга
 Строительные профессии
 Буква Л. Дидактическая игра
 Аксессуар на зиму. Шарф
 Портфолио учителя изобразительного искусства
 Использование УМК Сферы для формирования регулятивных УУД у обучающихся на уроках математики
 Зима. Чудесное зимнее путешествие (для дошкольников)
 Конференция для пап 2013 г.
 Разработка детской книги-вырубки Баба яга
 Лэпбук как средство развития речи у детей старшего дошкольного возраста
 Формирование и развитие УУД в рамках системно-деятельностного подхода
 Родительское собрание: Основные правила защиты детей от Интернет опасностей.
 Интерактивная игра Эрудит