Mini ORMaC is a 3D printed robot with a green LED
eye that lights up. No soldering is required
Step 1: Identify the blue resistor and bend the leads into a shape of a U as shown
Step 2: Insert the resistor into the slot in the front of ORMaC until it is fully seated in the slot
Step 3: Bend each lead into the horizontal slots as shown while holding the resistor in the slot
Step 4: Identify the green LED. Look closely and determine which lead is longer
Step 5: With the longer lead on the bottom as shown, push the LED into the back side of ORMaC’s head. Bend the long LED lead as shown and the short lead into the large slot
Step 6: Insert the battery with the marked side as shown. If you then press the long lead against the folded resistor lead, the LED should light up
Step 7: Insert the slide switch into the back of ORMaC as shown
Step 8: After aligning the round boss of the back into the LED hole, snap the back of ORMaC onto the body
Step 9: Slide the switch toward the top of ORMaC to light up the LED
Step 10: Hang ORMaC from your Halloween costume. Make sure he is secure so he does not get lost!


 Игра Пчёлка собирает мёд на дифференциацию букв З - С
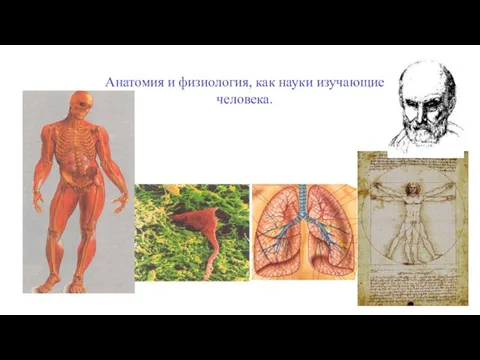 Анатомия и физиология как науки, изучающие человека
 Туган ягым
 Бюджетирование. Понятие бюджета предприятия
 Маркировка сталей
 Лесная промышленность России
 : Лекарственные растения.
 Тема 4.2 Метод дихотомии. Метод золотого сечения
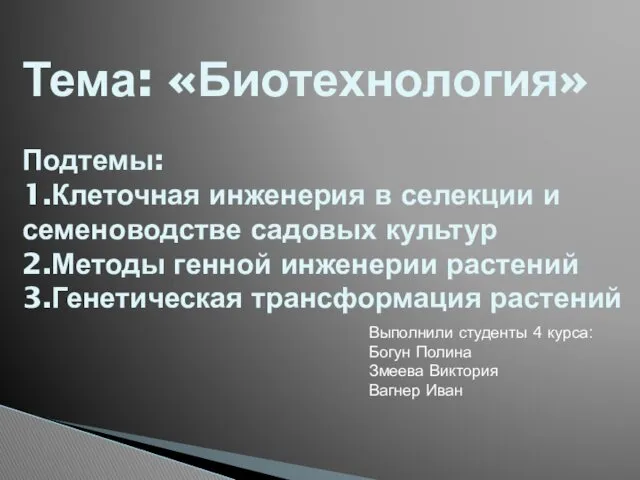 Клеточная инженерия в селекции садовых культур. Методы генной инженерии растений. Генетическая трансформация растений
 Травма 1. Классификация травм
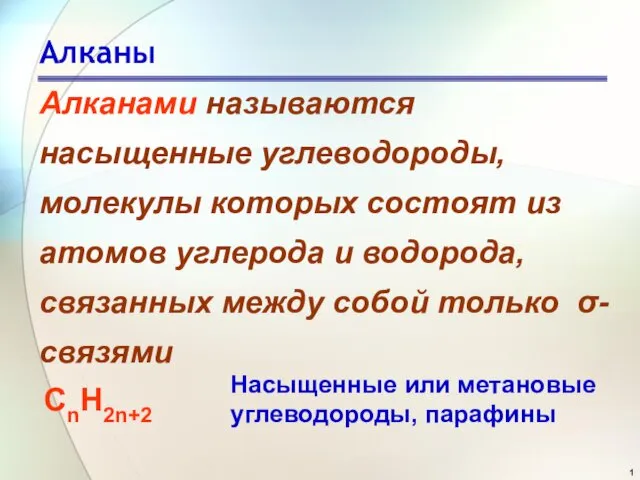 Алканы. Гомологический ряд предельных углеводородов
 Изучение детей с общим недоразвитием речи
 7 класс: История открытия Австралии
 Минин и Пожарский: защитники земли русской
 Мифы Древней Греции
 Религия и ее роль в жизни общества
 Зат алмасуының гормонды реттелуі
 Презентация к игре - путешествию ...к Василию на остров.
 План мероприятий Молодежного добровольческого центра УрГПУ
 Разработка технологии изготовления детали Клемма
 Презентация Наша группа
 Презентация Обучение дошкольников правилам дорожного движения
 Отставание с разработкой методов лечения и профилактики опасных болезней
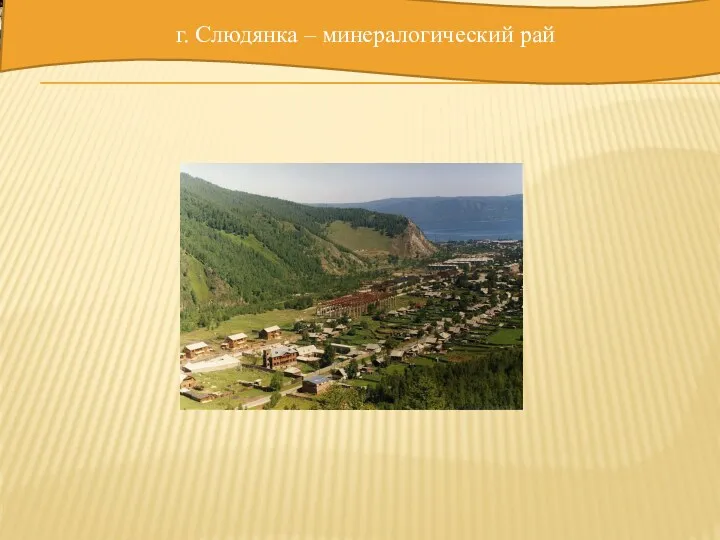 г. Слюдянка – минералогический рай
 Дорогая подруга Ирина
 Портфоліо. Мазурчук Олена Григорівна
 Классификация опасных и вредных производственных факторов и средства защиты работающих
 Особенности организации проектной деятельности в образовательных организациях РФ