- Chocolate tempering

Содержание
- 2. PLAN Tempering Chocolate and Why How To Temper Chocolate Tempering Chocolate Prepare different types of Chocolate
- 3. I. TEMPERING CHOCOLATE AND WHY Cocoa butter is the fat in the cacao bean that gives
- 4. I. TEMPERING CHOCOLATE AND WHY Cocoa butter is fat that is composed of three to four
- 5. I. TEMPERING CHOCOLATE AND WHY Tempering is like organizing individual dancers at a party into a
- 6. I. TEMPERING CHOCOLATE AND WHY In the tempering process, melted chocolate is first cooled, causing the
- 7. II. HOW TO TEMPER CHOCOLATE How do you temper chocolate, and why do you do it?
- 8. II. HOW TO TEMPER CHOCOLATE As you can see, there is a dull white sheen on
- 9. II. HOW TO TEMPER CHOCOLATE Pages and volumes of technical research have been written about tempering
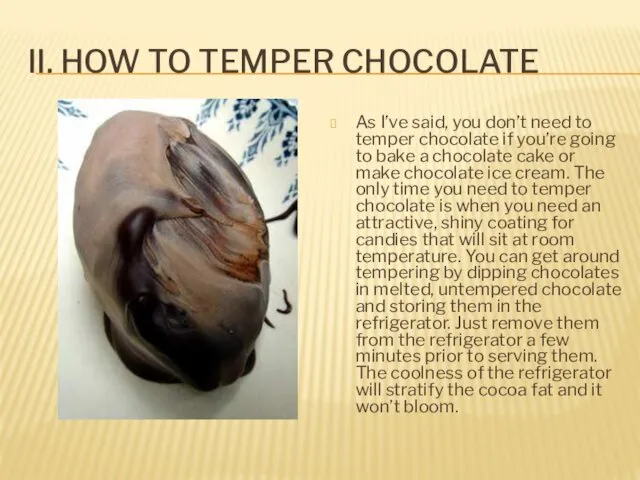
- 10. II. HOW TO TEMPER CHOCOLATE As I’ve said, you don’t need to temper chocolate if you’re
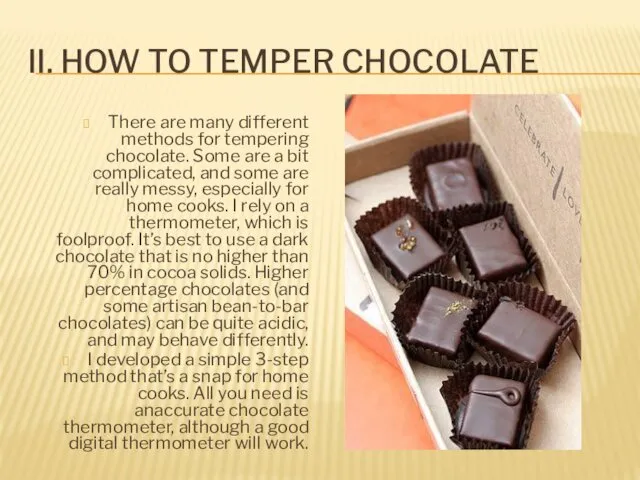
- 11. II. HOW TO TEMPER CHOCOLATE There are many different methods for tempering chocolate. Some are a
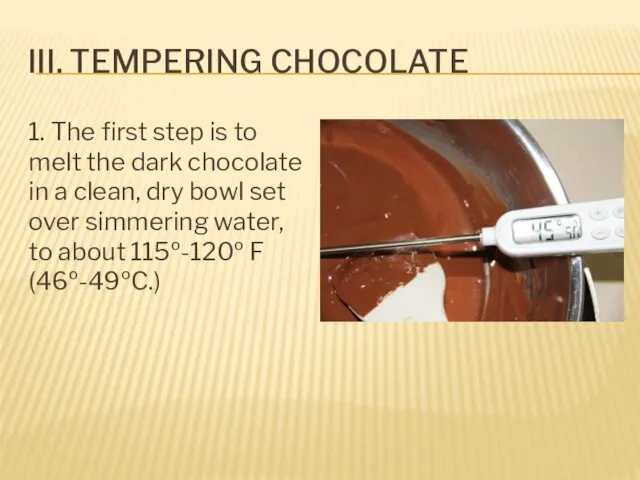
- 12. III. TEMPERING CHOCOLATE 1. The first step is to melt the dark chocolate in a clean,
- 13. III. TEMPERING CHOCOLATE 2. Remove from heat and let it cool to the low 80ºs F
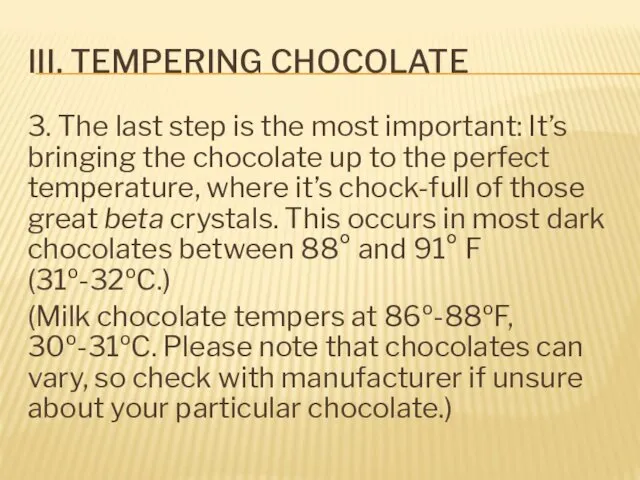
- 14. III. TEMPERING CHOCOLATE 3. The last step is the most important: It’s bringing the chocolate up
- 15. III. TEMPERING CHOCOLATE 4. Remove what’s left of the chunk of ‘seed’ chocolate, and your chocolate
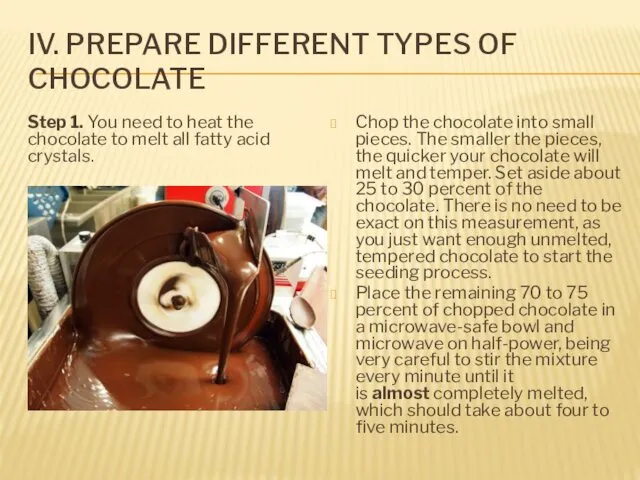
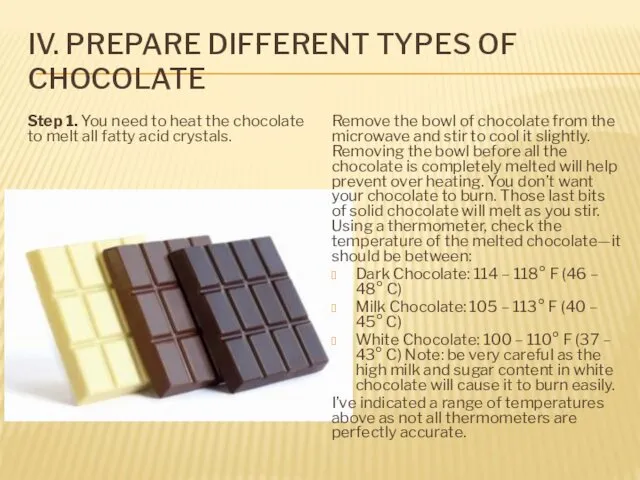
- 16. IV. PREPARE DIFFERENT TYPES OF CHOCOLATE Step 1. You need to heat the chocolate to melt
- 17. IV. PREPARE DIFFERENT TYPES OF CHOCOLATE Step 1. You need to heat the chocolate to melt
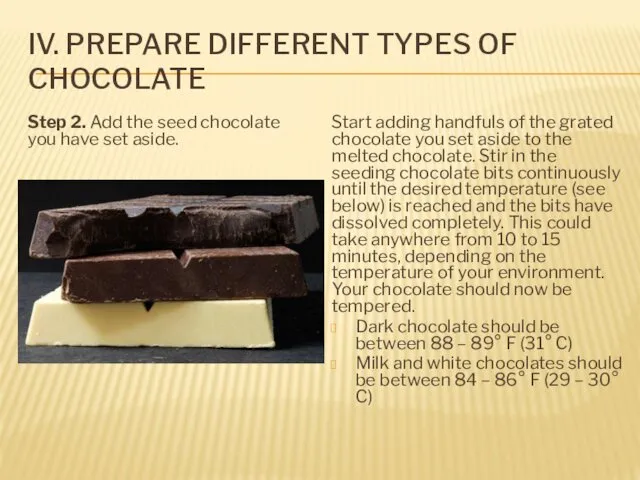
- 18. IV. PREPARE DIFFERENT TYPES OF CHOCOLATE Step 2. Add the seed chocolate you have set aside.
- 20. Скачать презентацию

PLAN
Tempering Chocolate and Why
How To Temper Chocolate
Tempering Chocolate
Prepare different types of
PLAN
Tempering Chocolate and Why
How To Temper Chocolate
Tempering Chocolate
Prepare different types of

I. TEMPERING CHOCOLATE AND WHY
Cocoa butter is the fat in the
I. TEMPERING CHOCOLATE AND WHY
Cocoa butter is the fat in the
I. TEMPERING CHOCOLATE AND WHY
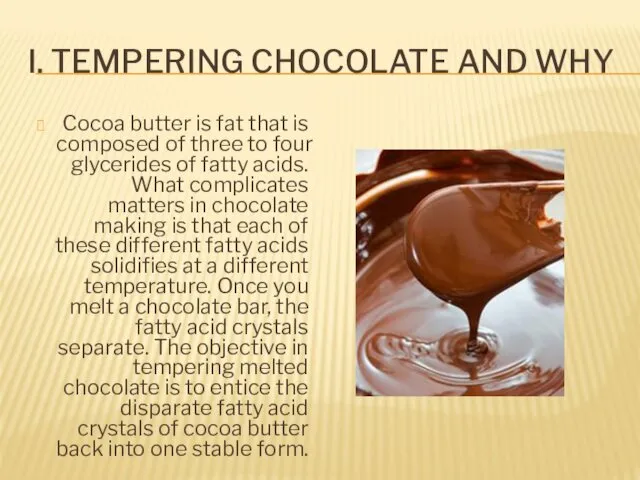
Cocoa butter is fat that is composed
I. TEMPERING CHOCOLATE AND WHY
Cocoa butter is fat that is composed

I. TEMPERING CHOCOLATE AND WHY
Tempering is like organizing individual dancers at
I. TEMPERING CHOCOLATE AND WHY
Tempering is like organizing individual dancers at

I. TEMPERING CHOCOLATE AND WHY
In the tempering process, melted chocolate is
I. TEMPERING CHOCOLATE AND WHY
In the tempering process, melted chocolate is
II. HOW TO TEMPER CHOCOLATE
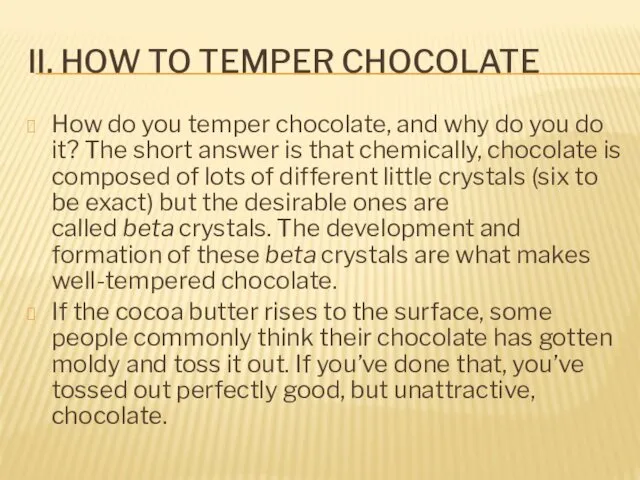
How do you temper chocolate, and why
II. HOW TO TEMPER CHOCOLATE
How do you temper chocolate, and why
II. HOW TO TEMPER CHOCOLATE
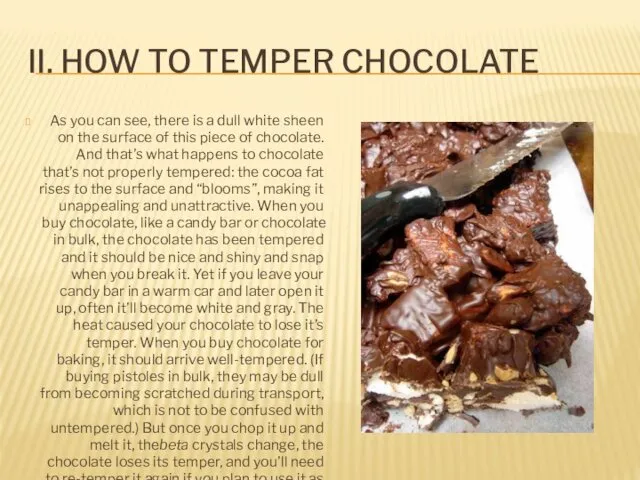
As you can see, there is a
II. HOW TO TEMPER CHOCOLATE
As you can see, there is a
II. HOW TO TEMPER CHOCOLATE
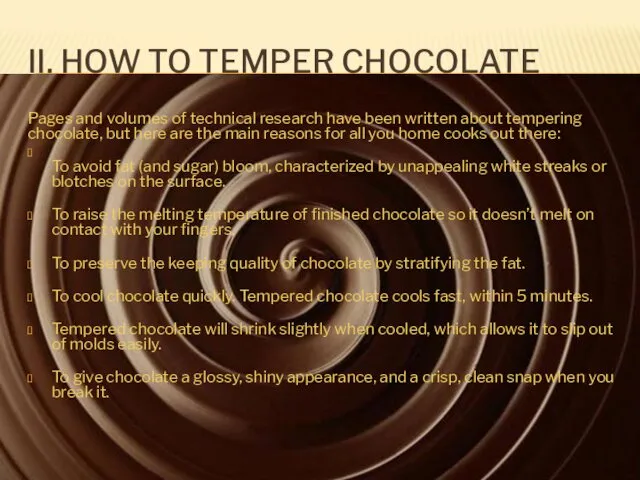
Pages and volumes of technical research have
II. HOW TO TEMPER CHOCOLATE
Pages and volumes of technical research have
II. HOW TO TEMPER CHOCOLATE
As I’ve said, you don’t need to
II. HOW TO TEMPER CHOCOLATE
As I’ve said, you don’t need to
II. HOW TO TEMPER CHOCOLATE
There are many different methods for tempering
II. HOW TO TEMPER CHOCOLATE
There are many different methods for tempering
III. TEMPERING CHOCOLATE
1. The first step is to melt the dark
III. TEMPERING CHOCOLATE
1. The first step is to melt the dark

III. TEMPERING CHOCOLATE
2. Remove from heat and let it cool to
III. TEMPERING CHOCOLATE
2. Remove from heat and let it cool to
III. TEMPERING CHOCOLATE
3. The last step is the most important: It’s
III. TEMPERING CHOCOLATE
3. The last step is the most important: It’s

III. TEMPERING CHOCOLATE
4. Remove what’s left of the chunk of ‘seed’
III. TEMPERING CHOCOLATE
4. Remove what’s left of the chunk of ‘seed’
IV. PREPARE DIFFERENT TYPES OF CHOCOLATE
Step 1. You need to heat the
IV. PREPARE DIFFERENT TYPES OF CHOCOLATE
Step 1. You need to heat the
IV. PREPARE DIFFERENT TYPES OF CHOCOLATE
Step 1. You need to heat the
IV. PREPARE DIFFERENT TYPES OF CHOCOLATE
Step 1. You need to heat the
IV. PREPARE DIFFERENT TYPES OF CHOCOLATE
Step 2. Add the seed chocolate you
IV. PREPARE DIFFERENT TYPES OF CHOCOLATE
Step 2. Add the seed chocolate you
 Этикет приемов
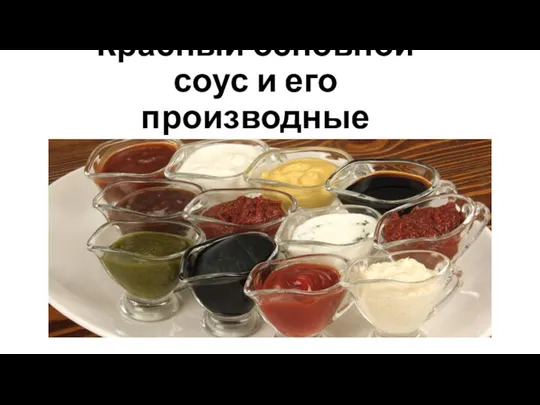 Красный основной соус и его производные
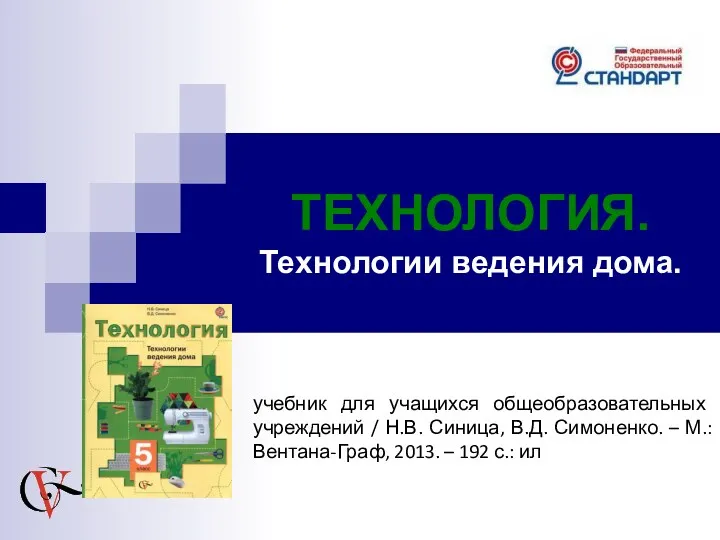 Технологии ведения дома
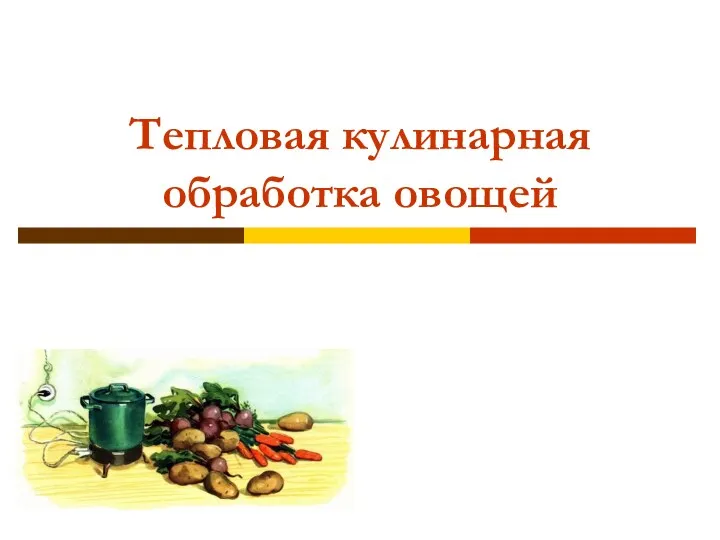 Тепловая кулинарная обработка овощей
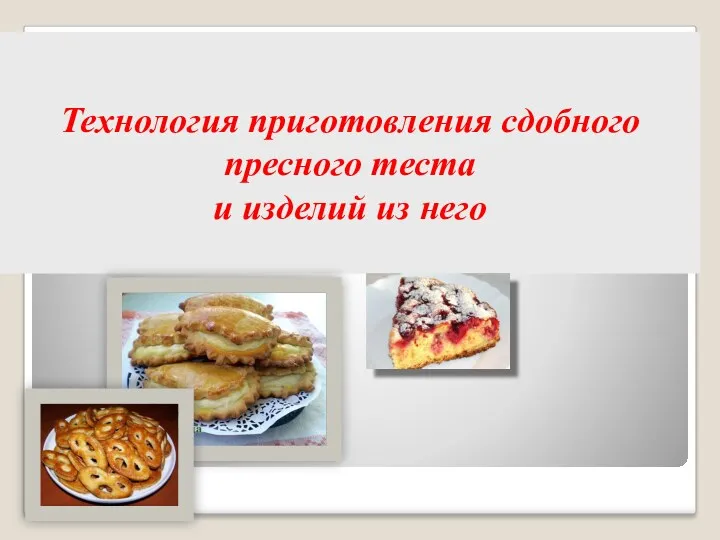 Технология приготовления сдобного пресного теста и изделий из него
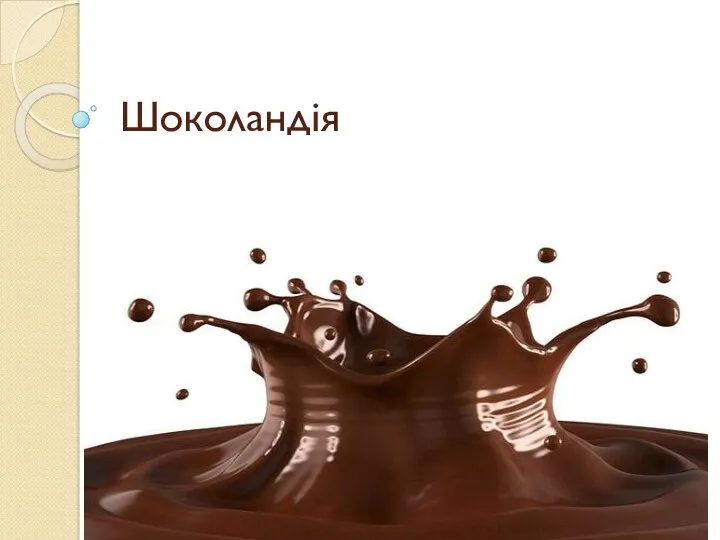 Шоколандія
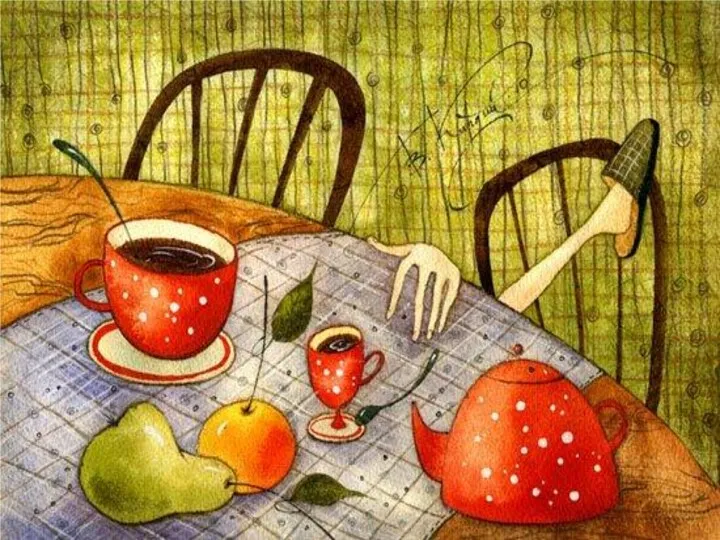 Сладкая история
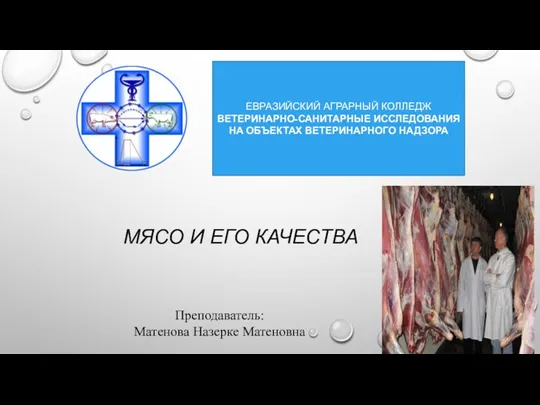 Мясо и его качества
 Постное печенье
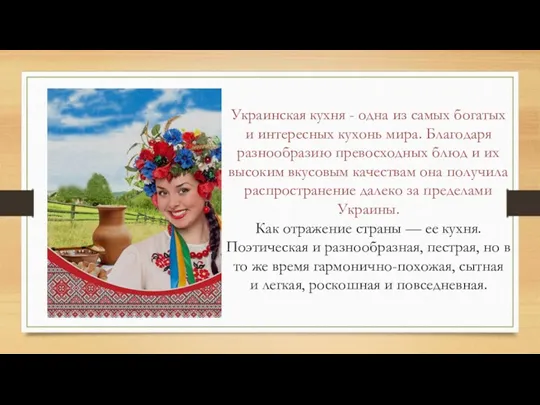 Украинская кухня
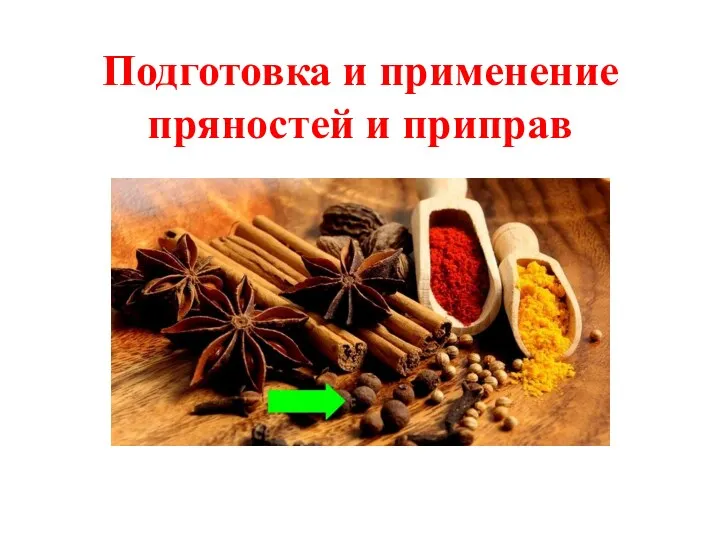 Пряности и приправы. Подготовка и применение
 Команда Кукутики. Наш девиз: Быстрые и смелые, дерзкие – умелые. МБДОУ Детский сад № 13 Незабудка г. Северодвинск
 Любимое лакомство - шоколад
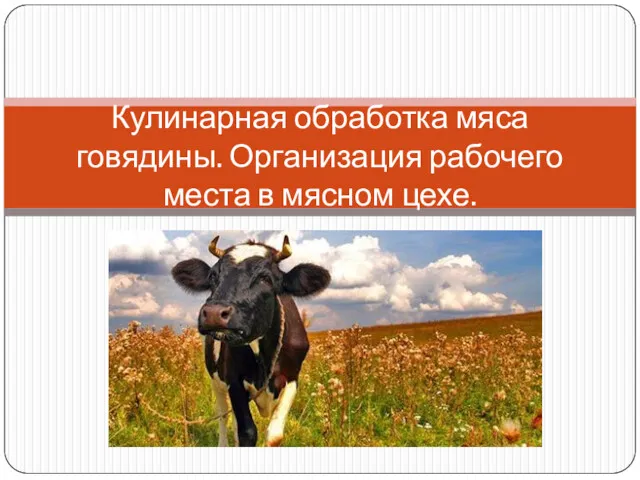 Кулинарная обработка мяса говядины. Организация рабочего места в мясном цехе
 The brooklyn beer
 Национальная кухня удмуртов
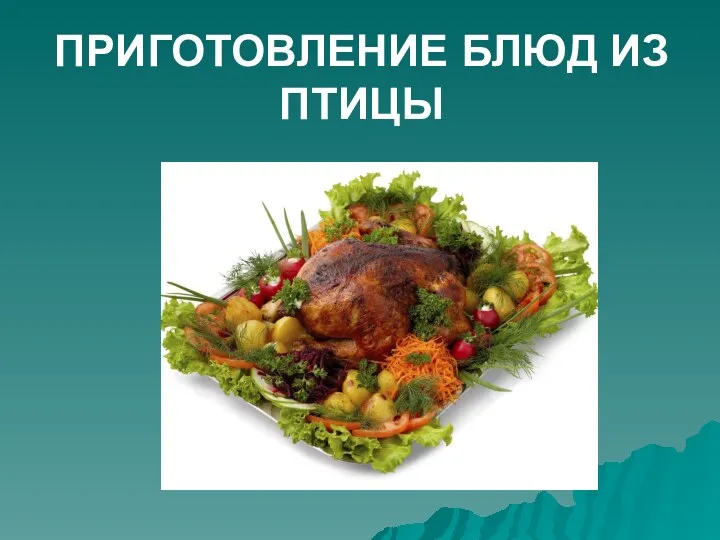 Приготовление блюд из птиц
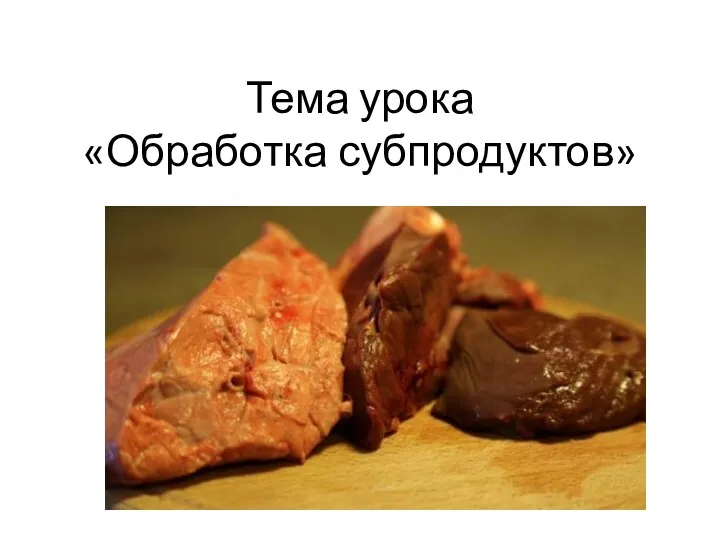 Обработка субпродуктов
 Вермут — крепленое вино, ароматизированное ингредиентами растительного происхождения
 Воскресный обед
 Украшение блюд
 Бульоны . Тесты
 Шведский стол
 Сравнительная оценка технологии приготовления бурятских и тувинских бууз
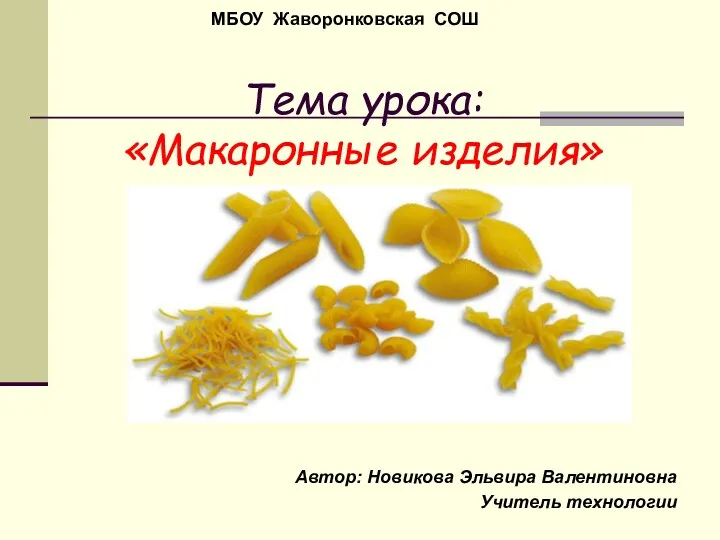 Макаронные изделия
 Механическая кулинарная обработка и использование кальмаров
 Traditional Japanese cuisine
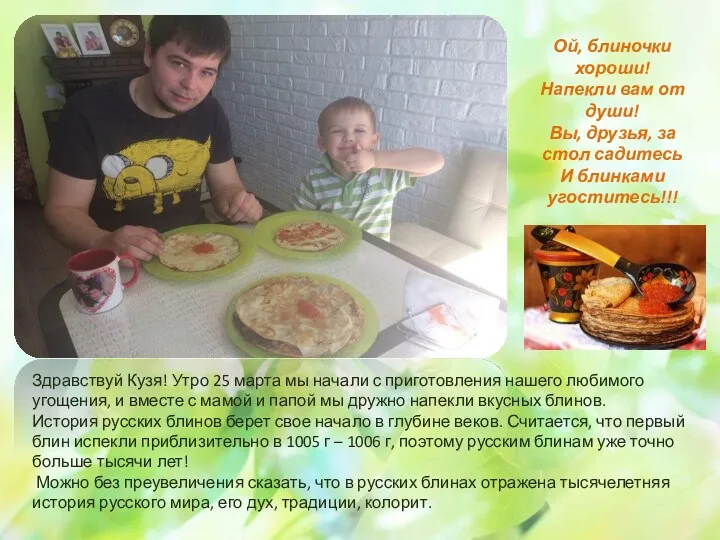 Ой, блиночки хороши!