- Canopy Course USPA B-License

Содержание
- 2. Introduction Basic Aerodynamics & How the Canopy Flies. Canopy Design Wingloading and it’s effects. Downsizing progression.
- 3. Basic Aerodynamics How the Canopy Flies: The A lines (located at the front of the canopy)
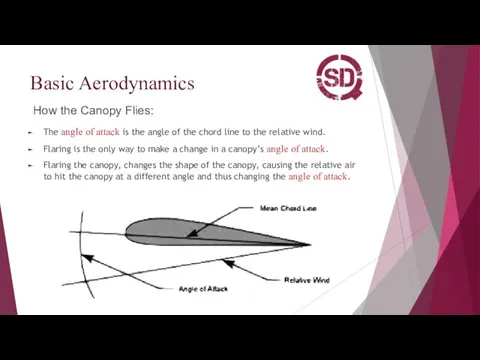
- 4. Basic Aerodynamics How the Canopy Flies: The angle of attack is the angle of the chord
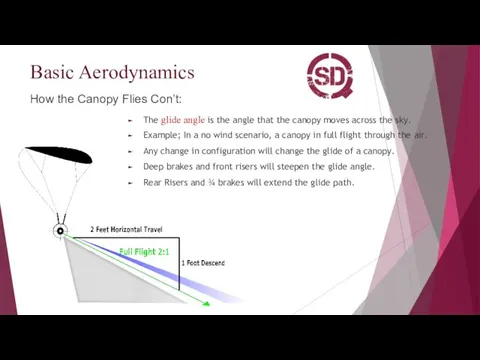
- 5. Basic Aerodynamics How the Canopy Flies Con’t: The glide angle is the angle that the canopy
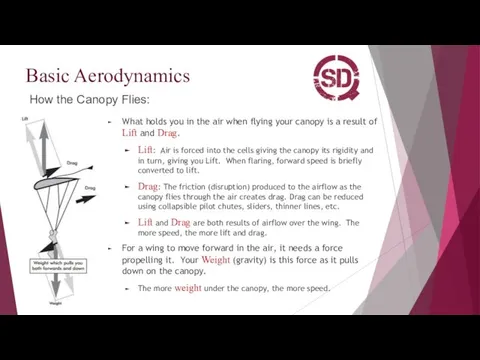
- 6. Basic Aerodynamics How the Canopy Flies: What holds you in the air when flying your canopy
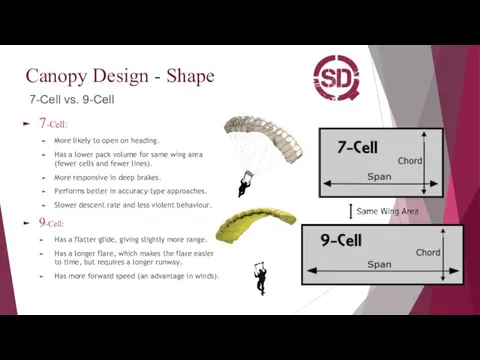
- 7. Canopy Design - Shape 7-Cell vs. 9-Cell 7-Cell: More likely to open on heading. Has a
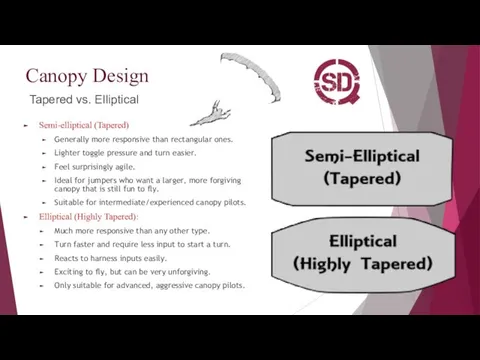
- 8. Canopy Design Tapered vs. Elliptical Semi-elliptical (Tapered) Generally more responsive than rectangular ones. Lighter toggle pressure
- 9. Canopy Design - Fabric F-111 vs. Zero-Porosity F-111 Standard parachute nylon in the 80’s and early
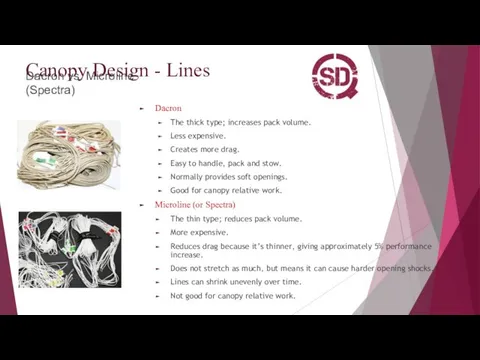
- 10. Canopy Design - Lines Dacron vs. Microline (Spectra) Dacron The thick type; increases pack volume. Less
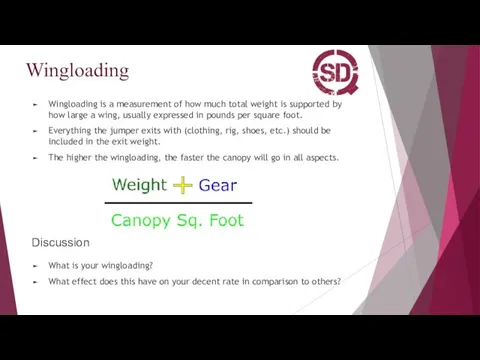
- 11. Wingloading Discussion What is your wingloading? What effect does this have on your decent rate in
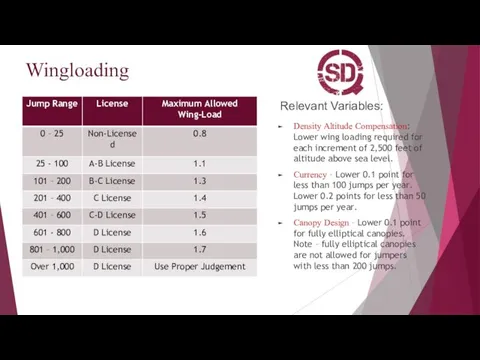
- 12. Wingloading Relevant Variables: Density Altitude Compensation: Lower wing loading required for each increment of 2,500 feet
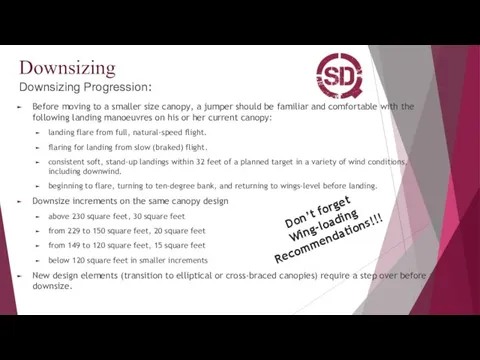
- 13. Downsizing Downsizing Progression: Before moving to a smaller size canopy, a jumper should be familiar and
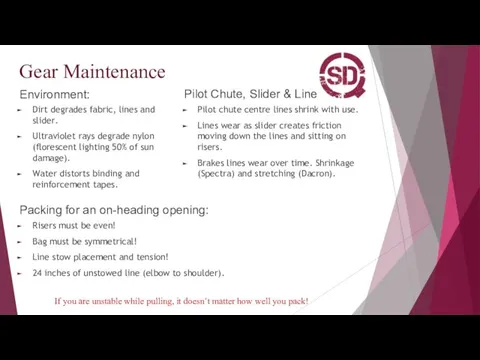
- 14. Gear Maintenance Environment: Dirt degrades fabric, lines and slider. Ultraviolet rays degrade nylon (florescent lighting 50%
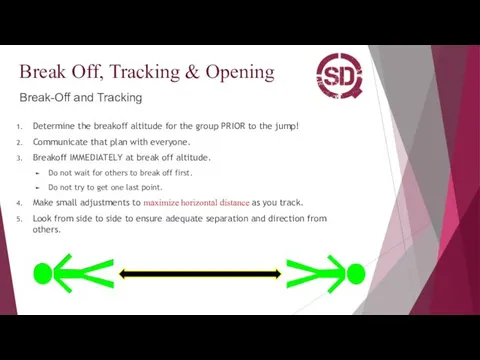
- 15. Break Off, Tracking & Opening Break-Off and Tracking Determine the breakoff altitude for the group PRIOR
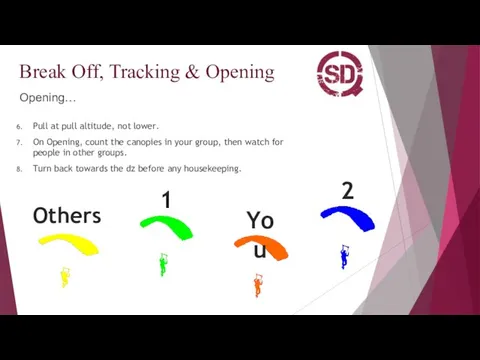
- 16. Break Off, Tracking & Opening Opening… Pull at pull altitude, not lower. On Opening, count the
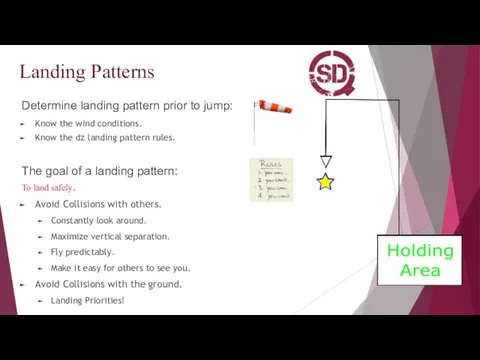
- 17. Landing Patterns The goal of a landing pattern: To land safely. Avoid Collisions with others. Constantly
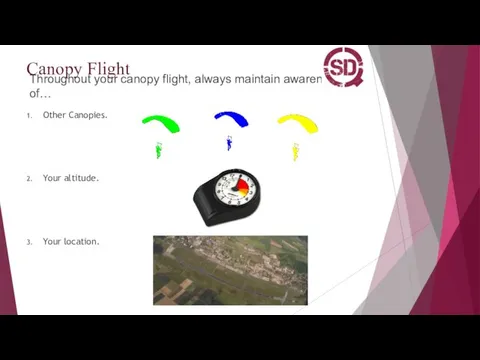
- 18. Canopy Flight Throughout your canopy flight, always maintain awareness of… Other Canopies. Your altitude. Your location.
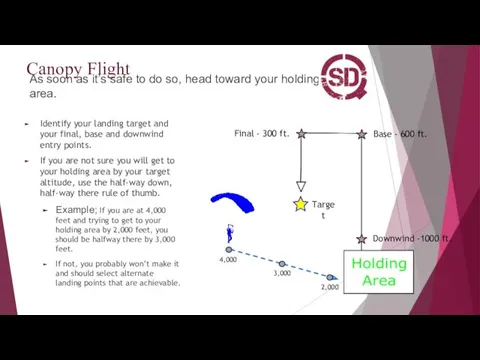
- 19. Canopy Flight As soon as it’s safe to do so, head toward your holding area. Identify
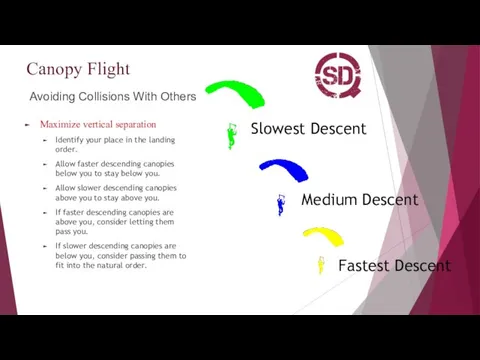
- 20. Canopy Flight Avoiding Collisions With Others Maximize vertical separation Identify your place in the landing order.
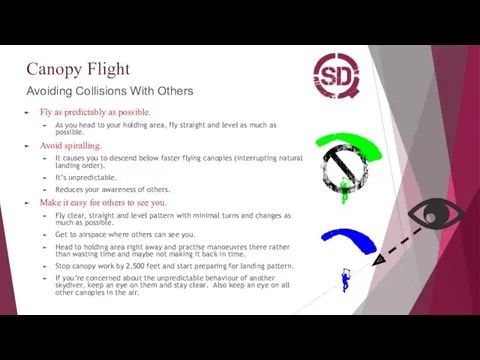
- 21. Canopy Flight Avoiding Collisions With Others Fly as predictably as possible. As you head to your
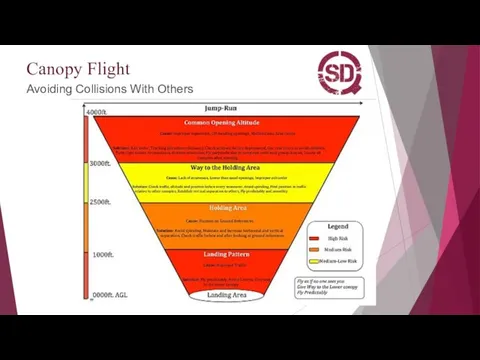
- 22. Canopy Flight Avoiding Collisions With Others
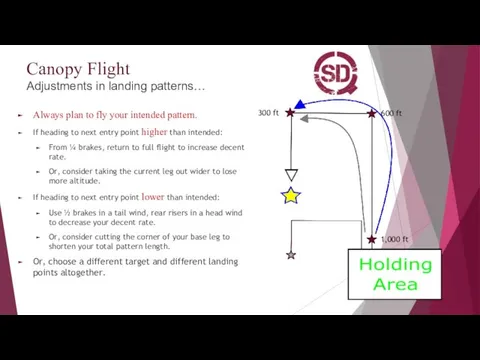
- 23. Canopy Flight Adjustments in landing patterns… Always plan to fly your intended pattern. If heading to
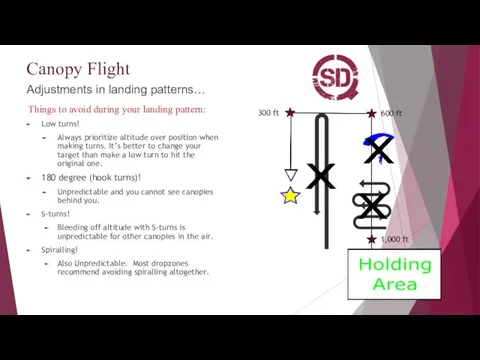
- 24. Canopy Flight Adjustments in landing patterns… Things to avoid during your landing pattern: Low turns! Always
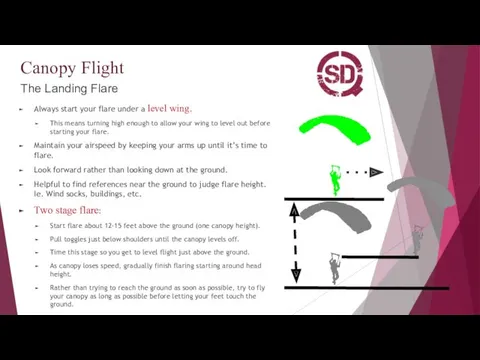
- 25. Canopy Flight The Landing Flare Always start your flare under a level wing. This means turning
- 26. Hop N’ Pop Code Exit Order Establish the exit order prior to the jump; smallest canopy
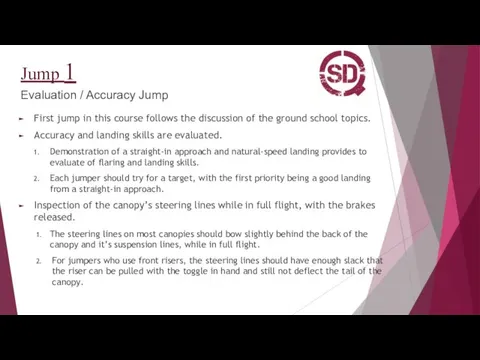
- 27. Jump 1 Evaluation / Accuracy Jump First jump in this course follows the discussion of the
- 28. Jump 1 Let’s Jump!!!
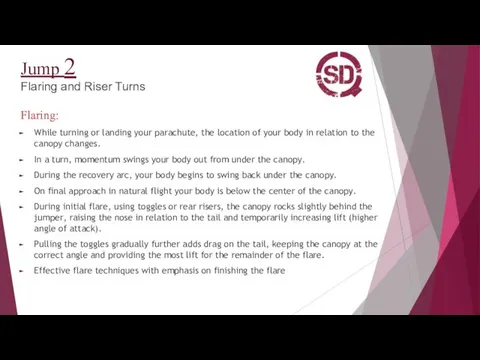
- 29. Jump 2 Flaring and Riser Turns Flaring: While turning or landing your parachute, the location of
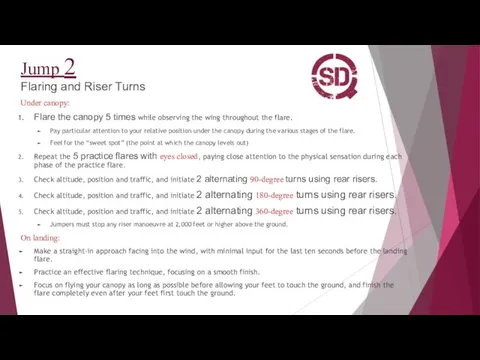
- 30. Jump 2 Flaring and Riser Turns Under canopy: Flare the canopy 5 times while observing the
- 31. Jump 2 Let’s Jump!!!
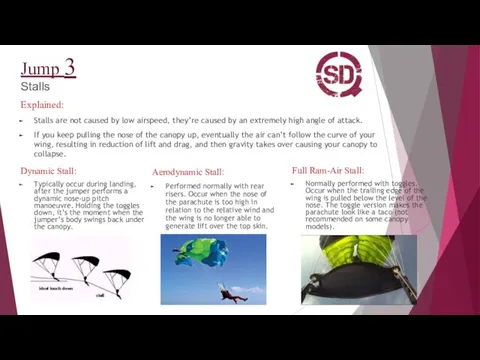
- 32. Jump 3 Stalls Explained: Stalls are not caused by low airspeed, they’re caused by an extremely
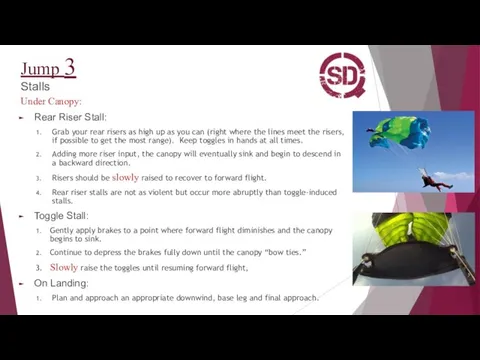
- 33. Jump 3 Stalls Under Canopy: Rear Riser Stall: Grab your rear risers as high up as
- 34. Jump 3 Stalls Purpose: To increase awareness of the slow-flight range of your canopy. To learn
- 35. Jump 3 Let’s Jump!!!
- 36. Jump 4 Flat turns and cross-wind landings Explained: Reasons for Flying in Brakes: Vertical separation from
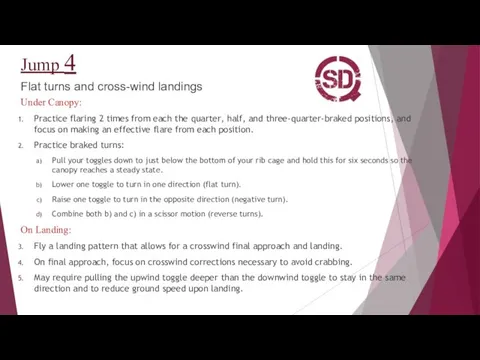
- 37. Jump 4 Flat turns and cross-wind landings Under Canopy: Practice flaring 2 times from each the
- 38. Jump 4 Let’s Jump!!!
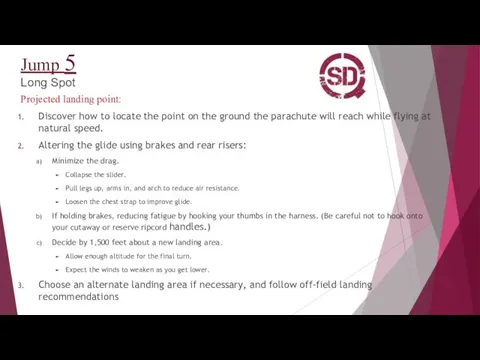
- 39. Jump 5 Long Spot Projected landing point: Discover how to locate the point on the ground
- 40. Jump 5 Long Spot Under Canopy: Exit the aircraft at 5,000 feet AGL at least 2
- 41. Jump 5 Let’s Jump!!!
- 43. Скачать презентацию
Introduction
Basic Aerodynamics & How the Canopy Flies.
Canopy Design
Wingloading and it’s effects.
Downsizing
Introduction
Basic Aerodynamics & How the Canopy Flies.
Canopy Design
Wingloading and it’s effects.
Downsizing

Basic Aerodynamics
How the Canopy Flies:
The A lines (located at the front
Basic Aerodynamics
How the Canopy Flies:
The A lines (located at the front
Basic Aerodynamics
How the Canopy Flies:
The angle of attack is the angle
Basic Aerodynamics
How the Canopy Flies:
The angle of attack is the angle
Basic Aerodynamics
How the Canopy Flies Con’t:
The glide angle is the angle
Basic Aerodynamics
How the Canopy Flies Con’t:
The glide angle is the angle
Basic Aerodynamics
How the Canopy Flies:
What holds you in the air when
Basic Aerodynamics
How the Canopy Flies:
What holds you in the air when
Canopy Design - Shape
7-Cell vs. 9-Cell
7-Cell:
More likely to open on heading.
Has
Canopy Design - Shape
7-Cell vs. 9-Cell
7-Cell:
More likely to open on heading.
Has
Canopy Design
Tapered vs. Elliptical
Semi-elliptical (Tapered)
Generally more responsive than rectangular ones.
Lighter toggle
Canopy Design
Tapered vs. Elliptical
Semi-elliptical (Tapered)
Generally more responsive than rectangular ones.
Lighter toggle
Canopy Design - Fabric
F-111 vs. Zero-Porosity
F-111
Standard parachute nylon in the 80’s
Canopy Design - Fabric
F-111 vs. Zero-Porosity
F-111
Standard parachute nylon in the 80’s
Canopy Design - Lines
Dacron vs. Microline (Spectra)
Dacron
The thick type; increases pack
Canopy Design - Lines
Dacron vs. Microline (Spectra)
Dacron
The thick type; increases pack
Wingloading
Discussion
What is your wingloading?
What effect does this have on your decent
Wingloading
Discussion
What is your wingloading?
What effect does this have on your decent
Wingloading
Relevant Variables:
Density Altitude Compensation: Lower wing loading required for each increment
Wingloading
Relevant Variables:
Density Altitude Compensation: Lower wing loading required for each increment
Downsizing
Downsizing Progression:
Before moving to a smaller size canopy, a jumper should
Downsizing
Downsizing Progression:
Before moving to a smaller size canopy, a jumper should
Gear Maintenance
Environment:
Dirt degrades fabric, lines and slider.
Ultraviolet rays degrade nylon (florescent
Gear Maintenance
Environment:
Dirt degrades fabric, lines and slider.
Ultraviolet rays degrade nylon (florescent
Break Off, Tracking & Opening
Break-Off and Tracking
Determine the breakoff altitude for
Break Off, Tracking & Opening
Break-Off and Tracking
Determine the breakoff altitude for
Break Off, Tracking & Opening
Opening…
Pull at pull altitude, not lower.
On Opening,
Break Off, Tracking & Opening
Opening…
Pull at pull altitude, not lower.
On Opening,
Landing Patterns
The goal of a landing pattern:
To land safely.
Avoid Collisions with
Landing Patterns
The goal of a landing pattern:
To land safely.
Avoid Collisions with
Canopy Flight
Throughout your canopy flight, always maintain awareness of…
Other Canopies.
Your altitude.
Your
Canopy Flight
Throughout your canopy flight, always maintain awareness of…
Other Canopies.
Your altitude.
Your
Canopy Flight
As soon as it’s safe to do so, head toward
Canopy Flight
As soon as it’s safe to do so, head toward
Canopy Flight
Avoiding Collisions With Others
Maximize vertical separation
Identify your place in the
Canopy Flight
Avoiding Collisions With Others
Maximize vertical separation
Identify your place in the
Canopy Flight
Avoiding Collisions With Others
Fly as predictably as possible.
As you head
Canopy Flight
Avoiding Collisions With Others
Fly as predictably as possible.
As you head
Canopy Flight
Avoiding Collisions With Others
Canopy Flight
Avoiding Collisions With Others
Canopy Flight
Adjustments in landing patterns…
Always plan to fly your intended pattern.
If
Canopy Flight
Adjustments in landing patterns…
Always plan to fly your intended pattern.
If
Canopy Flight
Adjustments in landing patterns…
Things to avoid during your landing pattern:
Low
Canopy Flight
Adjustments in landing patterns…
Things to avoid during your landing pattern:
Low
Canopy Flight
The Landing Flare
Always start your flare under a level wing.
This
Canopy Flight
The Landing Flare
Always start your flare under a level wing.
This
Hop N’ Pop Code
Exit Order
Establish the exit order prior to the
Hop N’ Pop Code
Exit Order
Establish the exit order prior to the
Jump 1
Evaluation / Accuracy Jump
First jump in this course follows the
Jump 1
Evaluation / Accuracy Jump
First jump in this course follows the
Jump 1
Let’s Jump!!!
Jump 1
Let’s Jump!!!
Jump 2
Flaring and Riser Turns
Flaring:
While turning or landing your parachute, the
Jump 2
Flaring and Riser Turns
Flaring:
While turning or landing your parachute, the
Jump 2
Flaring and Riser Turns
Under canopy:
Flare the canopy 5 times while
Jump 2
Flaring and Riser Turns
Under canopy:
Flare the canopy 5 times while

Jump 2
Let’s Jump!!!
Jump 2
Let’s Jump!!!
Jump 3
Stalls
Explained:
Stalls are not caused by low airspeed, they’re caused by
Jump 3
Stalls
Explained:
Stalls are not caused by low airspeed, they’re caused by
Jump 3
Stalls
Under Canopy:
Rear Riser Stall:
Grab your rear risers as high up
Jump 3
Stalls
Under Canopy:
Rear Riser Stall:
Grab your rear risers as high up
Jump 3
Stalls
Purpose:
To increase awareness of the slow-flight range of your canopy.
To
Jump 3
Stalls
Purpose:
To increase awareness of the slow-flight range of your canopy.
To

Jump 3
Let’s Jump!!!
Jump 3
Let’s Jump!!!
Jump 4
Flat turns and cross-wind landings
Explained:
Reasons for Flying in Brakes:
Vertical separation
Jump 4
Flat turns and cross-wind landings
Explained:
Reasons for Flying in Brakes:
Vertical separation
Jump 4
Flat turns and cross-wind landings
Under Canopy:
Practice flaring 2 times from
Jump 4
Flat turns and cross-wind landings
Under Canopy:
Practice flaring 2 times from

Jump 4
Let’s Jump!!!
Jump 4
Let’s Jump!!!
Jump 5
Long Spot
Projected landing point:
Discover how to locate the point on
Jump 5
Long Spot
Projected landing point:
Discover how to locate the point on

Jump 5
Long Spot
Under Canopy:
Exit the aircraft at 5,000 feet AGL at
Jump 5
Long Spot
Under Canopy:
Exit the aircraft at 5,000 feet AGL at

Jump 5
Let’s Jump!!!
Jump 5
Let’s Jump!!!
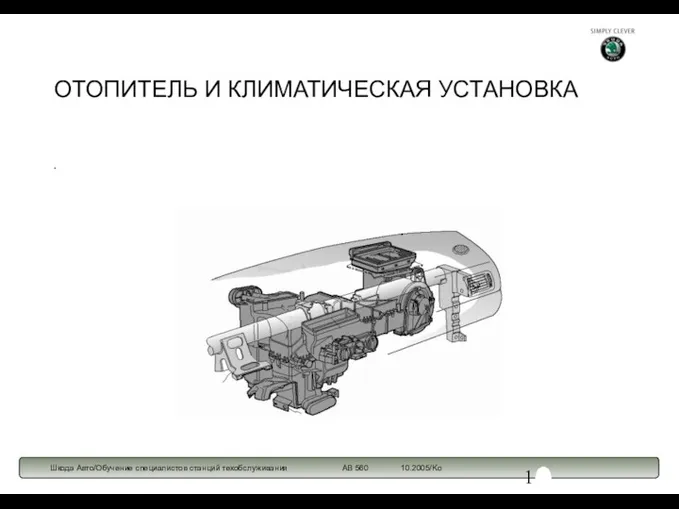 Отопитель и климатическая установка в современных автомобилях
 Большой адронный коллайдер - настоящая машина времени
 Солнечная энергетика
 Контроль качества клеевых соединений
 Кинематика. Кинематика точки
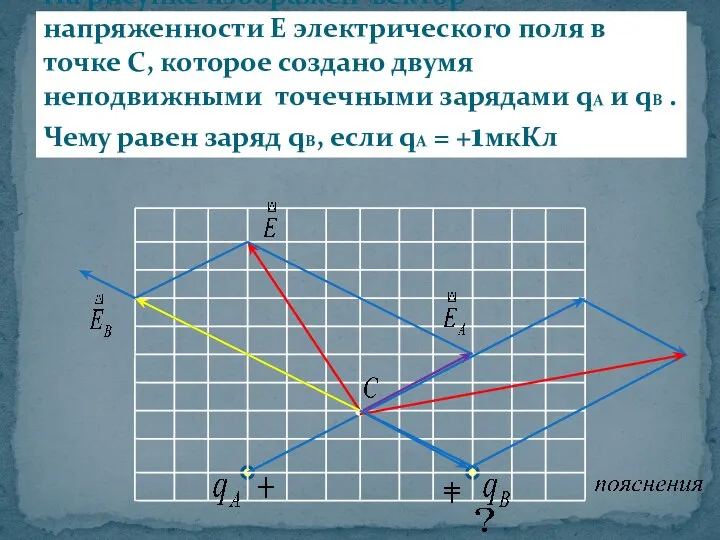 Электрическое поле
 Закон всемирного тяготения
 Закон сохранения импульса
 Импульс тела. Закон сохранения импульса
 Вертолет Ми-8МТВ. Система отопления и вентиляции
 Развитие взглядов на природу света. Скорость света (11 класс)
 Термодинамика. Внутренняя энергия тела
 Валы и оси
 Презентация Силы в природе
 Цепи синусоидального тока. (Лекция 3)
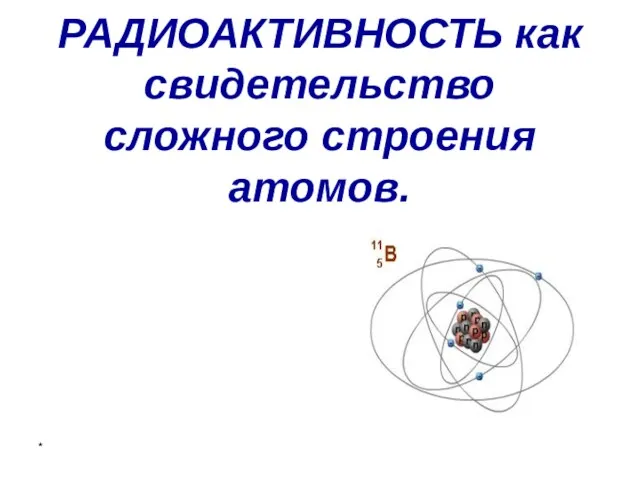 Радиоактивность, как свидетельство сложного строения атомов
 Аккумуляторные батареи
 Английский язык в механике
 Ядролық күштер
 Принципы и законы механики
 Электронная проводимость металлов. Зависимость сопротивления от температуры
 Электрические явления
 Фотоэффект в 11 классе
 Расчет на прочность. (Лекция 6)
 Методы наблюдения и регистрации элементарных частиц
 Излучение и поглощение энергии атомами и молекулами. Лазеры
 Основы атомной физики. Основы квантовой механики. Строение вещества
 Презентация Основные положения МКТ