- Steps to Rubber Dam Isolation in Restorative

Содержание
- 2. Introduction Adhesive dentistry has become an integral part of everyday restorative dentistry, as adhesives are involved
- 3. 1) Material selection: Dental dams can be classified into three groups based on thickness: thin, medium
- 4. 2) Clamp styles: Clamps can be classified into two groups: retentive and retraction clamps. There are
- 5. 3) Dental dam perforation: It can be confusing to decide which of the five dam perforation
- 6. 4) Attach the dam to the clamp: All the clamps in the universal kit are wingless
- 7. 5) Abutment tooth: At this point, the clamp forceps are held with one hand and the
- 8. 6) Inverting the dam: One of the most important reasons for using a dental dam is
- 9. 7) With anterior cases, is it always necessary to fully invert the dam? In anterior restorative
- 10. 8) Dental dam removal: The easiest and most convenient way to remove the dam is by:
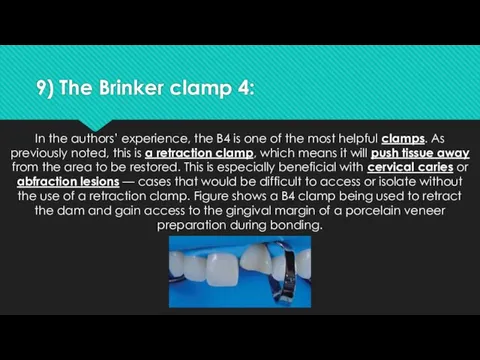
- 11. 9) The Brinker clamp 4: In the authors’ experience, the B4 is one of the most
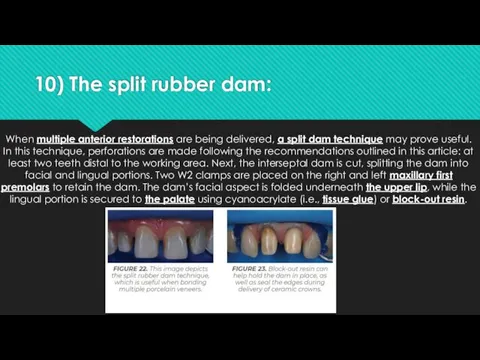
- 12. 10) The split rubber dam: When multiple anterior restorations are being delivered, a split dam technique
- 14. Скачать презентацию
Introduction
Adhesive dentistry has become an integral part of everyday restorative dentistry,
Introduction
Adhesive dentistry has become an integral part of everyday restorative dentistry,
1) Material selection:
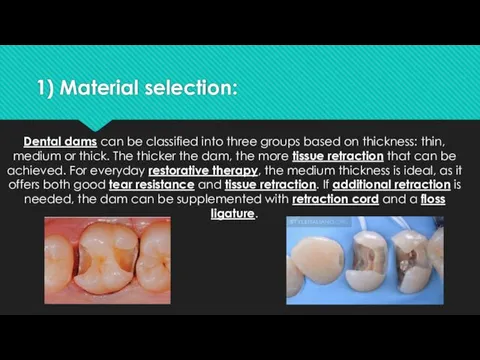
Dental dams can be classified into three groups based
1) Material selection:
Dental dams can be classified into three groups based
2) Clamp styles:
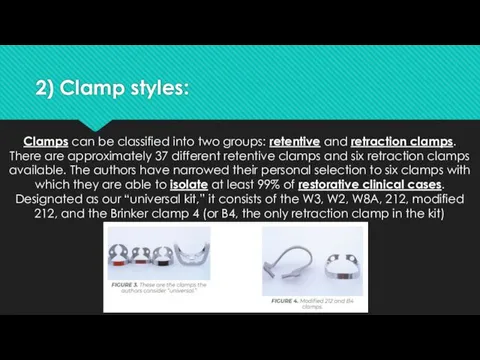
Clamps can be classified into two groups: retentive and
2) Clamp styles:
Clamps can be classified into two groups: retentive and
3) Dental dam perforation:
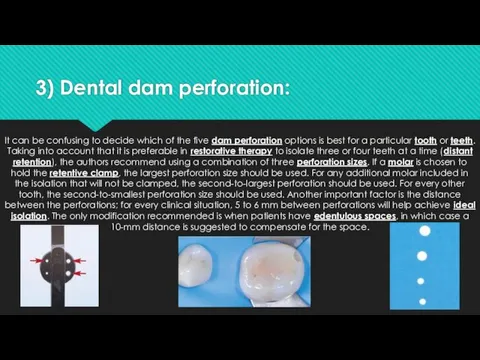
It can be confusing to decide which of
3) Dental dam perforation:
It can be confusing to decide which of

4) Attach the dam to the clamp:
All the clamps in the
4) Attach the dam to the clamp:
All the clamps in the
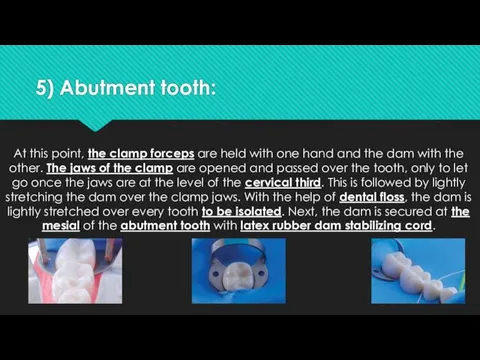
5) Abutment tooth:
At this point, the clamp forceps are held with
5) Abutment tooth:
At this point, the clamp forceps are held with
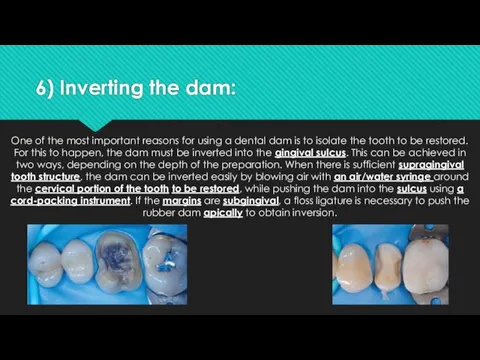
6) Inverting the dam:
One of the most important reasons for using
6) Inverting the dam:
One of the most important reasons for using
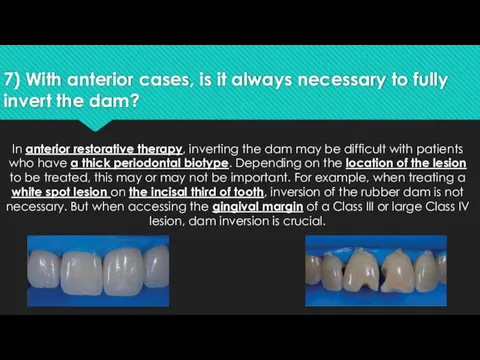
7) With anterior cases, is it always necessary to fully invert
7) With anterior cases, is it always necessary to fully invert
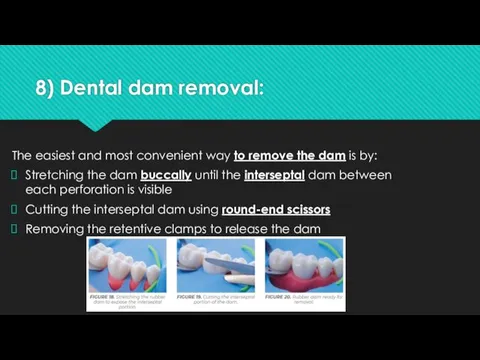
8) Dental dam removal:
The easiest and most convenient way to remove
8) Dental dam removal:
The easiest and most convenient way to remove
9) The Brinker clamp 4:
In the authors’ experience, the B4 is
9) The Brinker clamp 4:
In the authors’ experience, the B4 is
10) The split rubber dam:
When multiple anterior restorations are being delivered,
10) The split rubber dam:
When multiple anterior restorations are being delivered,
 Виды медицинской помощи
 Предлежание плаценты. Понятие, классификация, этиология и патогенез, клиническая картина, осложнения, лечение
 Өсіргіш заттар. Өсіргіш заттардың өсімдіктерге әсер ету механизмі. Ауксин әсері
 Острая ревматическая лихорадка у детей
 Хроническая сердечная недостаточность
 Нравственные начала в работе врача
 Профилактика и диагностика врожденной патологии плода
 Skalowanie w OIT. Systemy skalowania
 Мочекаменная болезнь. Почечная колика
 Методики рентгенологического исследования тонкой и толстой кишки
 КТ и МРТ в диагностике очаговых образований печени: что, когда, кому?
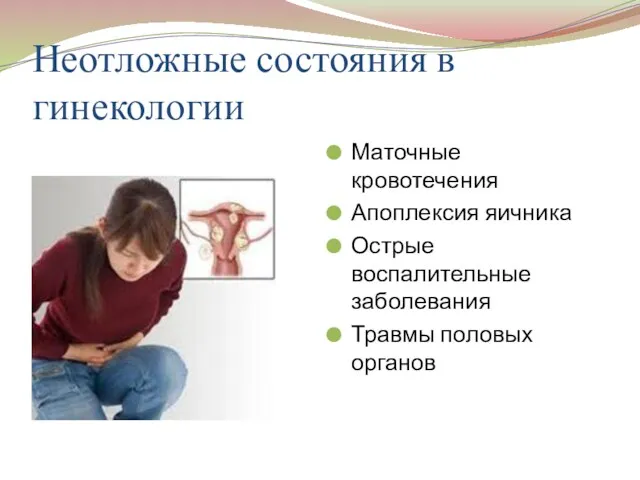 Неотложные состояния в гинекологии
 Заболевания конечностей и их лечение. Ортопедическая ковка
 Dental clinic
 ТЭЛА. Источники образования тромбоэмболов. Механизм смерти при тэла
 Экстрапирамдалық жүйе аурулары
 Биологически активные добавки (БАД)
 Иммунитет и проблемы питания жителей современного города
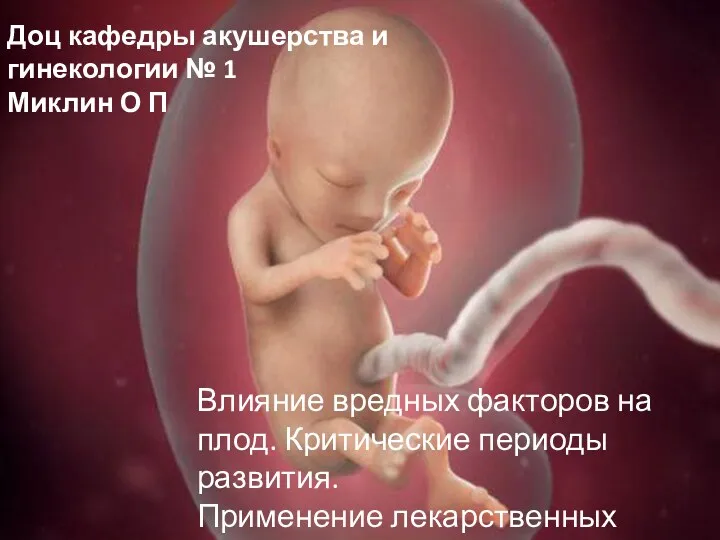 Развитие плода. Влияние вредных факторов на плод. Критические периоды развития. Применение лекарственных препаратов в акушерстве
 Спадкові хвороби
 Здоровое питание
 Кожа и ее производные
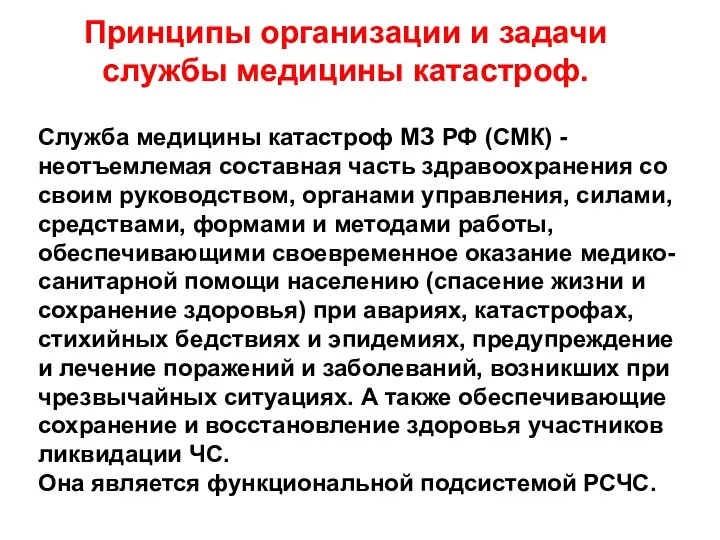 Принципы организации и задачи службы медицины катастроф
 Дифференциальная диагностика типичных образований печени
 Холодовая травма. Гипотермия
 Патология эндокринной системы
 Блокируемый интрамедуллярный остеосинтез (БИОС)
 Модель современной медицинской сестры