- The final impression

Содержание
- 2. The final impression is made after the different steps of mouth preparation . Impression techniques might
- 3. 1. Contour and quality of the residual ridge: The best foundation to give denture support is
- 4. The maxillary ridge : - cancellous bone, covered by soft tissue that is firm, dense in
- 5. 2- The extent of residual ridge coverage: The broader the coverage, the greater the distribution of
- 6. In distal extension bases, rotation around the most posterior retainer under functional loading can be controlling
- 7. 4. The total occlusal load applied: The amount of the occlusal force applied to a denture
- 8. • Maximum coverage of the ridge. • Narrowing the occlusal table of the artificial teeth .
- 9. 5. Accuracy of fit of the denture base: Support is enhanced by the intimacy of contact
- 10. 1- Maximum coverage of the tissue available within the physiologic limit. 2- Distributing the load widely
- 11. Types of impression techniques that can be used in partial denture construction: I- The anatomic form.
- 12. II. The physiologic or the functional form. 1- At the impression stage: - Mclean’s and Hindel’s
- 13. All mouth and tooth preparations must be completed prior to final impressions. 1- Instructions to patient:
- 14. It is mostly used in tooth supported RPD cases. It is a one-stage impression, made using
- 15. The anatomic form impression technique is performed either by: 1 -Using modified stock trays with modeling
- 16. 1- Modified Stock Tray Technique - It is a standard technique for 95% of RPD Impressions.
- 17. - Select the suitable stock trays that should be adapted, fitted and well extended. - The
- 18. Fig. 1 a and b: The size of tray is selected so that the teeth are
- 19. 2. Impression using custom trays: a- Alginate impression with Custom Trays. b- Rubber base with Custom
- 20. On the study cast, base plate wax spacer is adapted on the teeth and residual ridges
- 21. The monomer and polymer are mixed according to the manufacturer’s directions . To have adequate and
- 22. b) Making the impression: After all the steps of mouth and abutment teeth preparation are completed,
- 23. N.B: • No bubbles should be around or in rest preparations. • No bubbles should be
- 24. - After checking the impression and its approval, the impression is poured with stone plaster and
- 25. Rubber Base Impression: Fig. 4: Custom tray for rubber base impression material, Only one layer of
- 26. Fig. 5: The wax spacer is short of the Vestibule. Fig. 6: Adapt two layers of
- 27. Fig. 7 a and b: Custom tray for RPD impression: The extension of the tray covers
- 28. Fig. 8 a and -b: Carefully positioned internal stops are made to re-establish the intended spacing
- 29. Fig. 9 a and b: The extension of the tray covers the whole vestibule to provide
- 30. Fig. 11: Place Adhesive on Internal and External Areas, Use Disposable Brush. Fig. 12: Use gauze
- 31. Fig. 15 a and b: Mark Denture Base Extensions: The mark should be placed 3-4 mm
- 32. Fig. 16 a -c: Boxing the impression: Mark Denture Base Extensions. The mark should be placed
- 33. Fig. 17 a and b: Remove the wax spacer. Perfect the borders of the tray with
- 34. Fig. 18 a a and b: For maximum accuracy: The impression material should be thoroughly mixed.
- 35. Fig. 18: A wider clearance is needed around the buccal frenum. Fig. 19: The buccal space
- 36. Fig. 21 a and b: The lower impression tray is inserted in the patient's mouth. The
- 37. Fig. 22 a and b: The outline of the retromolar pad and the buccal shelf bone
- 38. Fig. 24: - The tray should be inserted into the mouth and forcefully seated in place.
- 39. Fig. 25 b and a: In the mylohyoid ridge area the impression should be made 4-
- 40. Fig. 26: Excess paste that has flowed beyond the posterior border of the tray should he
- 41. Fig. 27 a and b: Completed Alginate impressions in special trays, the impression should be accentuated
- 42. Fig. 28 a and b: Double Pour Technique: Do not invert first pour of stone until
- 43. Gagging: ????? o Thicker mix of Alginate. o Mandibular impression: contact with tongue can be unavoidable.
- 44. Inspect the Impression ??????? • Carefully rinse the impression with tap water. • Failure to do
- 45. • Inspect areas that the framework contacts (rests, guide planes, major/minor connector. • Before pouring the
- 46. Imbibition - distortion by water absorption. Svneresis - loss of water and shrinkage distortion. • Pouring
- 47. Pour in vacuum mixed stone. ■ Measure the required amounts of water and powder. ■ Carefully
- 48. • The bottom surface of the cast should be rough to facilitate attachment of the base:
- 49. • Trimming should not begin until 24 hours after pouring. • Before trimming the cast soak
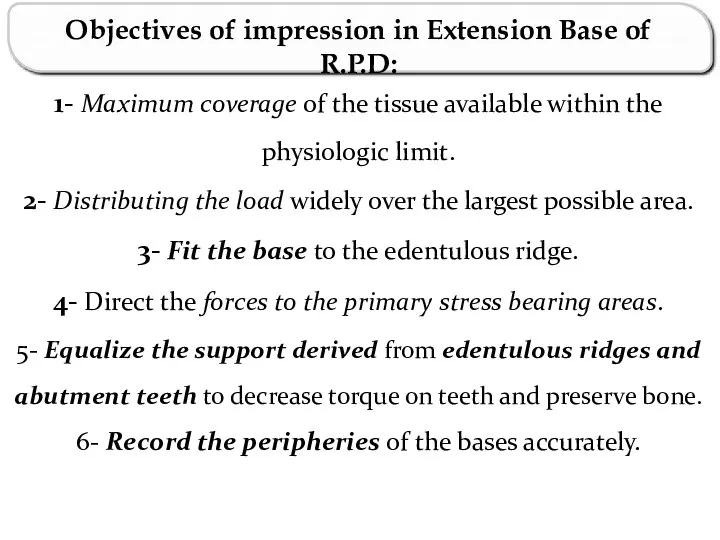
- 51. Objectives of impression in distal extensions: • Provides maximum support, by distributing load on as large
- 52. For an impression technique to achieve those objectives it must: 1. Record and relate the supporting
- 53. II. The physiologic or the functional form impression techniques: 1- At the impression stage: - Mclean’s
- 54. - If a distal extension RPD were constructed from an anatomic impression it would exert excessive
- 55. Mclean’s and Hindel’s Methods. - These old techniques have several drawbacks as they could not record
- 56. One stage selective pressure impression technique The selective pressure impression technique helps to equalize the support
- 57. Procedure: 1. On the study cast a tray is constructed as follows: • Two layers of
- 58. 2. On the tissue surface of the tray, corresponding to the residual ridges, apply softened modeling
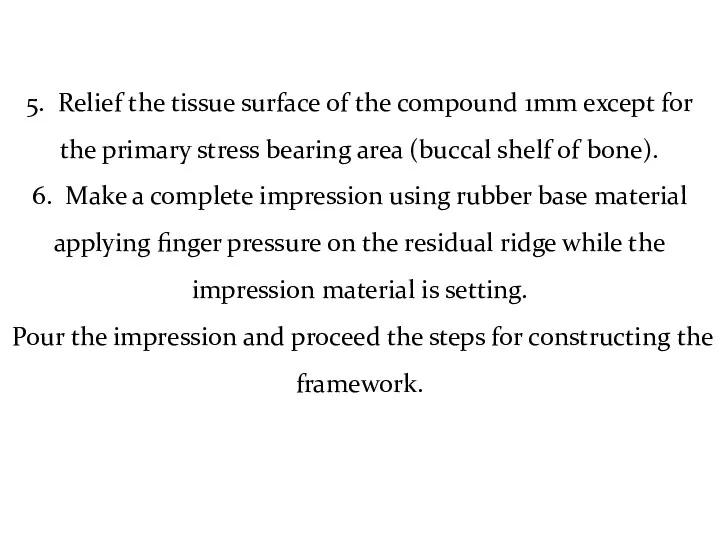
- 59. 5. Relief the tissue surface of the compound 1mm except for the primary stress bearing area
- 60. Fig. 30: Occlusal stops are placed over the remaining teeth by cutting boxes through wax to
- 61. Fig. 33 a and b: Complete impression using rubber base material
- 62. 2- The functional impression technique at the framework stage: The altered cast technique (The selective tissue
- 63. ■ The framework is tried in the patient’s mouth, and adjusted to fit accurately on the
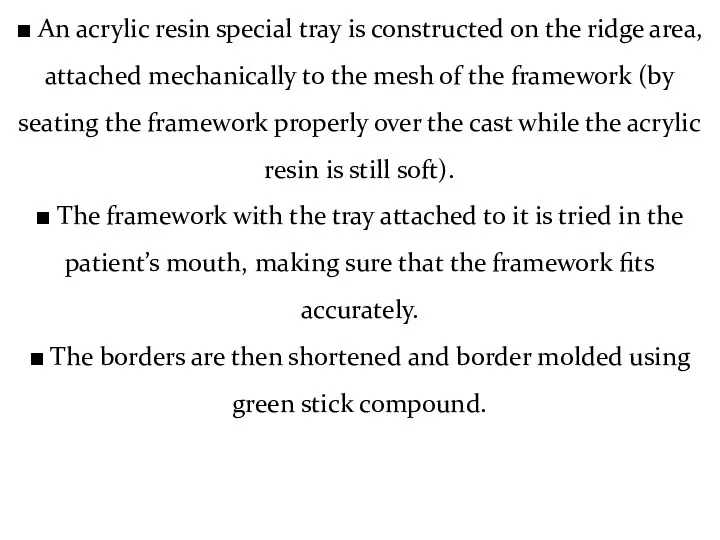
- 64. ■ An acrylic resin special tray is constructed on the ridge area, attached mechanically to the
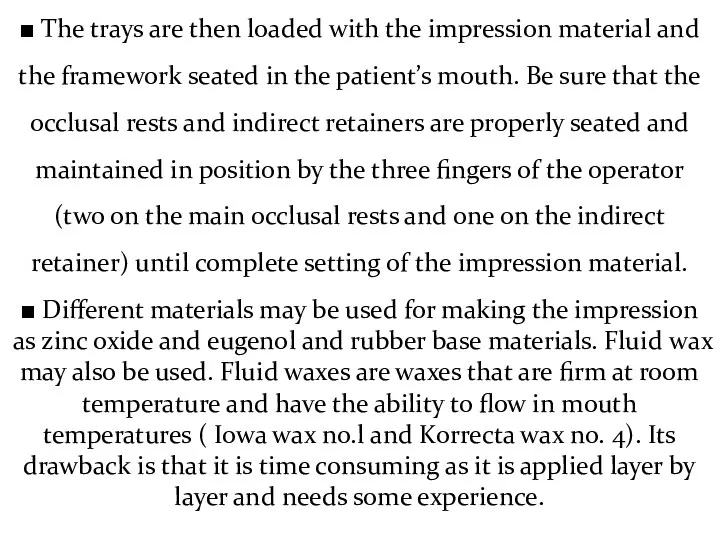
- 65. ■ The trays are then loaded with the impression material and the framework seated in the
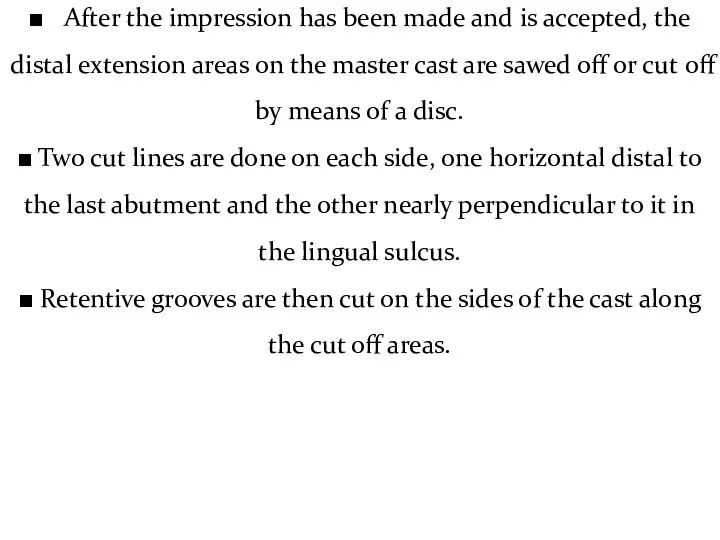
- 66. ■ After the impression has been made and is accepted, the distal extension areas on the
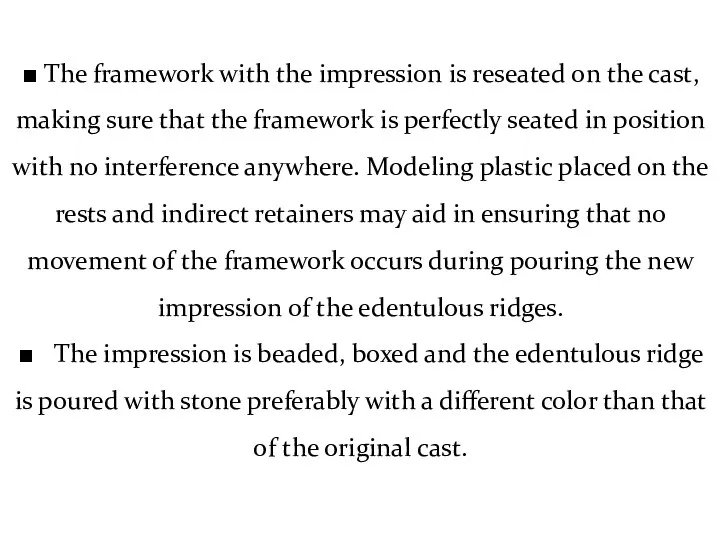
- 67. ■ The framework with the impression is reseated on the cast, making sure that the framework
- 68. Fig. 33 a and b: The casting which lias been adjusted is placed on the master
- 69. Fig. 35 a and b: When the tray material is cured the entire cast is submerged
- 70. Fig. 38: Vent holes are placed in the maxillary plastic tray near the finish line for
- 71. Fig. 41 a: While the impression is mde. Notice that the casting is firmly seated on
- 72. Fig. 43: Retention grooves are placed in the cast. The impression is beaded and boxed and
- 73. Altered cast technique Using Light body Rubber Base Impression material
- 74. Fig. 47 a-c: The Altered Cast with the Edentulous Area Repoured This produces the best possible
- 75. 3- The functional reline techniques using zinc oxide and eugenol paste or rubber impression material at
- 76. It is an open mouth procedure: 1. The borders are shortened and the denture base is
- 77. 3. The tissue surface is then scraped to about 1mm thickness. A mix of zinc oxide
- 79. Скачать презентацию
The final impression is made after the different steps of mouth
The final impression is made after the different steps of mouth
1. Contour and quality of the residual ridge:
The best foundation to
1. Contour and quality of the residual ridge:
The best foundation to
The maxillary ridge :
- cancellous bone, covered by soft tissue
- cancellous bone, covered by soft tissue
2- The extent of residual ridge coverage:
The broader the coverage, the
2- The extent of residual ridge coverage:
The broader the coverage, the
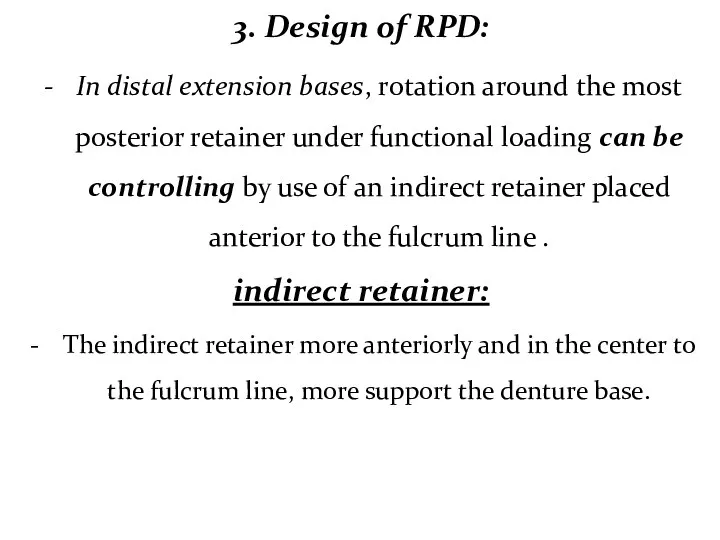
In distal extension bases, rotation around the most posterior retainer under
In distal extension bases, rotation around the most posterior retainer under
4. The total occlusal load applied:
The amount of the occlusal force
4. The total occlusal load applied:
The amount of the occlusal force
• Maximum coverage of the ridge.
• Narrowing the occlusal table of
• Maximum coverage of the ridge.
• Narrowing the occlusal table of
5. Accuracy of fit of the denture base:
Support is enhanced by
5. Accuracy of fit of the denture base:
Support is enhanced by
1- Maximum coverage of the tissue available within the physiologic limit.
2-
1- Maximum coverage of the tissue available within the physiologic limit.
2-
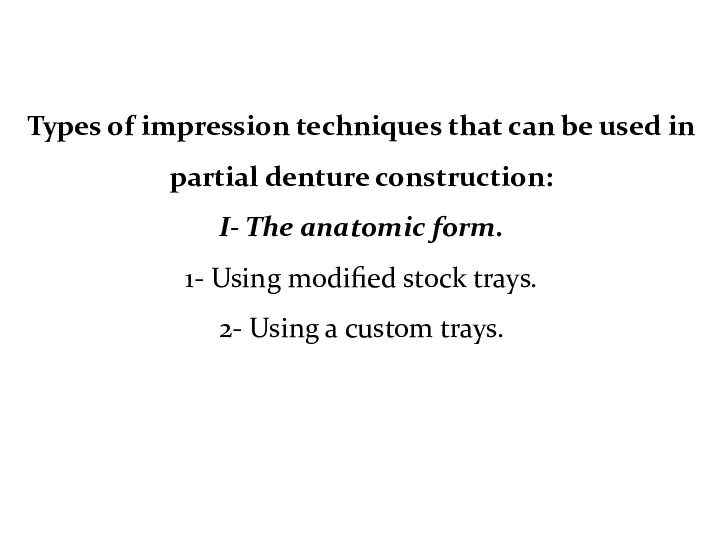
Types of impression techniques that can be used in partial denture
Types of impression techniques that can be used in partial denture

II. The physiologic or the functional form.
1- At the impression stage:
-
II. The physiologic or the functional form.
1- At the impression stage:
-
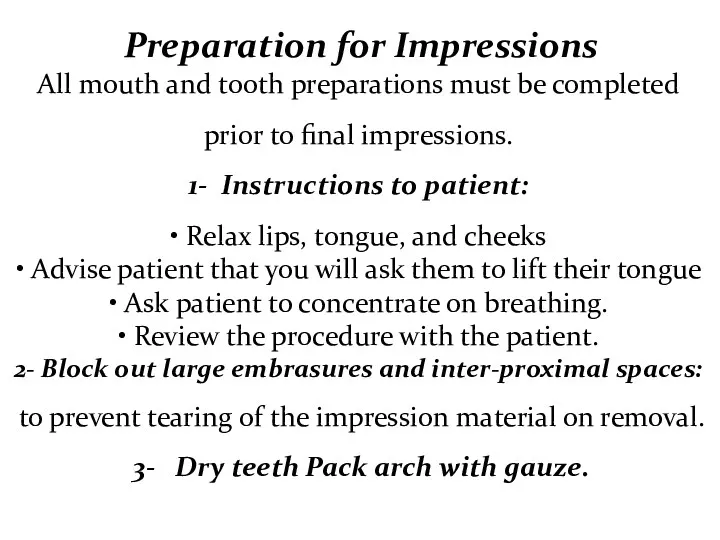
All mouth and tooth preparations must be completed prior to final
All mouth and tooth preparations must be completed prior to final
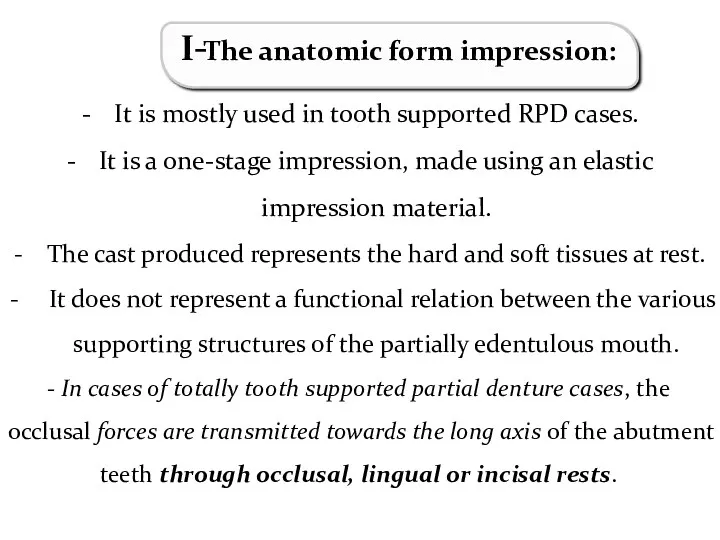
It is mostly used in tooth supported RPD cases.
It is
It is mostly used in tooth supported RPD cases.
It is
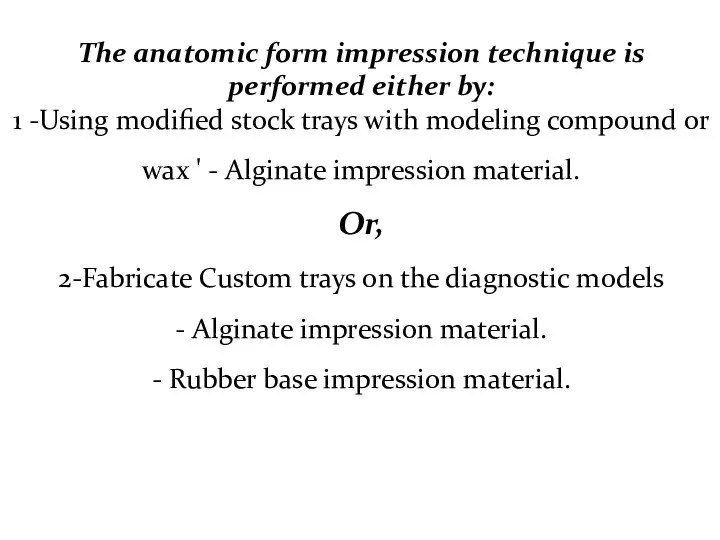
The anatomic form impression technique is performed either by:
1 -Using modified
The anatomic form impression technique is performed either by:
1 -Using modified

1- Modified Stock Tray Technique
- It is a standard technique for 95%
1- Modified Stock Tray Technique
- It is a standard technique for 95%
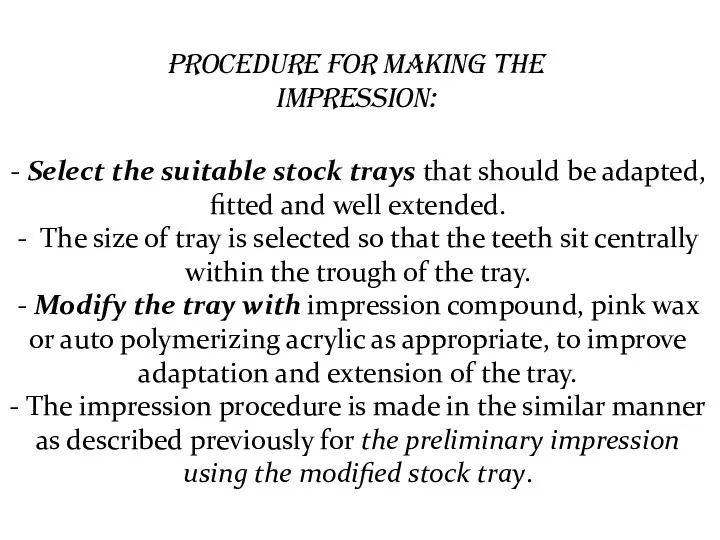
- Select the suitable stock trays that should be adapted, fitted
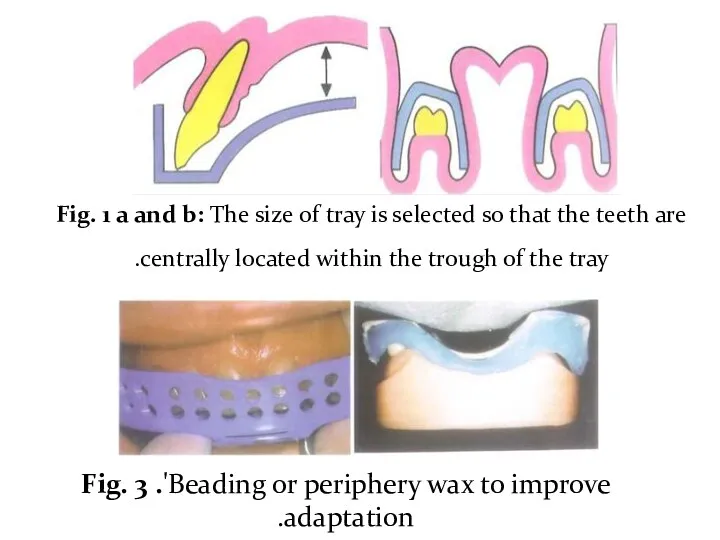
Fig. 1 a and b: The size of tray is selected
Fig. 1 a and b: The size of tray is selected
2. Impression using custom trays:
a- Alginate impression with Custom Trays.
b- Rubber
2. Impression using custom trays:
a- Alginate impression with Custom Trays.
b- Rubber
On the study cast, base plate wax spacer is adapted on
On the study cast, base plate wax spacer is adapted on

The monomer and polymer are mixed according to the manufacturer’s directions
The monomer and polymer are mixed according to the manufacturer’s directions
b) Making the impression:
After all the steps of mouth and abutment teeth
b) Making the impression:
After all the steps of mouth and abutment teeth
N.B:
• No bubbles should be around or in rest preparations.
•
N.B:
• No bubbles should be around or in rest preparations.
•
- After checking the impression and its approval, the impression is
- After checking the impression and its approval, the impression is
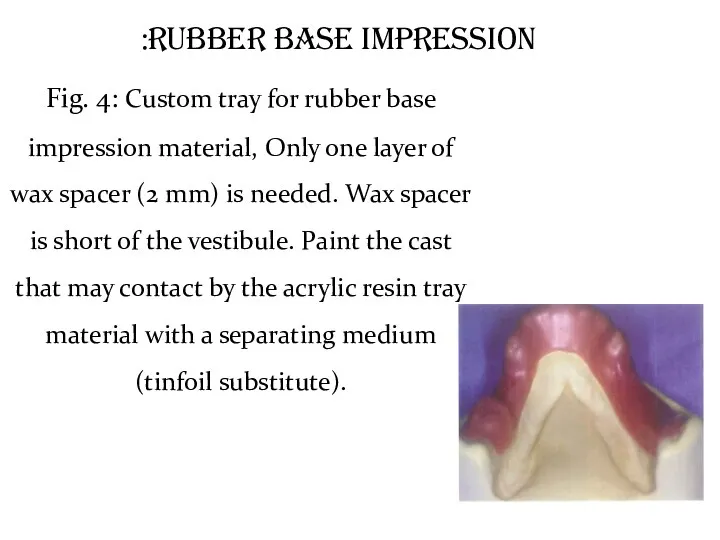
Rubber Base Impression:
Fig. 4: Custom tray for rubber base impression material,
Rubber Base Impression:
Fig. 4: Custom tray for rubber base impression material,
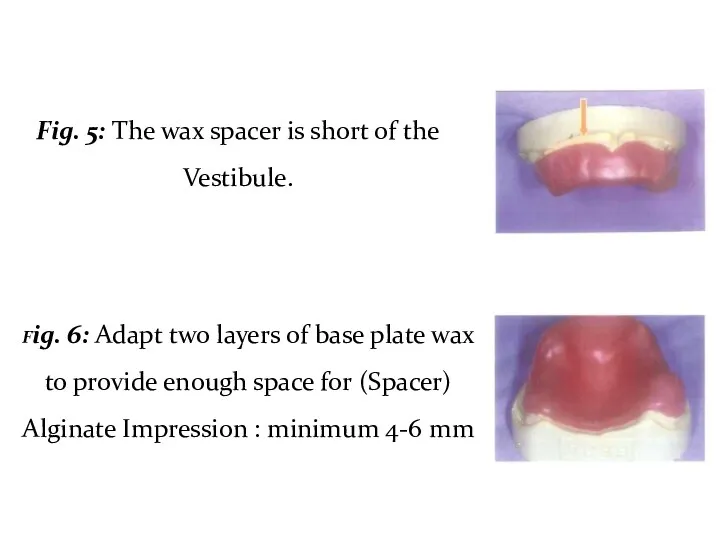
Fig. 5: The wax spacer is short of the Vestibule.
Fig. 6:
Fig. 5: The wax spacer is short of the Vestibule.
Fig. 6:
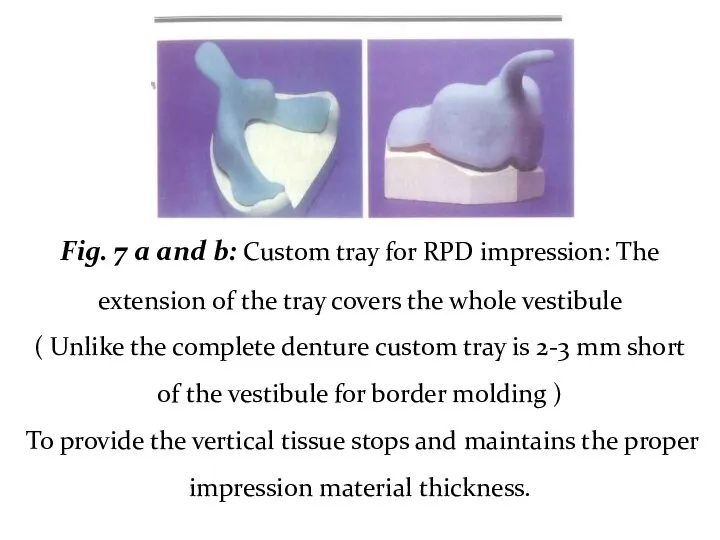
Fig. 7 a and b: Custom tray for RPD impression: The
Fig. 7 a and b: Custom tray for RPD impression: The
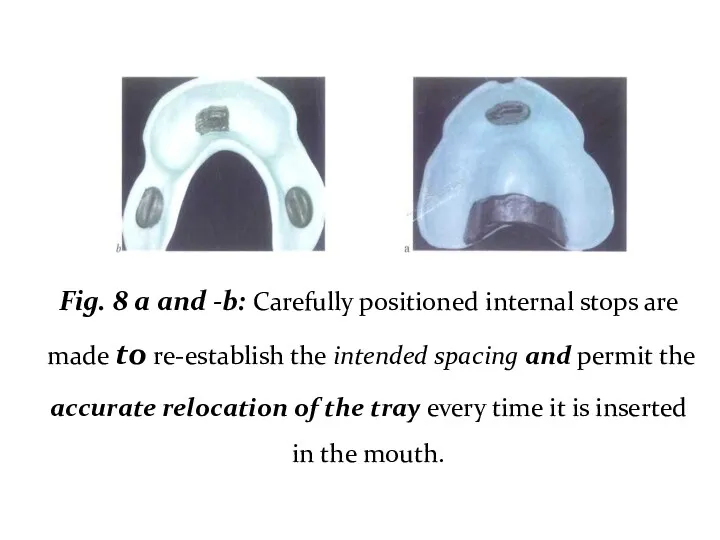
Fig. 8 a and -b: Carefully positioned internal stops are made
Fig. 8 a and -b: Carefully positioned internal stops are made
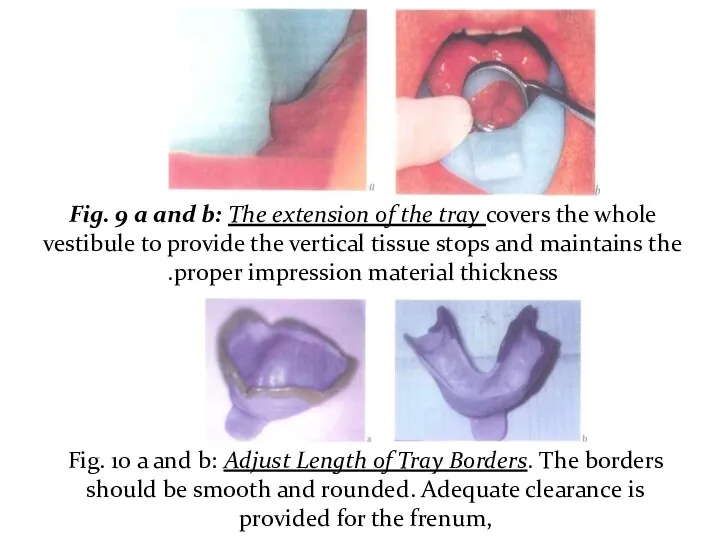
Fig. 9 a and b: The extension of the tray covers
Fig. 9 a and b: The extension of the tray covers
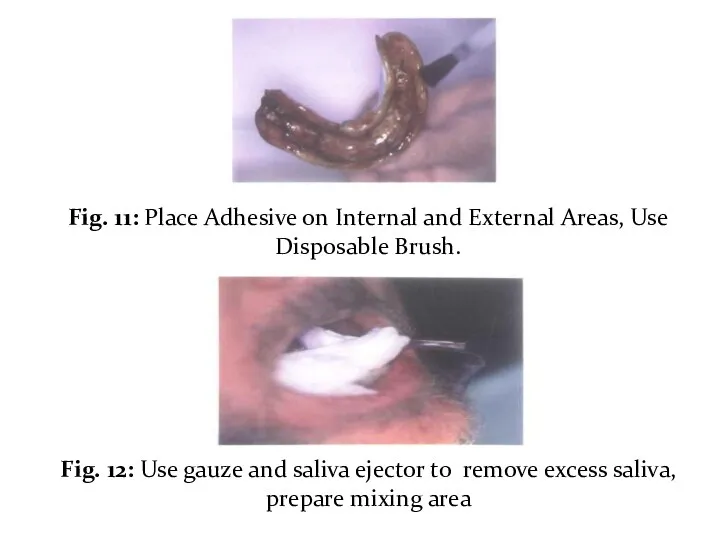
Fig. 11: Place Adhesive on Internal and External Areas, Use Disposable
Fig. 11: Place Adhesive on Internal and External Areas, Use Disposable
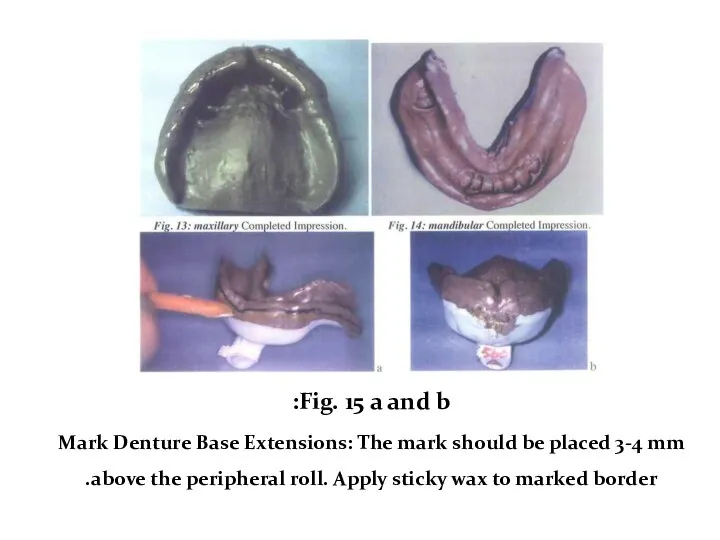
Fig. 15 a and b:
Mark Denture Base Extensions: The mark
Fig. 15 a and b:
Mark Denture Base Extensions: The mark
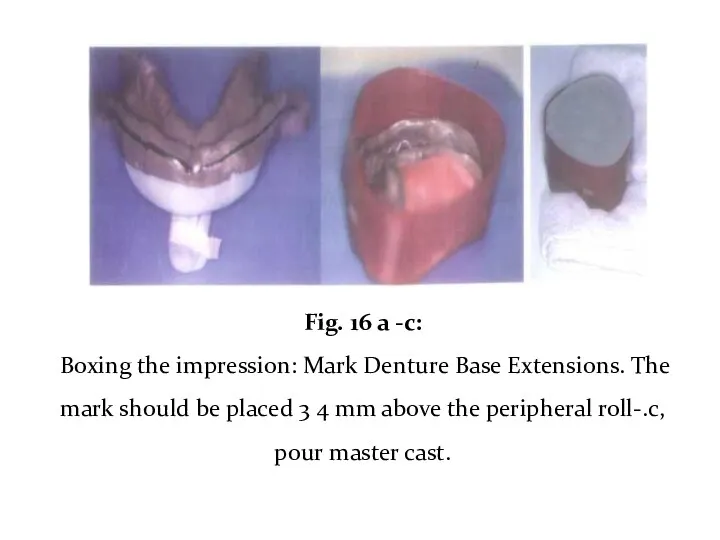
Fig. 16 a -c:
Boxing the impression: Mark Denture Base Extensions.
Fig. 16 a -c:
Boxing the impression: Mark Denture Base Extensions.
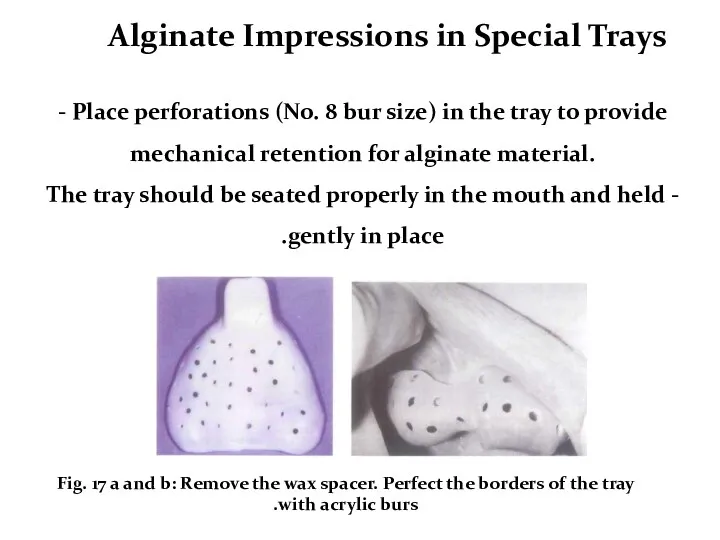
Fig. 17 a and b: Remove the wax spacer. Perfect the
Fig. 17 a and b: Remove the wax spacer. Perfect the
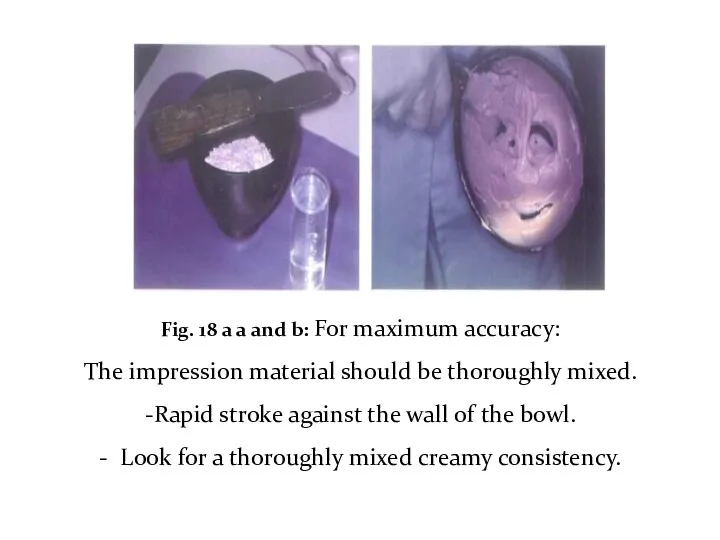
Fig. 18 a a and b: For maximum accuracy:
The impression material
Fig. 18 a a and b: For maximum accuracy:
The impression material
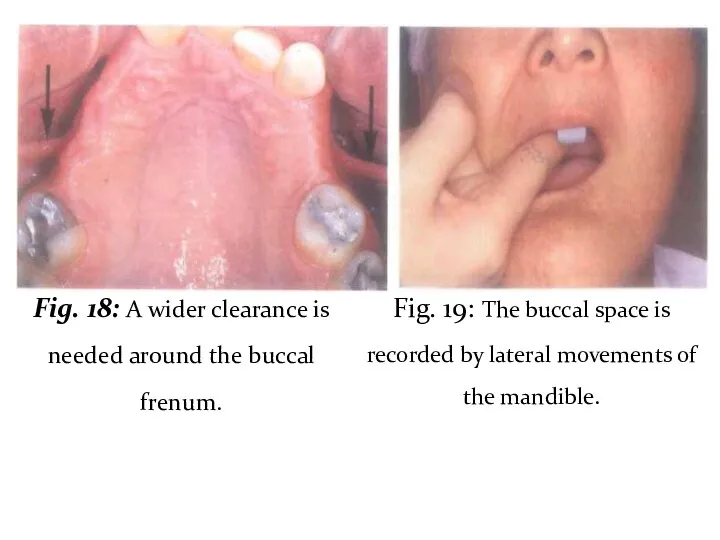
Fig. 18: A wider clearance is needed around the buccal frenum.
Fig. 18: A wider clearance is needed around the buccal frenum.

Fig. 21 a and b:
The lower impression tray is inserted
Fig. 21 a and b:
The lower impression tray is inserted
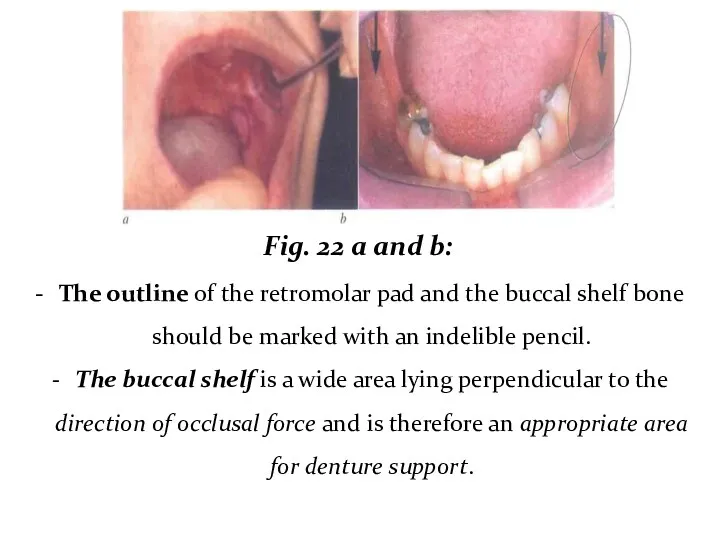
Fig. 22 a and b:
The outline of the retromolar pad
Fig. 22 a and b:
The outline of the retromolar pad
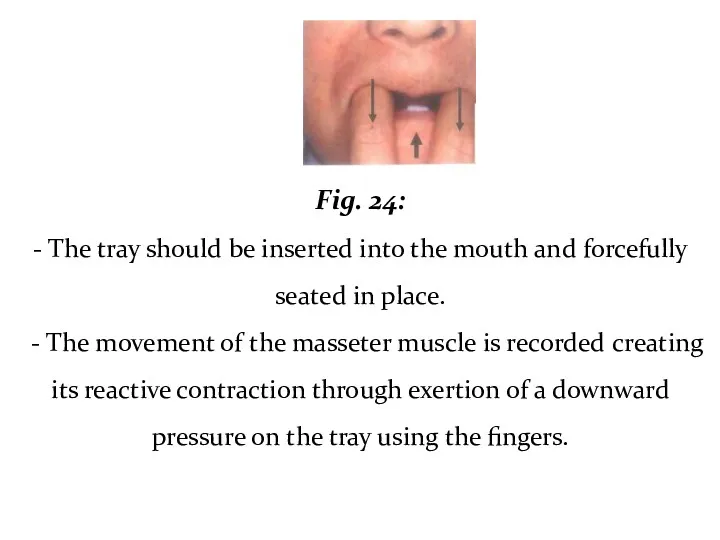
Fig. 24:
- The tray should be inserted into the mouth
Fig. 24:
- The tray should be inserted into the mouth
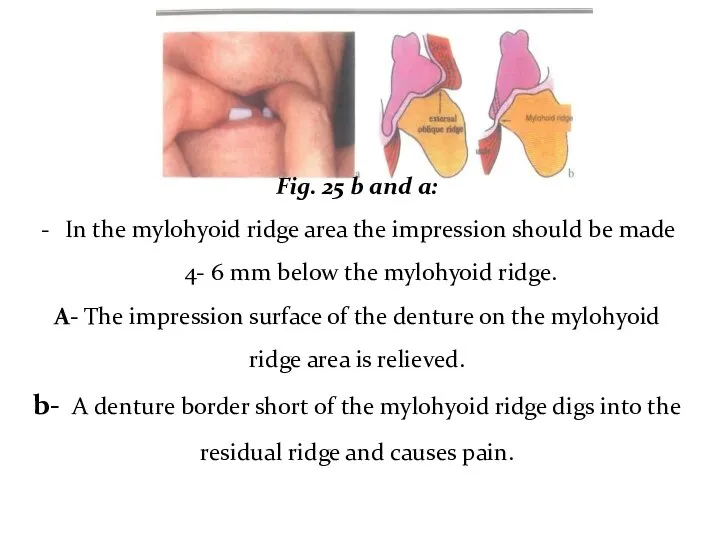
Fig. 25 b and a:
In the mylohyoid ridge area the
Fig. 25 b and a:
In the mylohyoid ridge area the
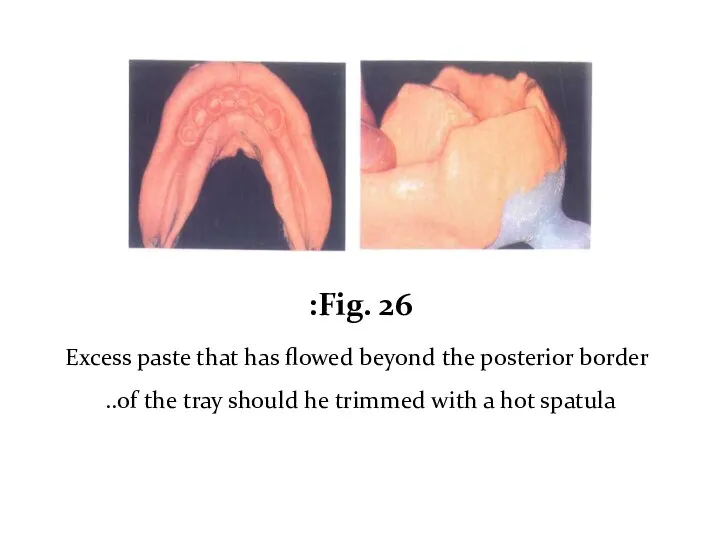
Fig. 26:
Excess paste that has flowed beyond the posterior border
Fig. 26:
Excess paste that has flowed beyond the posterior border
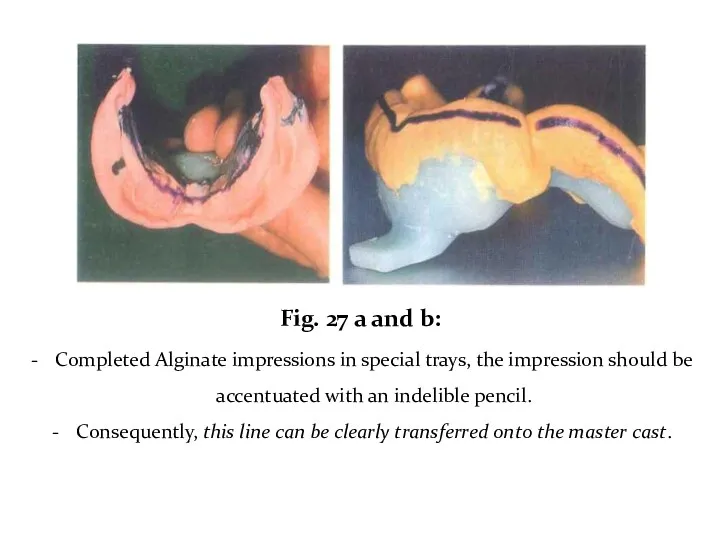
Fig. 27 a and b:
Completed Alginate impressions in special trays,
Fig. 27 a and b:
Completed Alginate impressions in special trays,
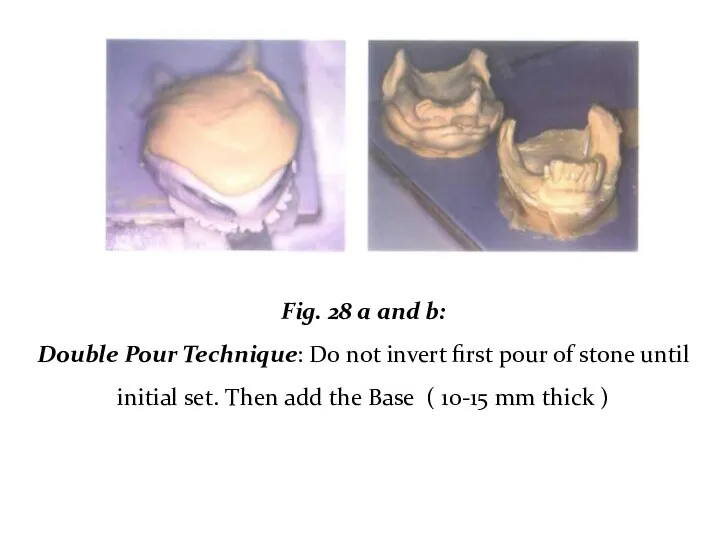
Fig. 28 a and b:
Double Pour Technique: Do not invert
Fig. 28 a and b:
Double Pour Technique: Do not invert
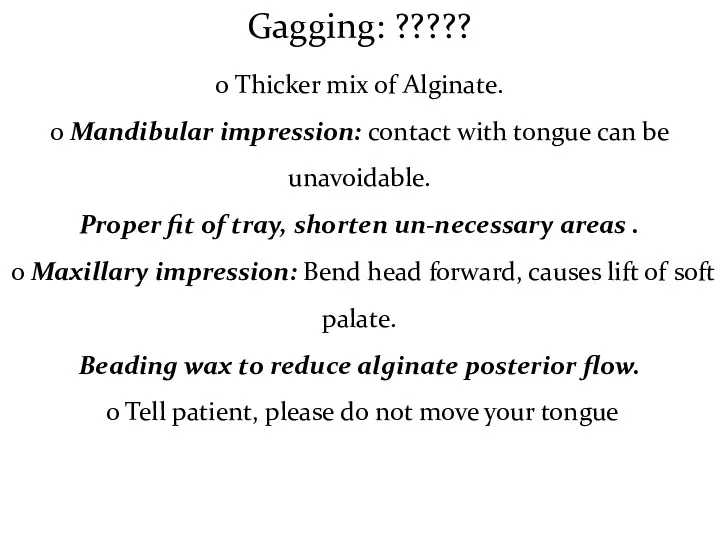
Gagging: ?????
o Thicker mix of Alginate.
o Mandibular impression: contact with
Gagging: ?????
o Thicker mix of Alginate.
o Mandibular impression: contact with
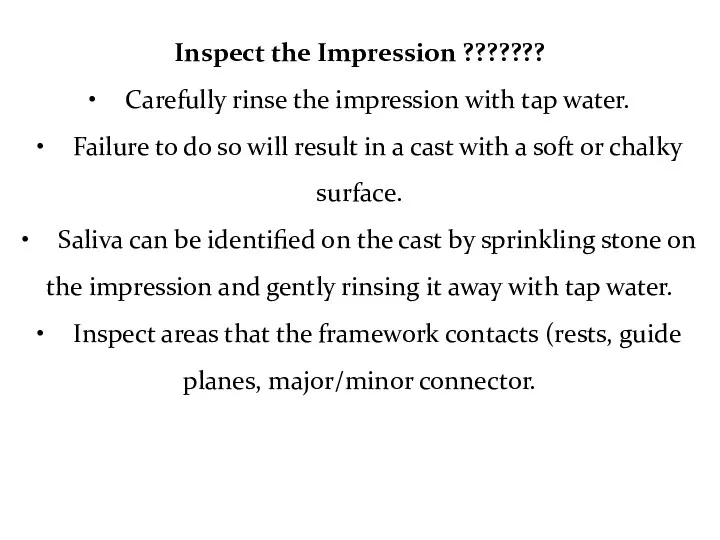
Inspect the Impression ???????
• Carefully rinse the impression with tap water.
• Failure to
Inspect the Impression ???????
• Carefully rinse the impression with tap water.
• Failure to
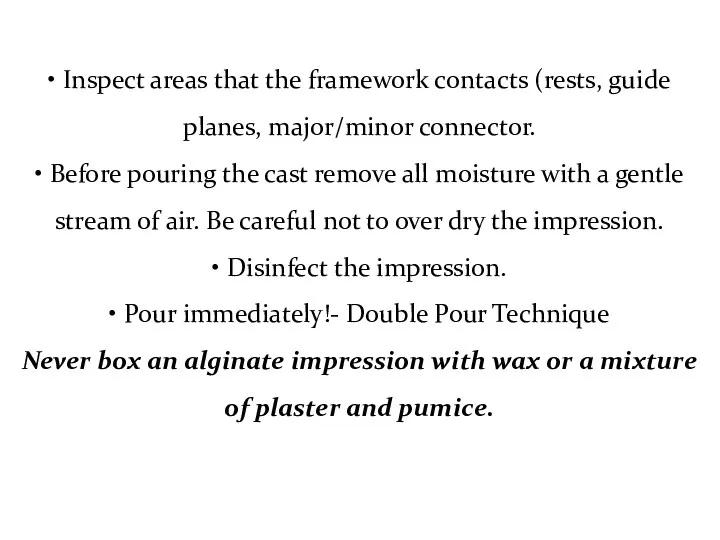
• Inspect areas that the framework contacts (rests, guide planes, major/minor
• Inspect areas that the framework contacts (rests, guide planes, major/minor
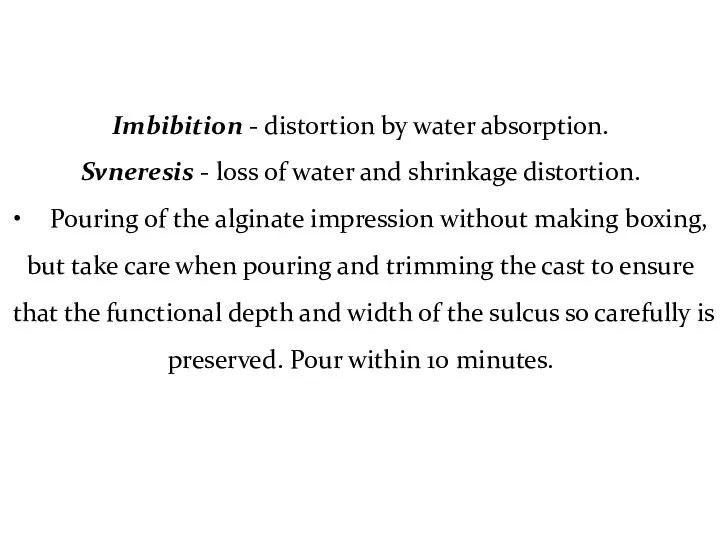
Imbibition - distortion by water absorption.
Svneresis - loss of water and
Imbibition - distortion by water absorption.
Svneresis - loss of water and
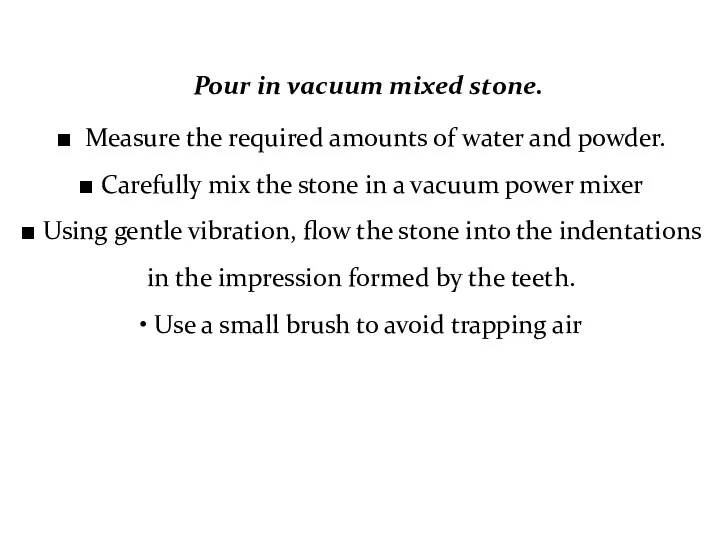
Pour in vacuum mixed stone.
■ Measure the required amounts of
Pour in vacuum mixed stone.
■ Measure the required amounts of
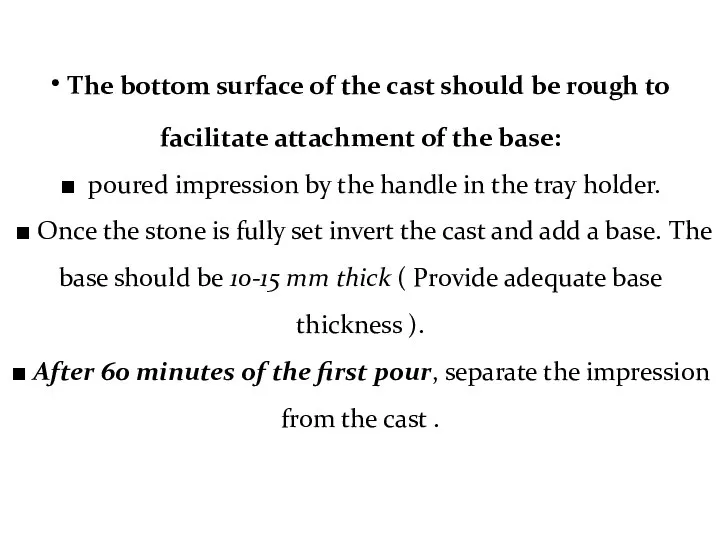
• The bottom surface of the cast should be rough to
• The bottom surface of the cast should be rough to
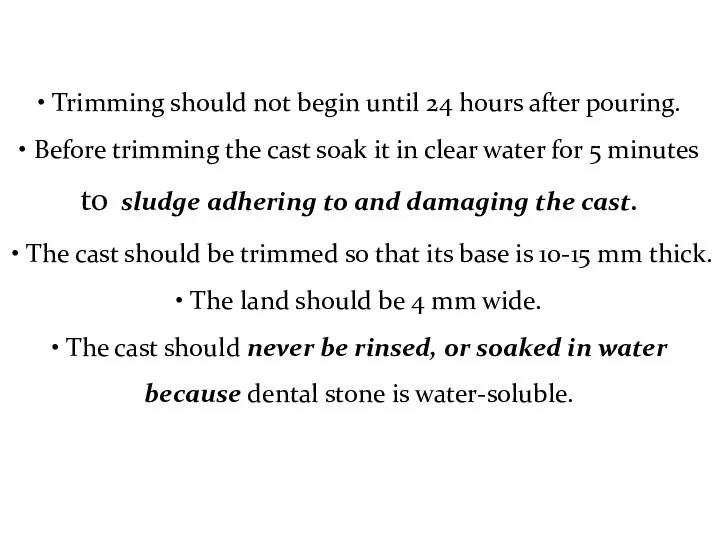
• Trimming should not begin until 24 hours after pouring.
• Before
• Trimming should not begin until 24 hours after pouring.
• Before

Objectives of impression in distal extensions:
• Provides maximum support, by distributing
Objectives of impression in distal extensions:
• Provides maximum support, by distributing
For an impression technique to achieve those objectives it must:
1. Record
For an impression technique to achieve those objectives it must:
1. Record
II. The physiologic or the functional form impression techniques:
1- At the
II. The physiologic or the functional form impression techniques:
1- At the
- If a distal extension RPD were constructed from an anatomic
- If a distal extension RPD were constructed from an anatomic
Mclean’s and Hindel’s Methods.
- These old techniques have several drawbacks as
Mclean’s and Hindel’s Methods.
- These old techniques have several drawbacks as
One stage selective pressure impression technique
The selective pressure impression technique helps
One stage selective pressure impression technique
The selective pressure impression technique helps
Procedure:
1. On the study cast a tray is constructed as follows:
•
Procedure:
1. On the study cast a tray is constructed as follows:
•
2. On the tissue surface of the tray, corresponding to the
2. On the tissue surface of the tray, corresponding to the
5. Relief the tissue surface of the compound 1mm except for
5. Relief the tissue surface of the compound 1mm except for
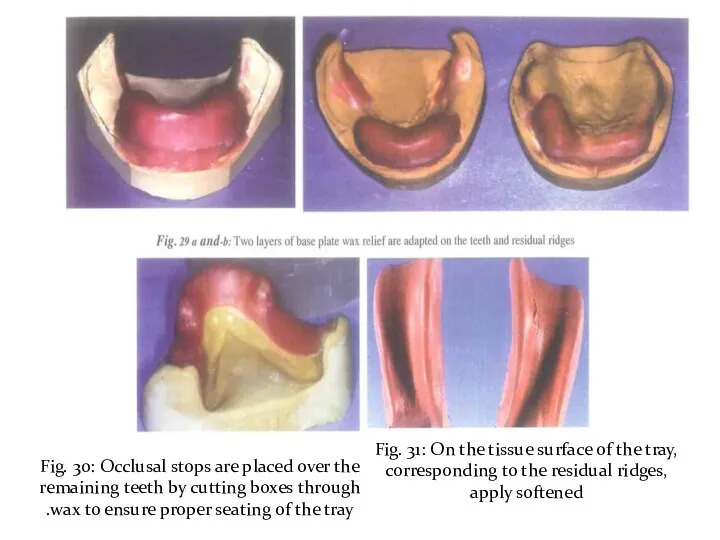
Fig. 30: Occlusal stops are placed over the remaining teeth by
Fig. 30: Occlusal stops are placed over the remaining teeth by
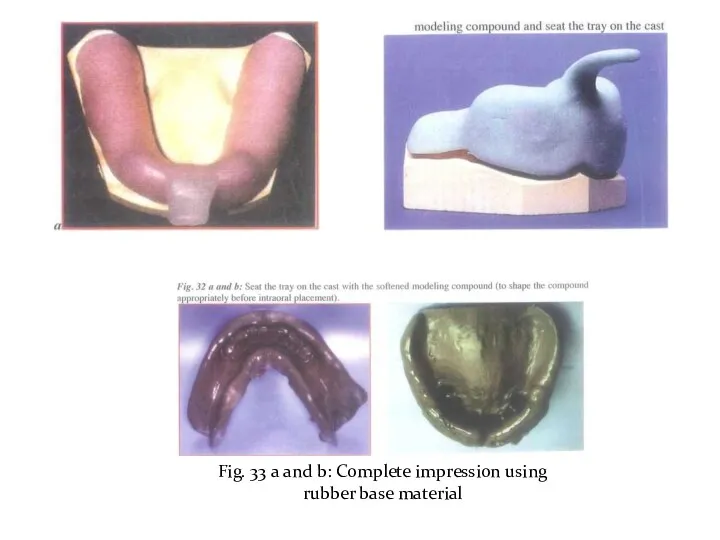
Fig. 33 a and b: Complete impression using rubber base material
Fig. 33 a and b: Complete impression using rubber base material

2- The functional impression technique at the framework stage:
The altered
2- The functional impression technique at the framework stage:
The altered
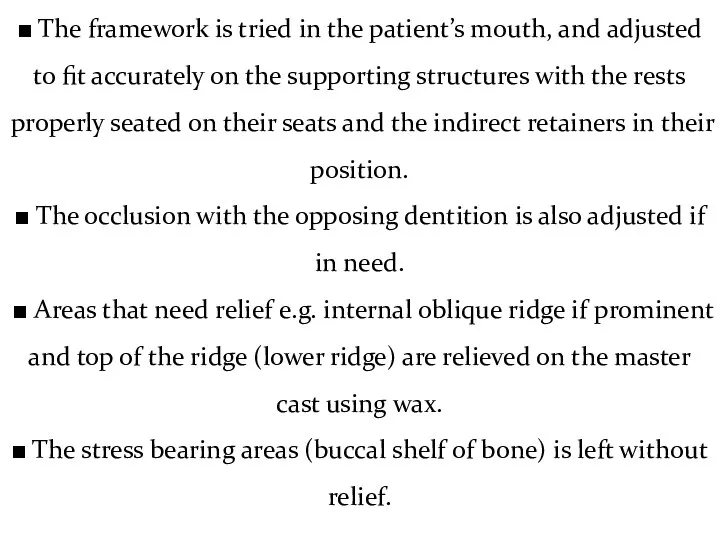
■ The framework is tried in the patient’s mouth, and adjusted
■ The framework is tried in the patient’s mouth, and adjusted
■ An acrylic resin special tray is constructed on the ridge
■ An acrylic resin special tray is constructed on the ridge
■ The trays are then loaded with the impression material and
■ The trays are then loaded with the impression material and
■ After the impression has been made and is accepted, the distal
■ After the impression has been made and is accepted, the distal
■ The framework with the impression is reseated on the cast,
■ The framework with the impression is reseated on the cast,
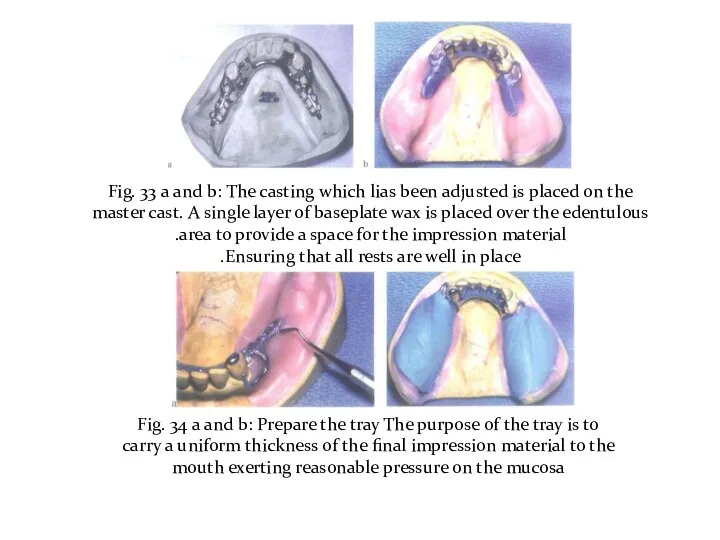
Fig. 33 a and b: The casting which lias been adjusted
Fig. 33 a and b: The casting which lias been adjusted
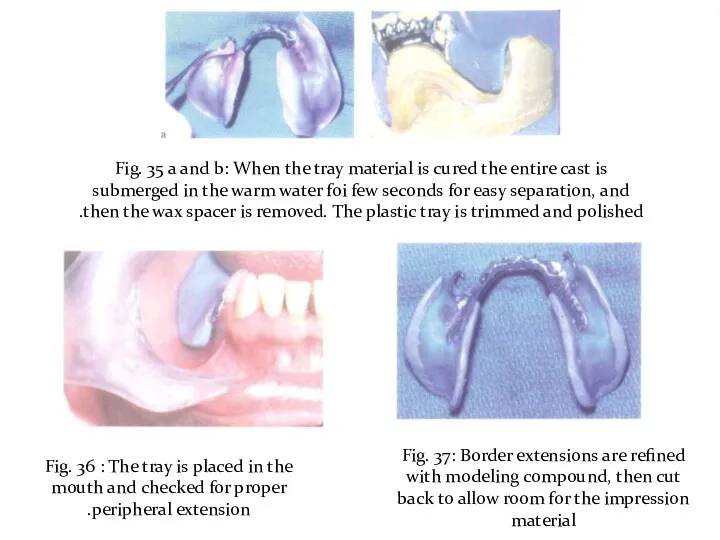
Fig. 35 a and b: When the tray material is cured
Fig. 35 a and b: When the tray material is cured
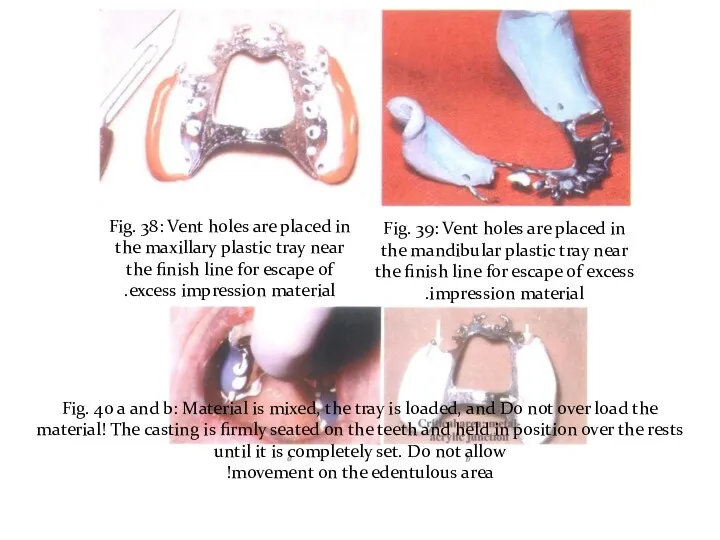
Fig. 38: Vent holes are placed in the maxillary plastic tray
Fig. 38: Vent holes are placed in the maxillary plastic tray
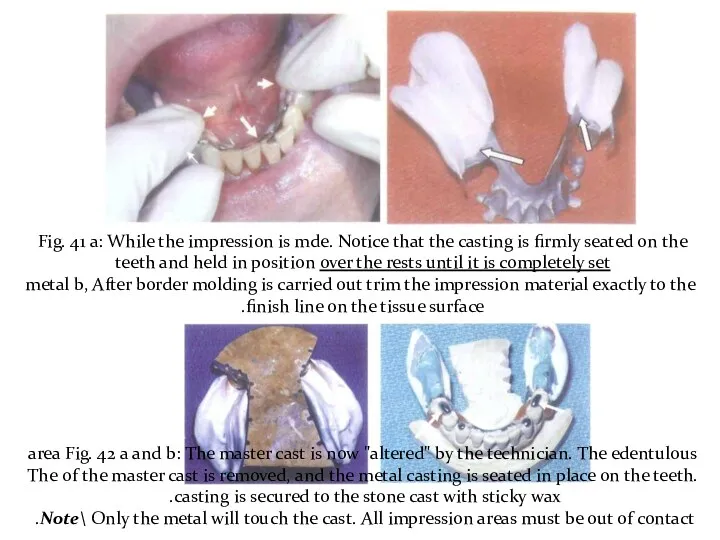
Fig. 41 a: While the impression is mde. Notice that the
Fig. 41 a: While the impression is mde. Notice that the
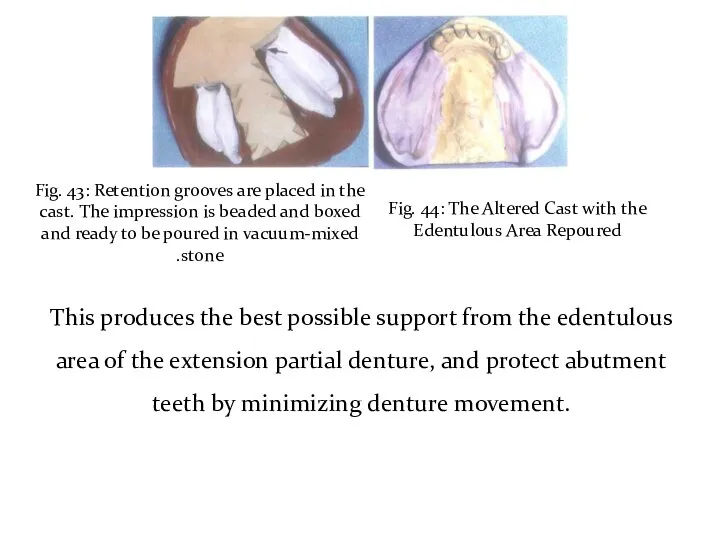
Fig. 43: Retention grooves are placed in the cast. The impression
Fig. 43: Retention grooves are placed in the cast. The impression
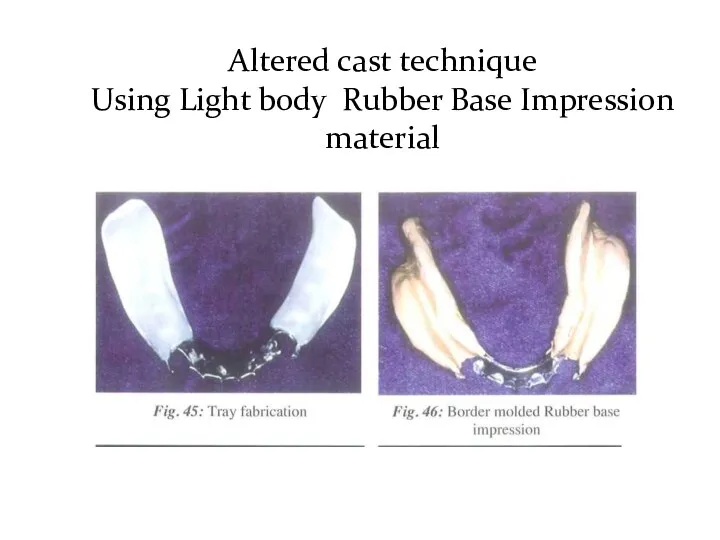
Altered cast technique
Using Light body Rubber Base Impression material
Altered cast technique
Using Light body Rubber Base Impression material
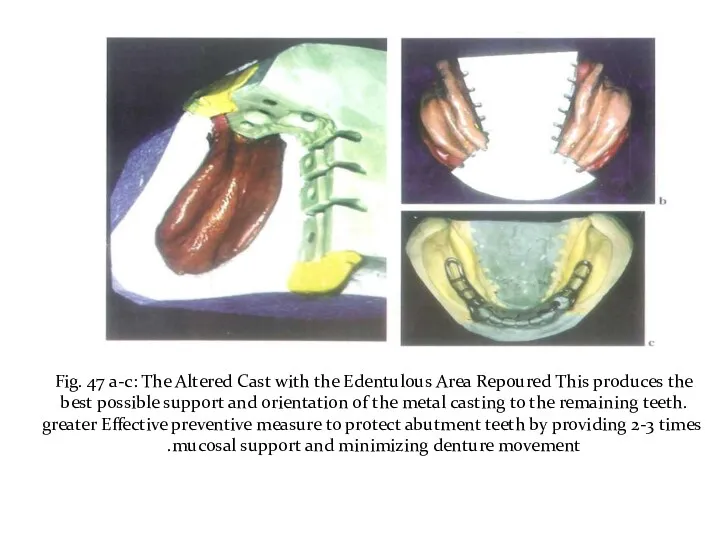
Fig. 47 a-c: The Altered Cast with the Edentulous Area Repoured
Fig. 47 a-c: The Altered Cast with the Edentulous Area Repoured
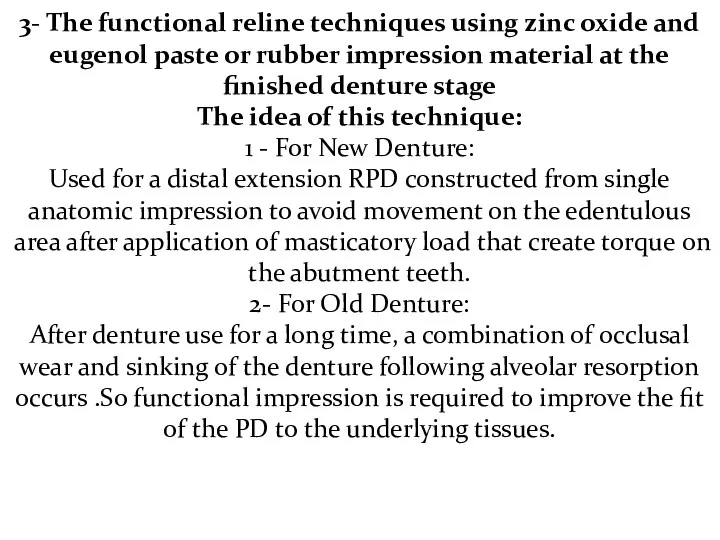
3- The functional reline techniques using zinc oxide and eugenol paste
3- The functional reline techniques using zinc oxide and eugenol paste
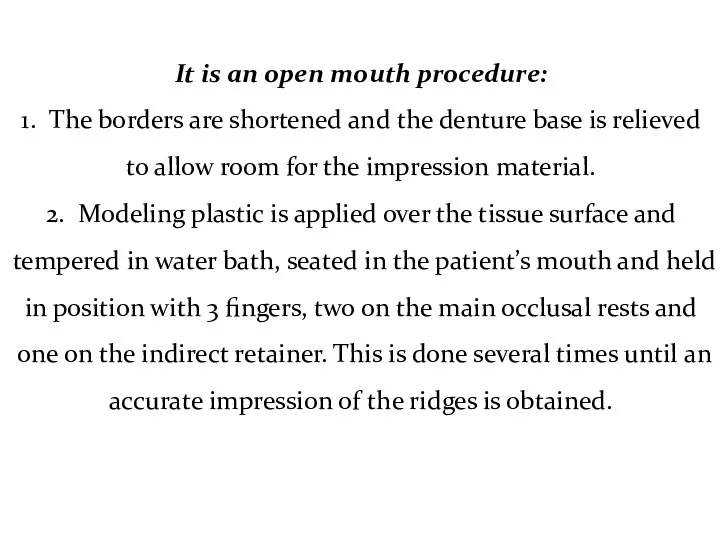
It is an open mouth procedure:
1. The borders are shortened and
It is an open mouth procedure:
1. The borders are shortened and
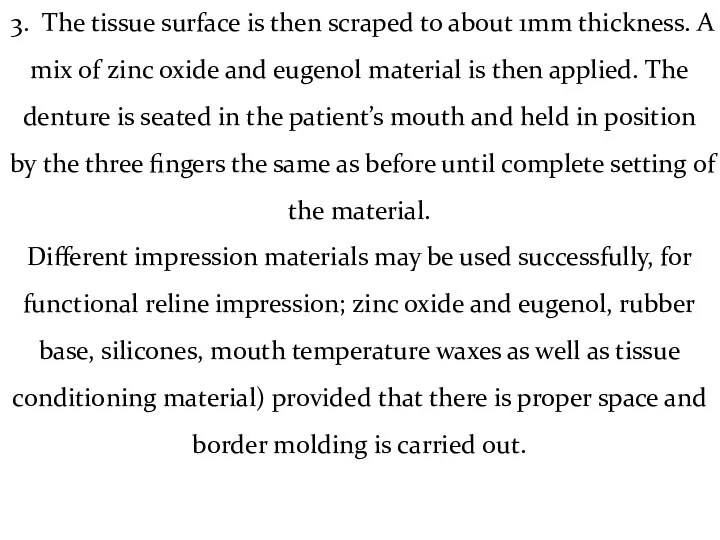
3. The tissue surface is then scraped to about 1mm thickness.
3. The tissue surface is then scraped to about 1mm thickness.
 История развития отечественной неврологии. Морфогенез и гистогенез нервной системы
 Профилактика послеродовых кровотечений. Активное ведение третьего периода родов. Краниотомия
 Перитонит у детей
 Показания к плановому кесареву сечению во время беременности
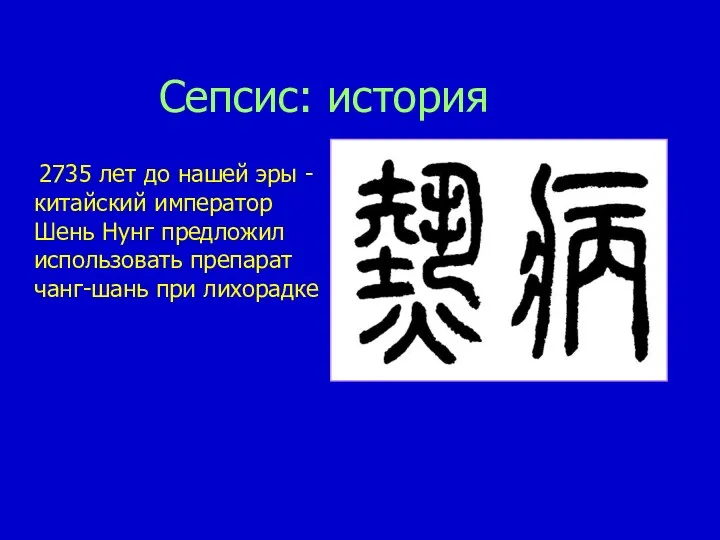 Сепсис: история
 Психостимуляторы. Ноотропные средства. Болеутоляющие средства
 Лекарственные растения, обладающие противовоспалительными и противоязвенными свойствами
 Нарушения речи и особенности их коррекции у детей с интеллектуальной недостаточностью
 Роль вакцинации в профилактике инфекционных заболеваний
 Kurs przed Lekarskim Egzaminem Końcowym Reumatologia
 Страхование здоровья в Грузии. Страховая компания Полис Меди
 Послеродовый период. Уход за родильницей
 Приобретенные пороки сердца
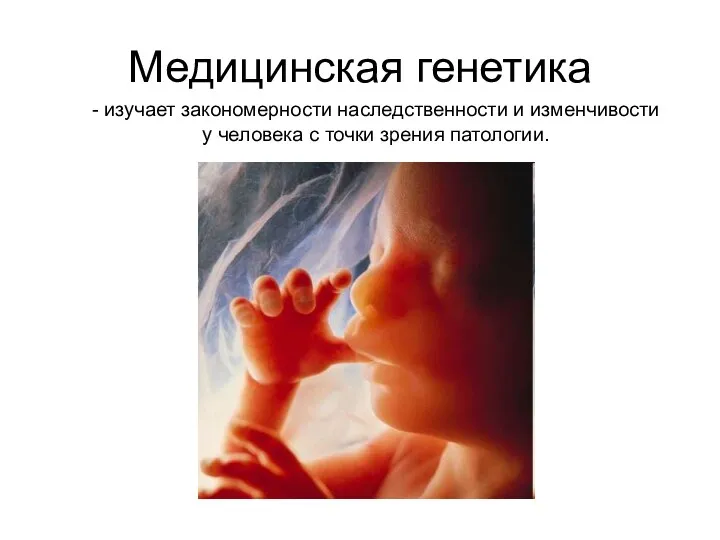 Медицинская генетика
 Нуклеопротеидтер алмасуының бұзылуы: подагра, несеп тас ауруы, несеп қышқыл, инфаркт
 Логопедическая коррекция в комплексе медико-педагогической и социальной реабилитации детей с церебральным параличом
 Гигиена зрения. Предупреждение глазных болезней
 Топографическая анатомия в области надплечья и плеча. (Занятие 2)
 Менингит дегеніміз не?
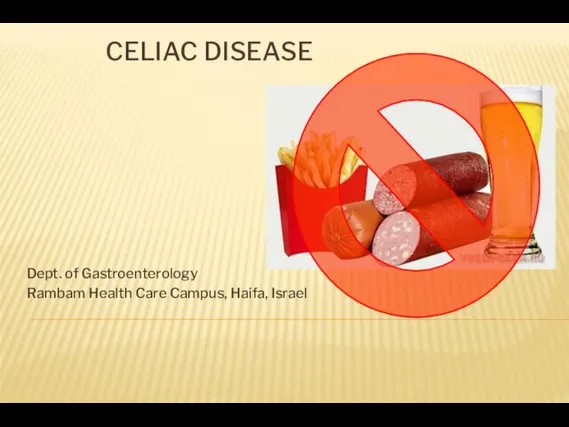 Celiac disease
 Влияние вредных факторов на плод
 Острая гнойная инфекция костей и суставов
 Эритроцитурия (дифференциальная диагностика)
 Требования к организации и проведению профилактической дератизации и дезинсекции
 Прогресс в медицине за 50 лет
 Острая ревматическая лихорадка (болезнь Сокольского – Буйо)
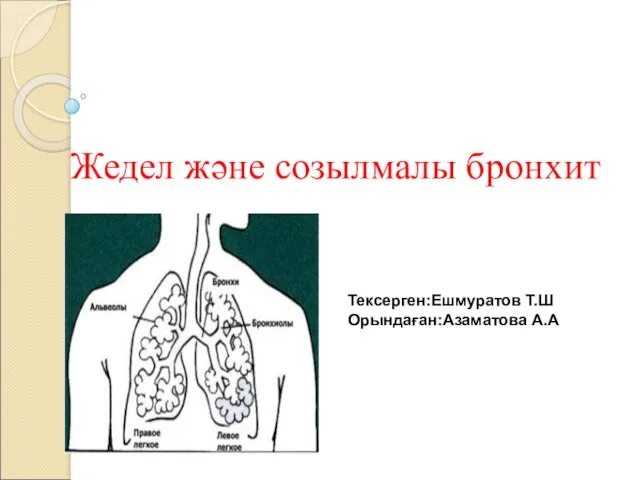 Жедел және созылмалы бронхит
 Болезнь Альцгеймера