- URTA - traditional buryatskoe housing

Содержание
- 2. The Buryat yurt The Buryat yurt is a historically formed sample of a dwelling ideally suited
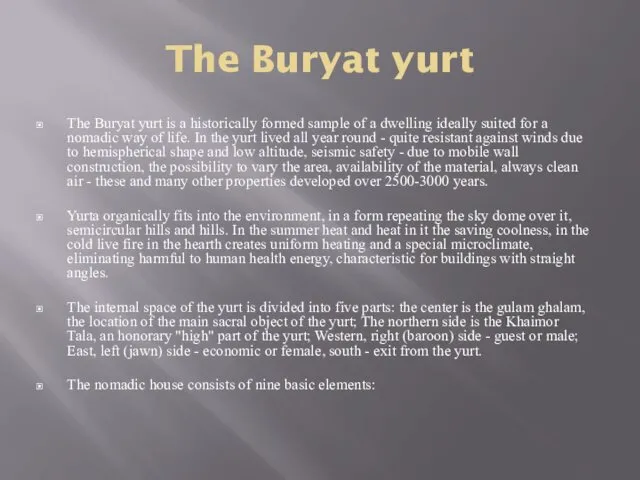
- 3. Уняа «Unyaaa» plough-stone poles, from which the arch of the yurta of the Buryats is built.
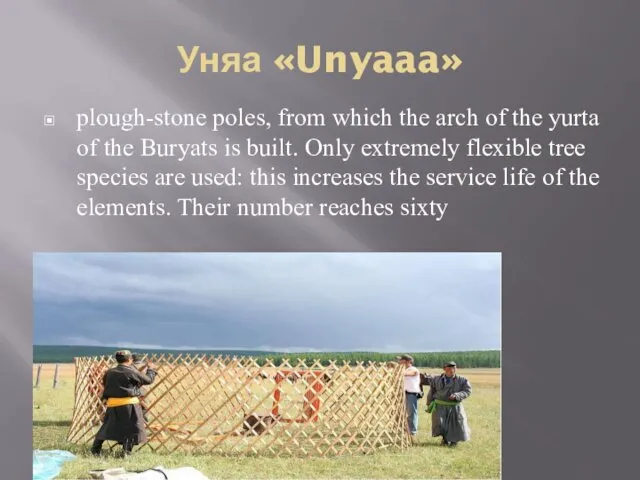
- 4. Тооно «Toono» a special circle on the top of the yurt. It forms a hole, which
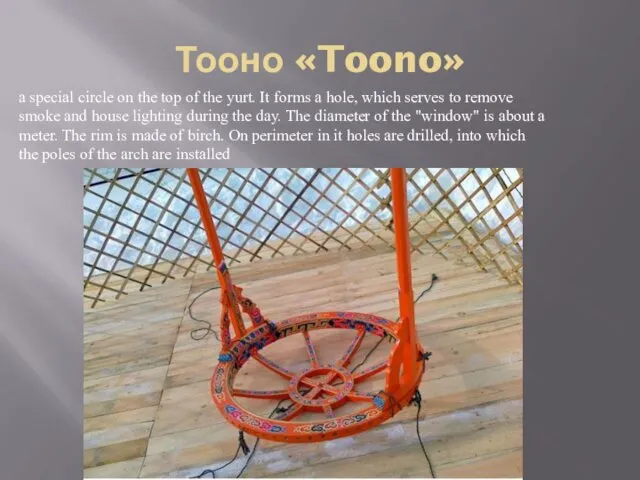
- 5. Тээнги «Thaengi» supporting poles of the structure. There are only two of them, and with their
- 6. Дааган «Daagan» struts of the upper rim, serving to give it rigidity. From the Buryat language
- 7. Туургэ «Turege» felt, covering the side parts of the dwelling. Each roll in length reaches three
- 8. Зээг «Zeeg» hair ropes attached to the top edge of the coating. Felt first close the
- 9. Дээбэри «Deebari» throw themselves after the turk. They are two huge pieces of felt covering, narrow
- 10. Холшон «Khoshlon» belts of horsehair, with which the yurt is pulled over the felt cover. They
- 11. Instruction on assembling-installation of a felt burial yurt of the Buryat-Mongol type
- 12. 1. At the beginning of the prepared surface, it is advisable to outline a circle with
- 13. 3. Install the door. Traditionally, the Mongolian people put their house (yurt) in a door to
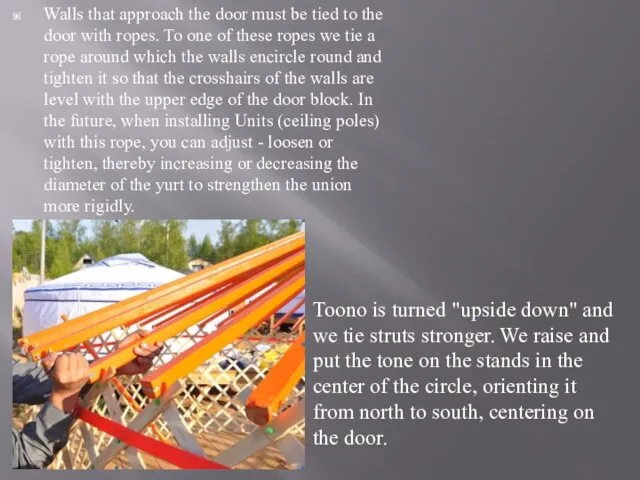
- 14. Walls that approach the door must be tied to the door with ropes. To one of
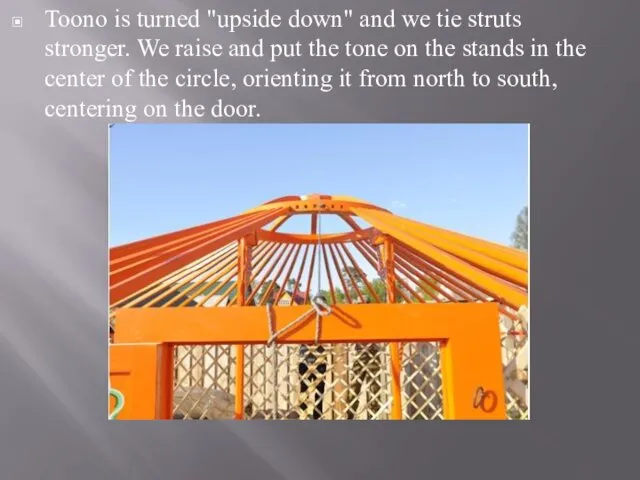
- 15. Toono is turned "upside down" and we tie struts stronger. We raise and put the tone
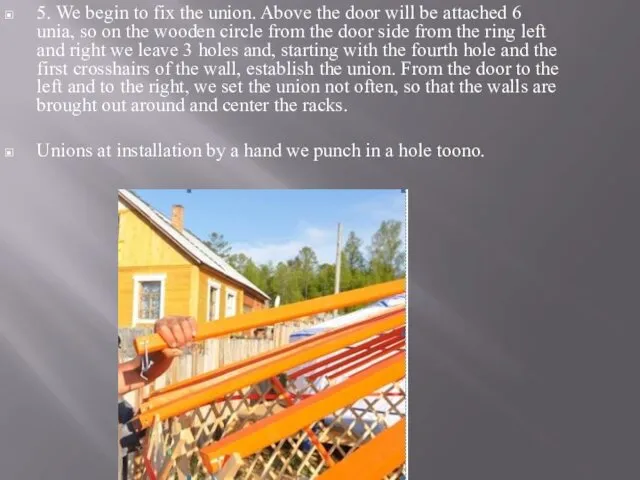
- 16. 5. We begin to fix the union. Above the door will be attached 6 unia, so
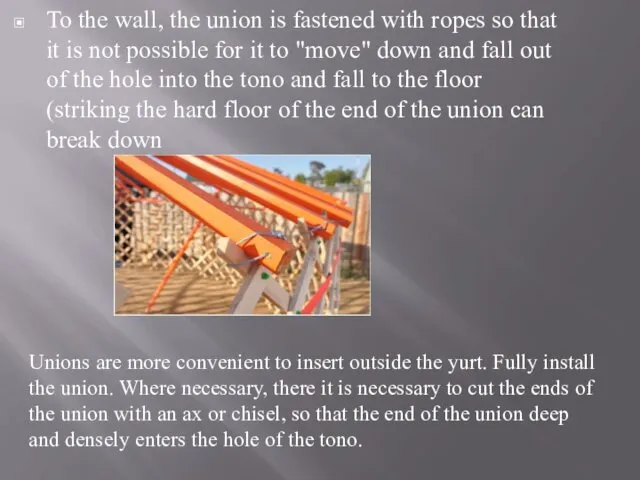
- 17. To the wall, the union is fastened with ropes so that it is not possible for
- 18. 6. When all the unions are installed, we begin to put the union over the door
- 19. 7. If the inner case of calico is included in the package of your yurt, then
- 20. 9. Felt semicircles - the devoir fit on the roof in such a sequence: - first
- 22. Скачать презентацию
The Buryat yurt
The Buryat yurt is a historically formed sample of
The Buryat yurt
The Buryat yurt is a historically formed sample of
Уняа «Unyaaa»
plough-stone poles, from which the arch of the yurta of
Уняа «Unyaaa»
plough-stone poles, from which the arch of the yurta of
Тооно «Toono»
a special circle on the top of the yurt. It
Тооно «Toono»
a special circle on the top of the yurt. It
Тээнги «Thaengi»
supporting poles of the structure. There are only two of
Тээнги «Thaengi»
supporting poles of the structure. There are only two of
Дааган «Daagan»
struts of the upper rim, serving to give it rigidity.
Дааган «Daagan»
struts of the upper rim, serving to give it rigidity.
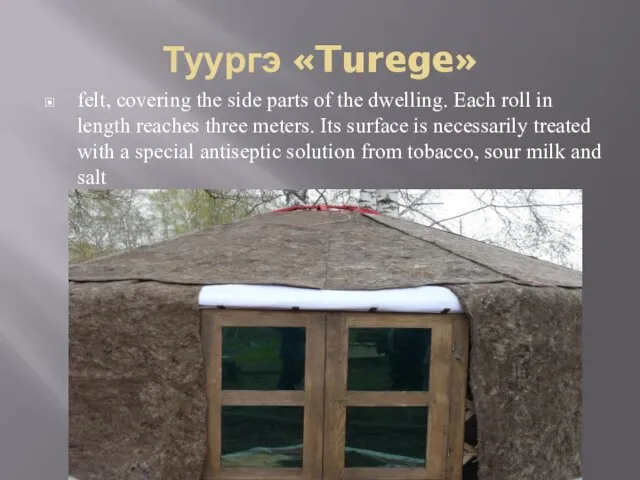
Туургэ «Turege»
felt, covering the side parts of the dwelling. Each roll
Туургэ «Turege»
felt, covering the side parts of the dwelling. Each roll
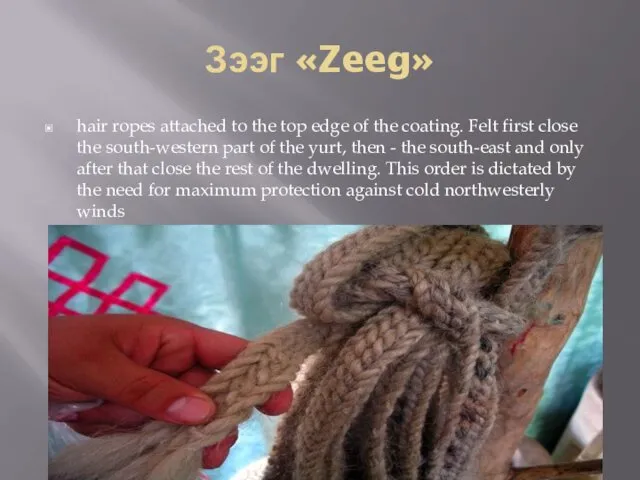
Зээг «Zeeg»
hair ropes attached to the top edge of the coating.
Зээг «Zeeg»
hair ropes attached to the top edge of the coating.
Дээбэри «Deebari»
throw themselves after the turk. They are two huge pieces
Дээбэри «Deebari»
throw themselves after the turk. They are two huge pieces
Холшон «Khoshlon»
belts of horsehair, with which the yurt is pulled over
Холшон «Khoshlon»
belts of horsehair, with which the yurt is pulled over
Instruction on assembling-installation of a felt burial yurt of the Buryat-Mongol
Instruction on assembling-installation of a felt burial yurt of the Buryat-Mongol
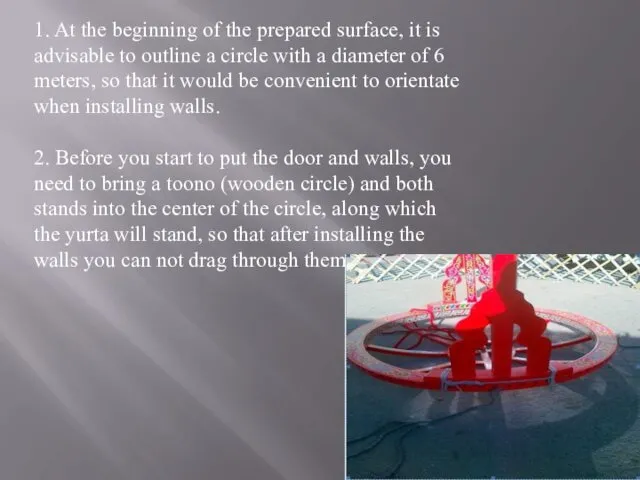
1. At the beginning of the prepared surface, it is advisable
1. At the beginning of the prepared surface, it is advisable
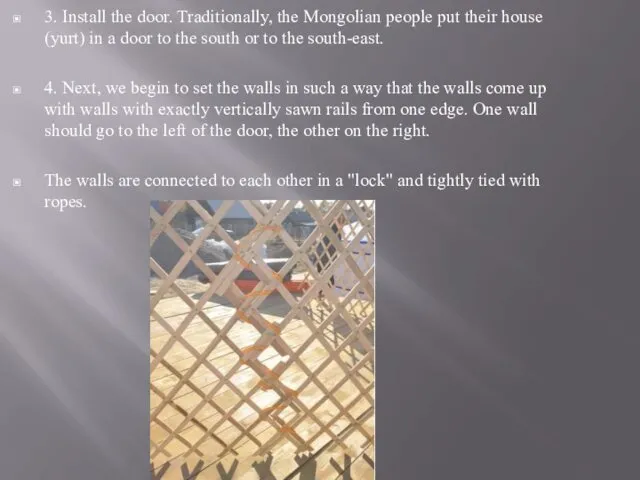
3. Install the door. Traditionally, the Mongolian people put their house
3. Install the door. Traditionally, the Mongolian people put their house
Walls that approach the door must be tied to the door
Walls that approach the door must be tied to the door
Toono is turned "upside down" and we tie struts stronger. We
Toono is turned "upside down" and we tie struts stronger. We
5. We begin to fix the union. Above the door will
5. We begin to fix the union. Above the door will
To the wall, the union is fastened with ropes so that
To the wall, the union is fastened with ropes so that
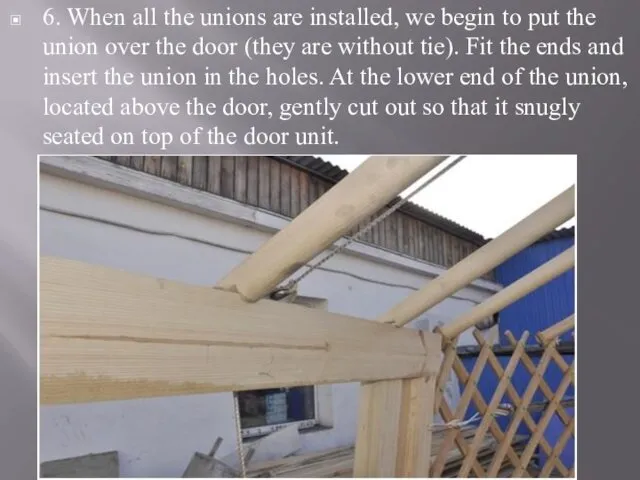
6. When all the unions are installed, we begin to put
6. When all the unions are installed, we begin to put
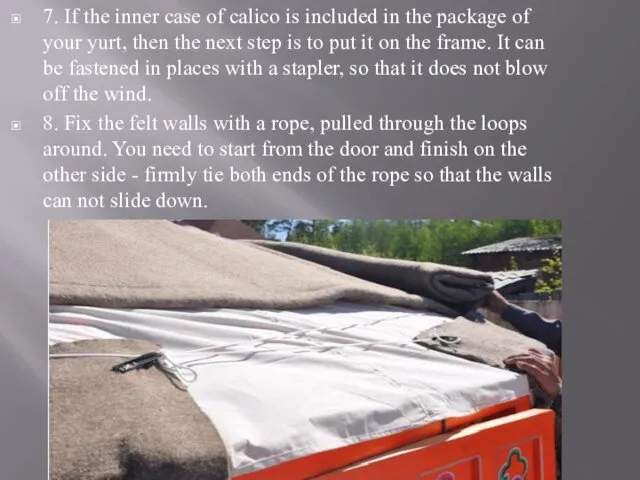
7. If the inner case of calico is included in the
7. If the inner case of calico is included in the
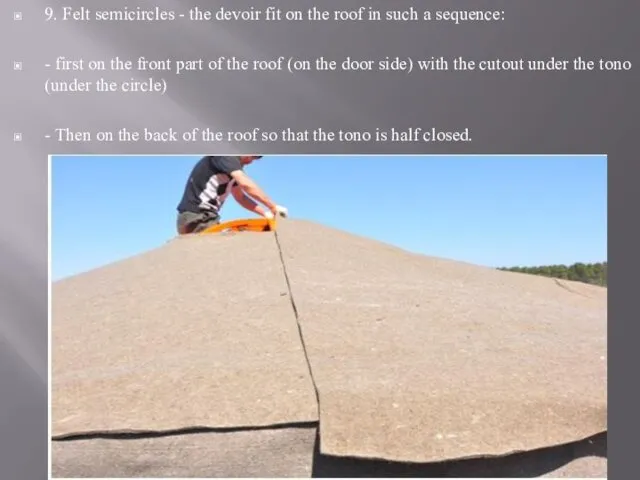
9. Felt semicircles - the devoir fit on the roof in
9. Felt semicircles - the devoir fit on the roof in
Похожие презентации
 Презентация по химии для 9 класса по теме: Органические вещества.
 Право и закон: природа, сущность, взаимодействие
 презентация о жизни и творчестве З.Биишевой
 20231010_zachem_nuzhna_matematika
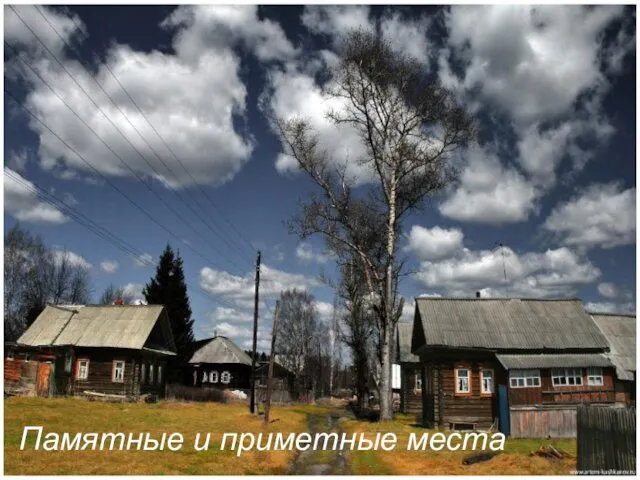 Истоки 13.04 Памятные и приметные места. Гора, дерево
 Шкатулка из открыток
 Історія України до XX ст
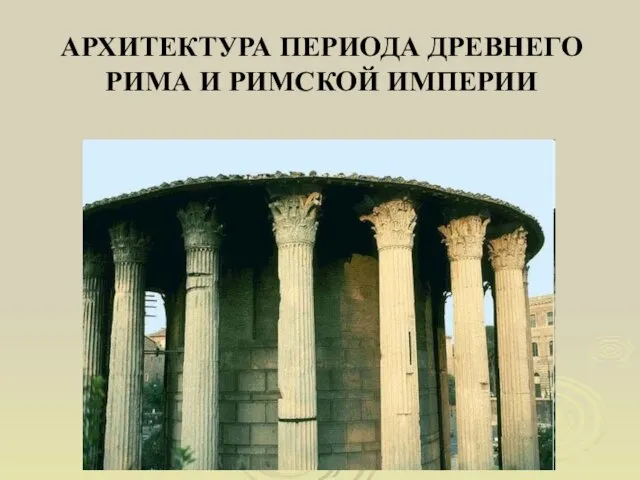 Архитектура периода Древнего Рима и Римской имерии
 Кто Я. Личная эффективность
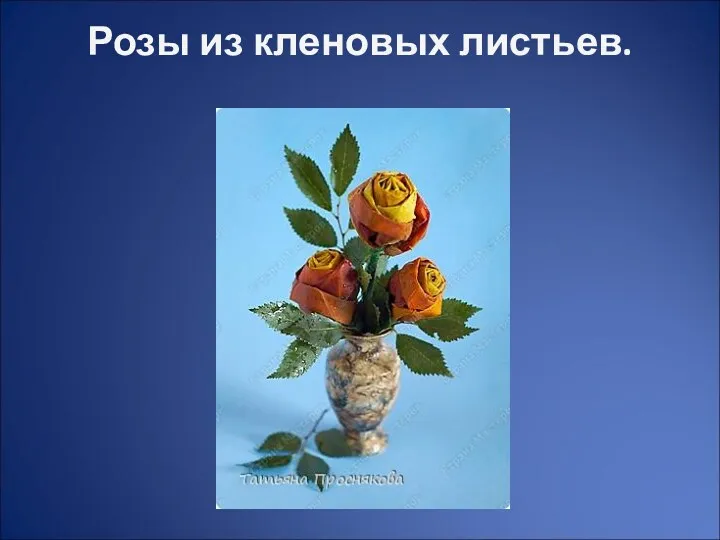 Розы из кленовых листьев
 Жиры - сложные эфиры глицерина и карбоновых кислот
 ЦЕНТРЫ РАЗВИВАЮЩЕЙ АКТИВНОСТИ.Старший дошкольный возраст
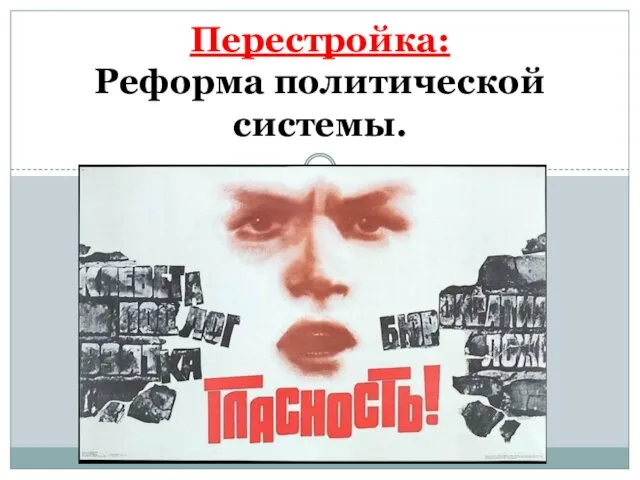 Перестройка в СССР. Реформа политической системы
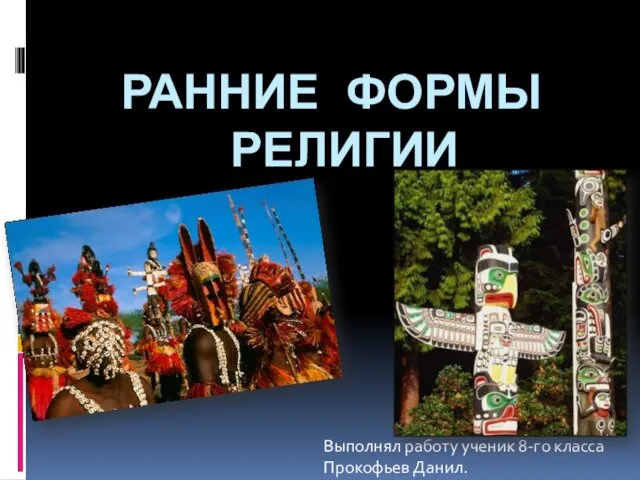 Ранние формы религии
 Красная книга. Фото
 Патриотический проект Женская война
 Русские земли и княжества в XII - середине XV вв. Политическая раздробленность на Руси. Русь удельная в XII - XIII вв
 Секреты пластилина. Новогодняя елочка
 Правила дорожного движения для детей старшего дошкольного возраста
 Именные стипендии губернатора области
 Пресуппозиции в тексте. Понятие пресупозиции. Характер связи пресуппозиции с контекстом. Пресуппозиция в тексте
 Основное представление об игре баскетбол
 Презентация к уроку Семья - важнейший институт духовно-нравственного развития
 Экологический КВН Земля наш общий Дом
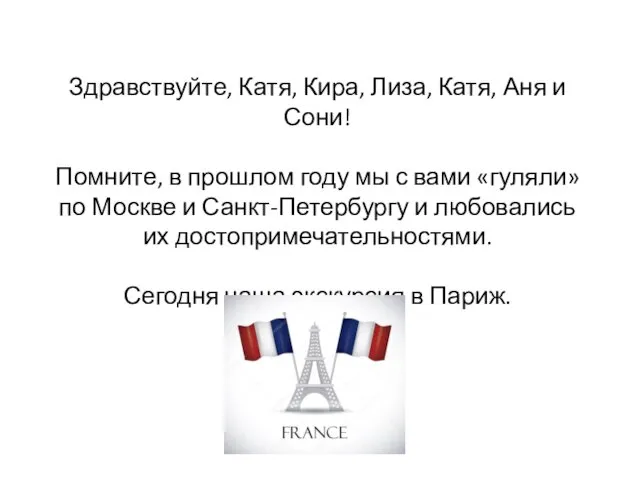 Париж – столица Франции
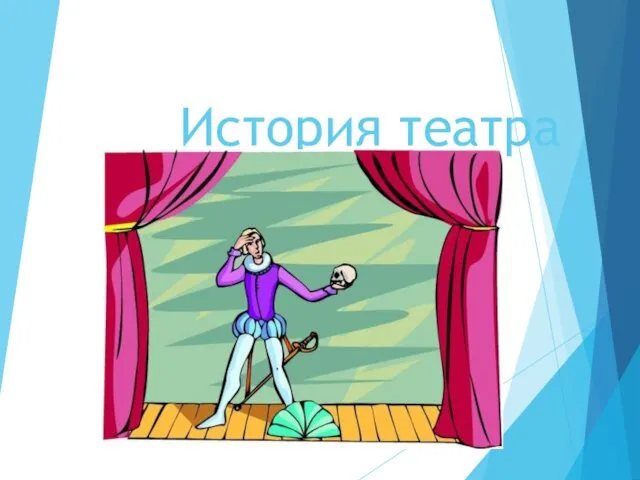 История театра
 Вода на Земле. Презентация по географии. 6 класс.