- Picasso M- User Debug mode Flash ROM Procedure (only for nonfused device)

Содержание
- 2. Preparation: Download the specific image pack and Picasso M USB driver to local disk. Unzip the
- 3. SOP ROM flash procedure: 1. Enter to Flash mode Turn power off on tablet device. Pressing
- 4. SOP ROM flash procedure (cont.): 3. ROM flash Unzip ROM files [nvflash_Acer_AV041_A510_RV28RC03_EMEA_GB(Debug for non-fused device).7z] to
- 6. Скачать презентацию
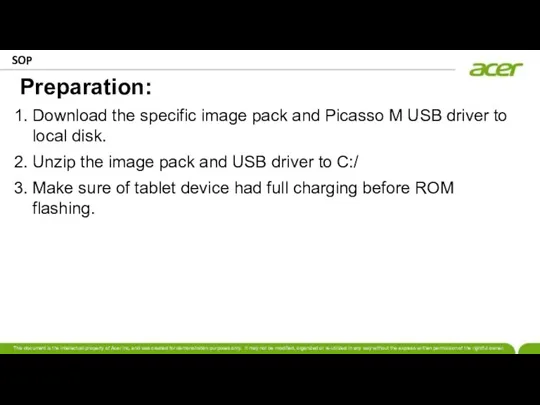
Preparation:
Download the specific image pack and Picasso M USB driver to
Preparation:
Download the specific image pack and Picasso M USB driver to
SOP
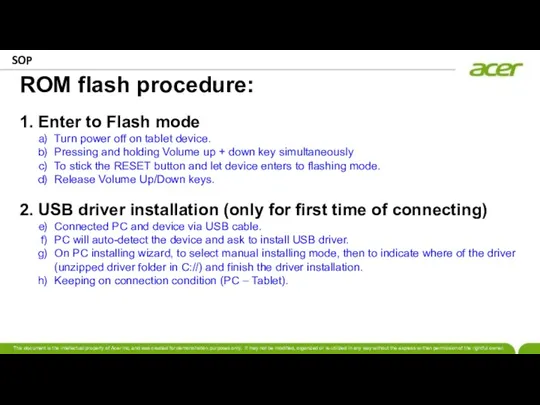
ROM flash procedure:
1. Enter to Flash mode
Turn power off on tablet
SOP
ROM flash procedure:
1. Enter to Flash mode
Turn power off on tablet
SOP
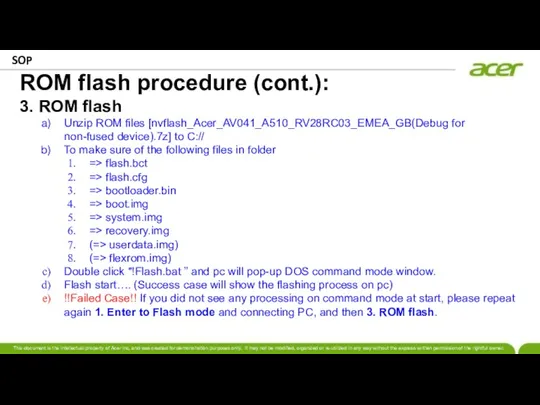
ROM flash procedure (cont.):
3. ROM flash
Unzip ROM files [nvflash_Acer_AV041_A510_RV28RC03_EMEA_GB(Debug for non-fused
SOP
ROM flash procedure (cont.):
3. ROM flash
Unzip ROM files [nvflash_Acer_AV041_A510_RV28RC03_EMEA_GB(Debug for non-fused
 Учет поступивших в библиотеку документов в схемах и таблицах
 Мобильные технологии в обучении иностранного языка
 Ввод информации в память компьютера. Устройства ввода информации. Клавиатура. Основная позиция пальцев на клавиатуре
 Основы программирования на Python 3
 Современные технологии баз данных и анализа информации - 1. Архитектура и функциональность MS SQL Server 2005
 Доступное дополнительное образование для детей
 Типы моделей данных
 Центр технологической компетенции аддитивных технологий. 3D-печать
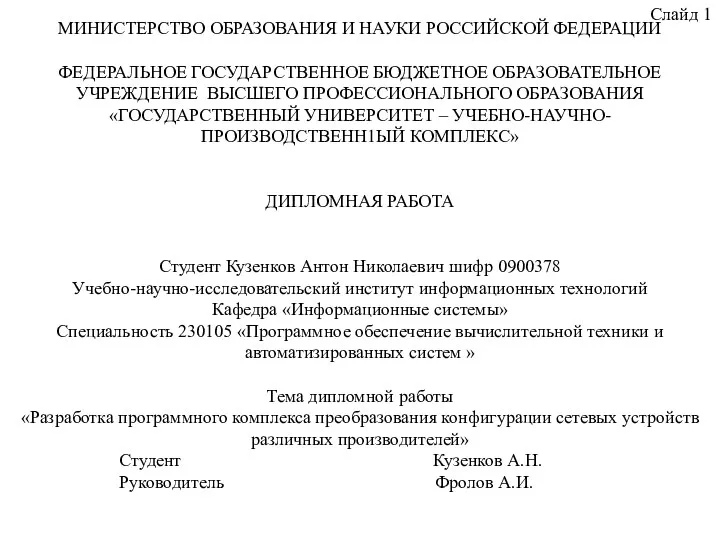 Разработка программного комплекса преобразования конфигурации сетевых устройств различных производителей
 Курсовая работа по информатике
 Информатика. Разделы курса
 Анализ интернет-журнала Wonderzine на жанровое разнообразие
 Программа MS Access
 Работа с графами. Представление знаний
 Основные понятия баз данных
 Виды баз данных
 Презентация Форматирование абзацев
 Курс по основам программирования на Python. Функции
 Excel 2007
 Измерение информации. Информация и информационные процессы. Информатика. 7 класс
 Обзор специальностей в сфере IT
 Знакомство с рабочим местом webquik
 Презентация к уроку Модели. Моделирование
 Загрузи фоны
 Основные понятия угрозы безопасности
 Упрощенный приём отправлений (инструкция v.1)
 Основные понятия. Данные: поля и константы. Методы. Параметры методов. Конструкторы. Свойства. Лекция 11-12
 Объекты JavaScript