- Installation Kibes Run Time Program

Содержание
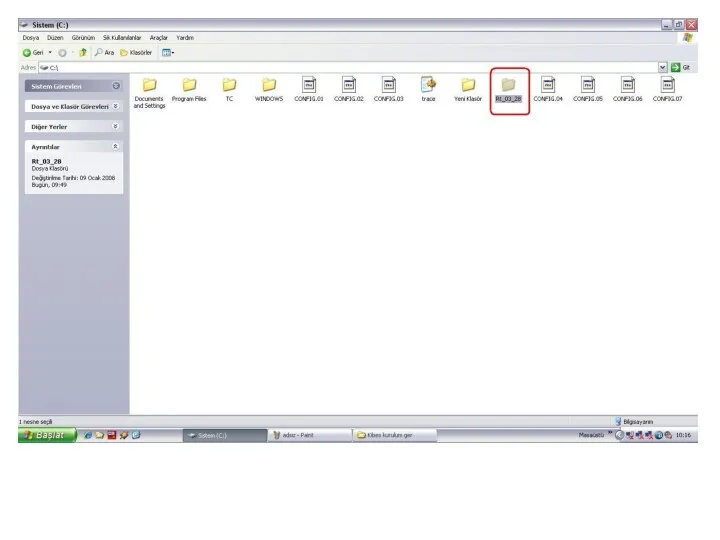
- 2. For Kibes Run Time installation, firstly copy the sent file that is named Rt_03_28, and paste
- 4. Then press “Run” command in Start menu
- 5. Press “Browse” button, select the C:\Rt_03_28 and open file
- 6. Select ‘INSTALL’ exe. file and press open button
- 7. Press space and write ENG to the end of the command (C:\Rt_03_28\INSTALL.BAT) that is shown on
- 8. This window is shown on screen
- 9. After a few seconds, new window is shown on, select part of C and press enter
- 10. [C:\KIBES_R] is shown on screen. Press enter
- 11. Select COM1 and press enter again
- 14. After the installation, the next program that is named DosEnaRt6_1, must be installed. This program is
- 15. Firstly, open DosEnaRt6_1
- 16. Start ksetup.exe
- 17. Choose KS_RT.bat file
- 18. And copy it
- 19. Then open KIBES_R file ( C:\KIBES_R). (Before, we have installed this file at your computer).
- 20. Choose KS.bat file
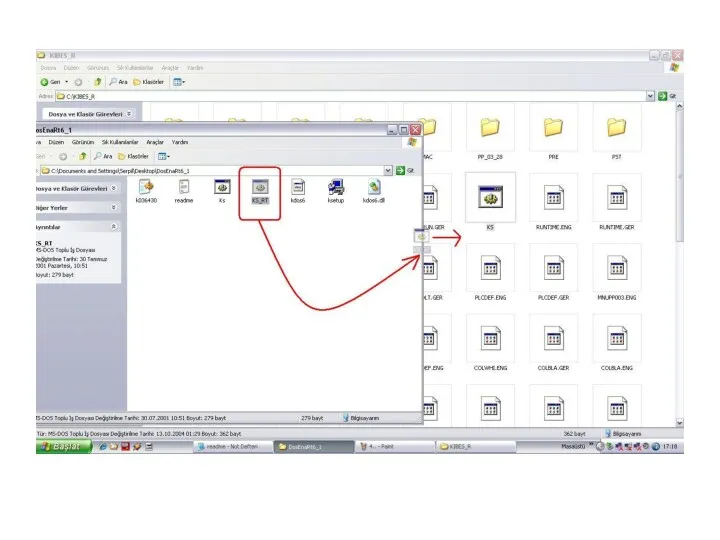
- 21. Then substitute KS.bat with delivered KS_RT.bat
- 24. Delete old KS.bat file
- 25. And rename KS_RT to KS
- 27. Скачать презентацию
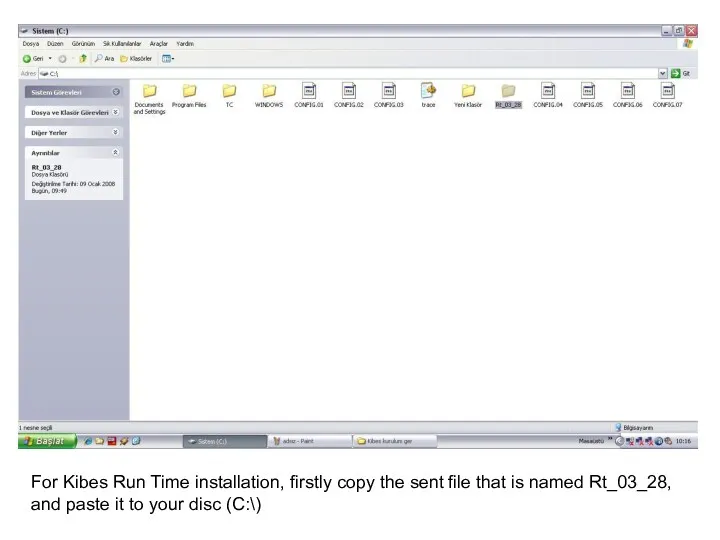
For Kibes Run Time installation, firstly copy the sent file that
For Kibes Run Time installation, firstly copy the sent file that
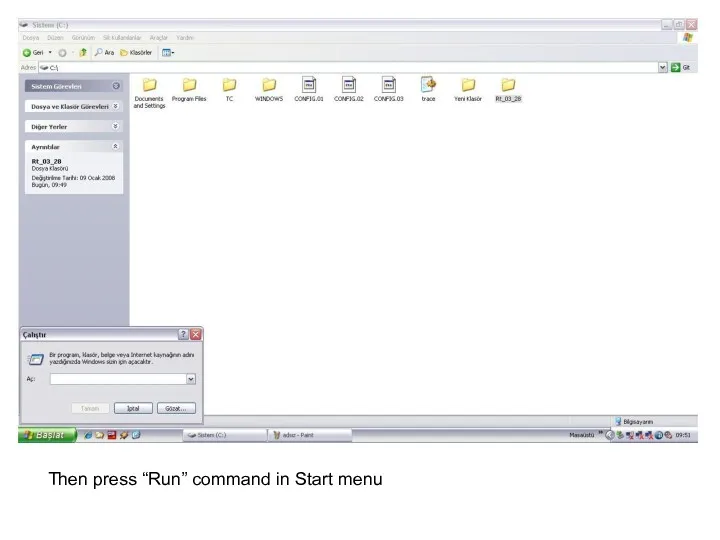
Then press “Run” command in Start menu
Then press “Run” command in Start menu
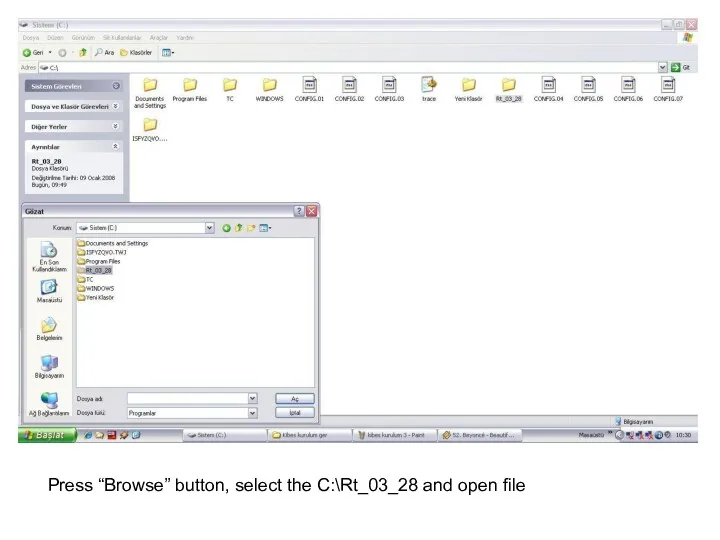
Press “Browse” button, select the C:\Rt_03_28 and open file
Press “Browse” button, select the C:\Rt_03_28 and open file
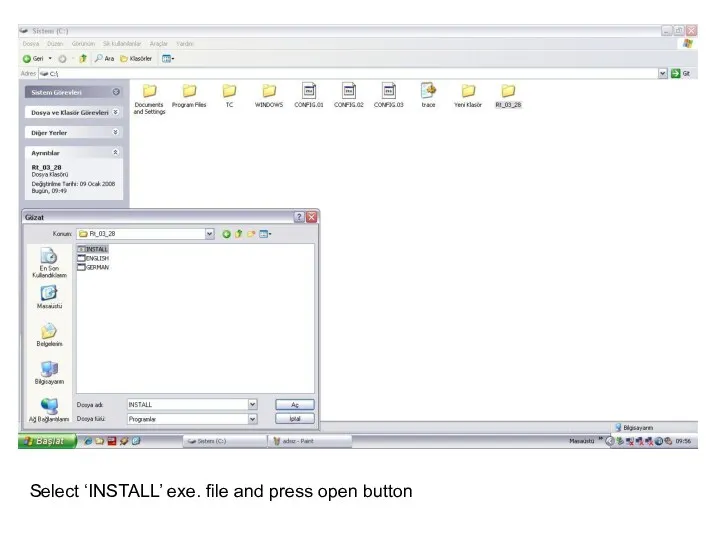
Select ‘INSTALL’ exe. file and press open button
Select ‘INSTALL’ exe. file and press open button
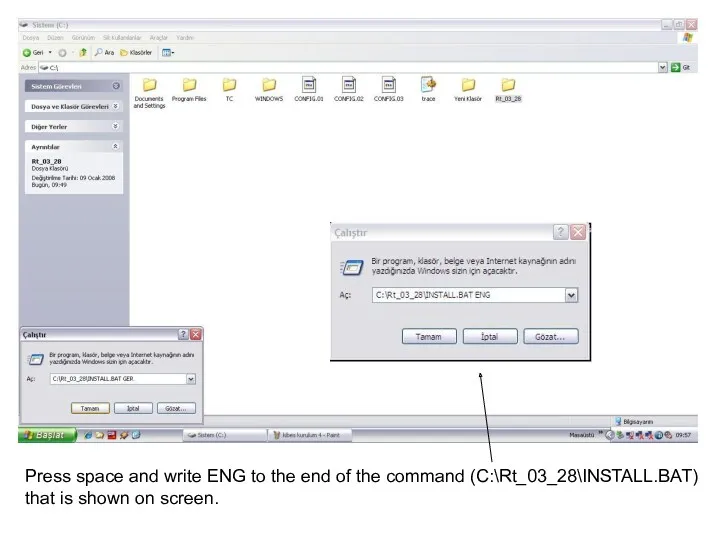
Press space and write ENG to the end of the command
Press space and write ENG to the end of the command
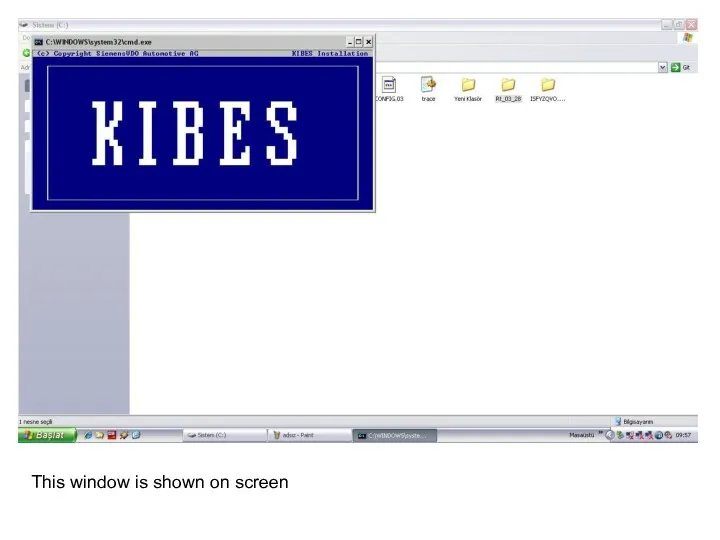
This window is shown on screen
This window is shown on screen
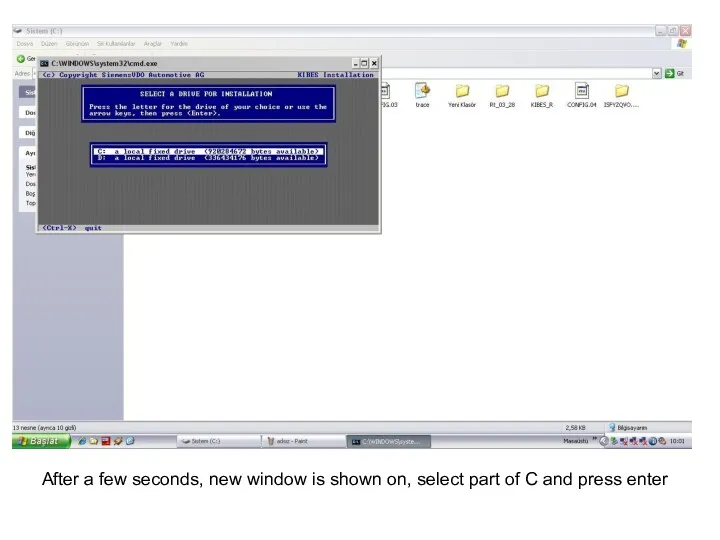
After a few seconds, new window is shown on, select part
After a few seconds, new window is shown on, select part
![[C:\KIBES_R] is shown on screen. Press enter](/_ipx/f_webp&q_80&fit_contain&s_1440x1080/imagesDir/jpg/11189/slide-9.jpg)
[C:\KIBES_R] is shown on screen. Press enter
[C:\KIBES_R] is shown on screen. Press enter
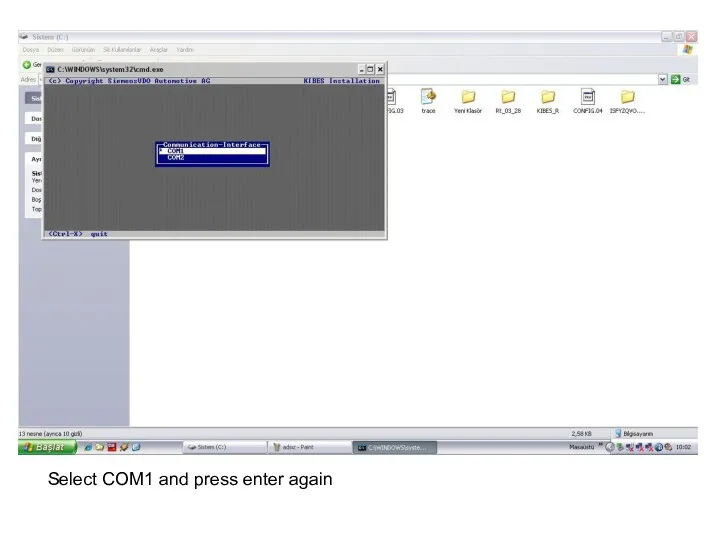
Select COM1 and press enter again
Select COM1 and press enter again
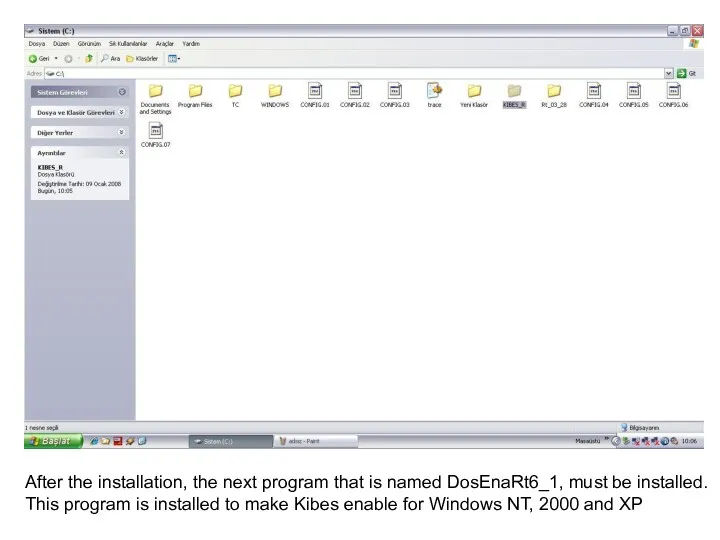
After the installation, the next program that is named DosEnaRt6_1, must
After the installation, the next program that is named DosEnaRt6_1, must
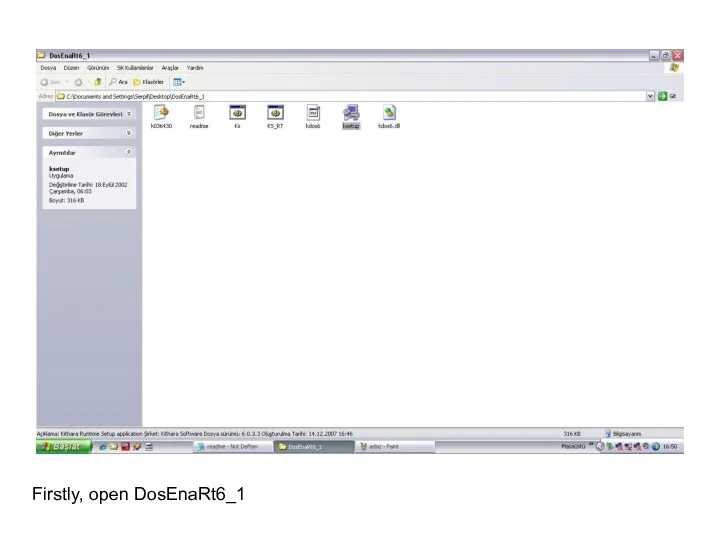
Firstly, open DosEnaRt6_1
Firstly, open DosEnaRt6_1
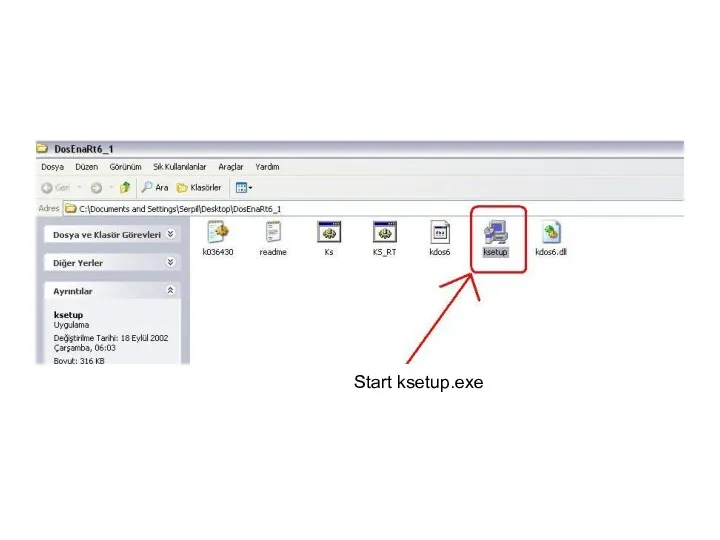
Start ksetup.exe
Start ksetup.exe

Choose KS_RT.bat file
Choose KS_RT.bat file
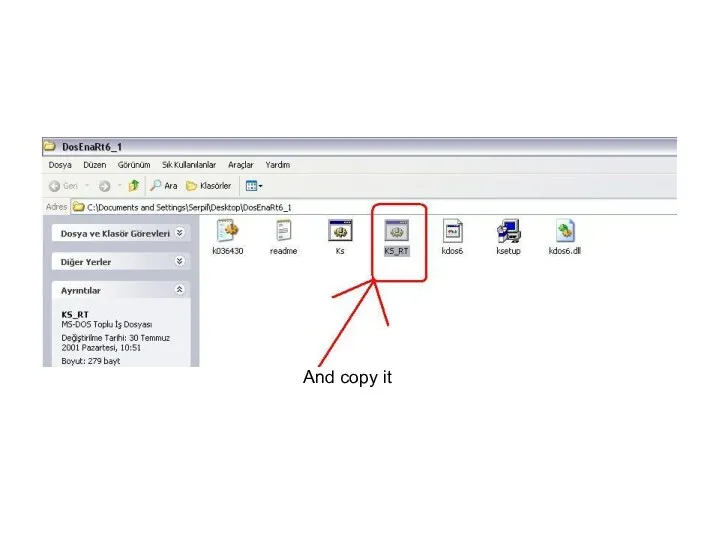
And copy it
And copy it
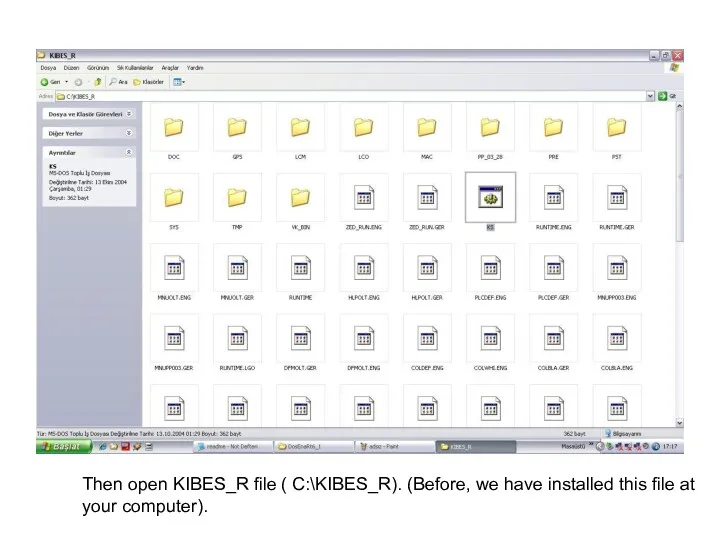
Then open KIBES_R file ( C:\KIBES_R). (Before, we have installed this
Then open KIBES_R file ( C:\KIBES_R). (Before, we have installed this
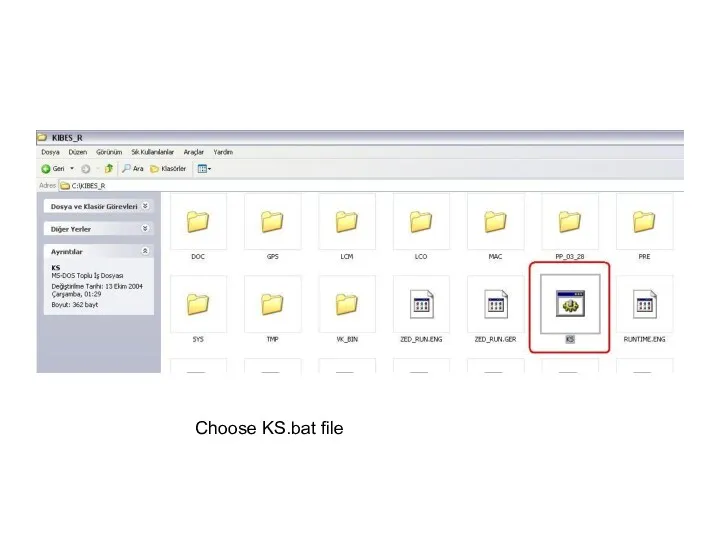
Choose KS.bat file
Choose KS.bat file
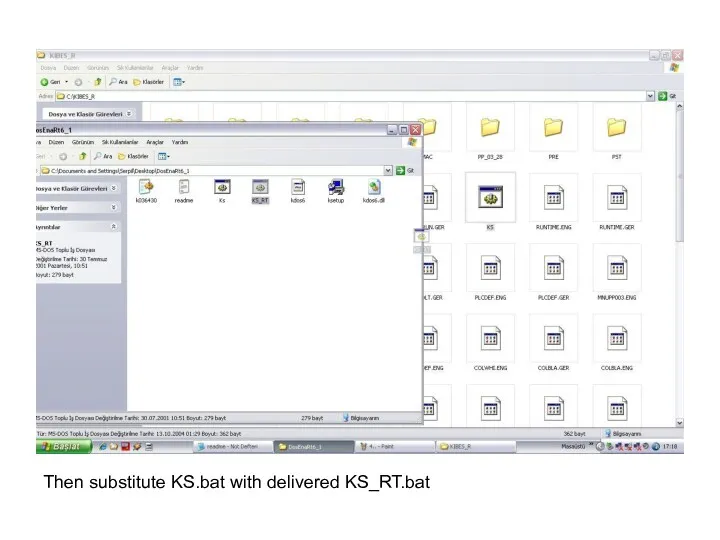
Then substitute KS.bat with delivered KS_RT.bat
Then substitute KS.bat with delivered KS_RT.bat
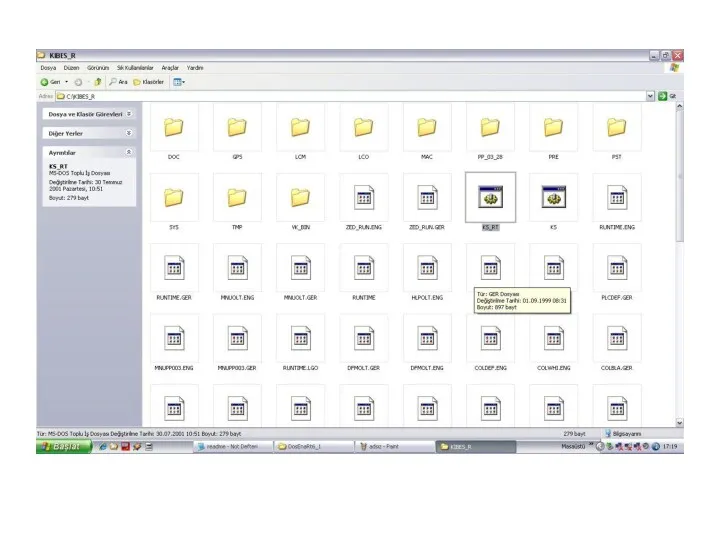
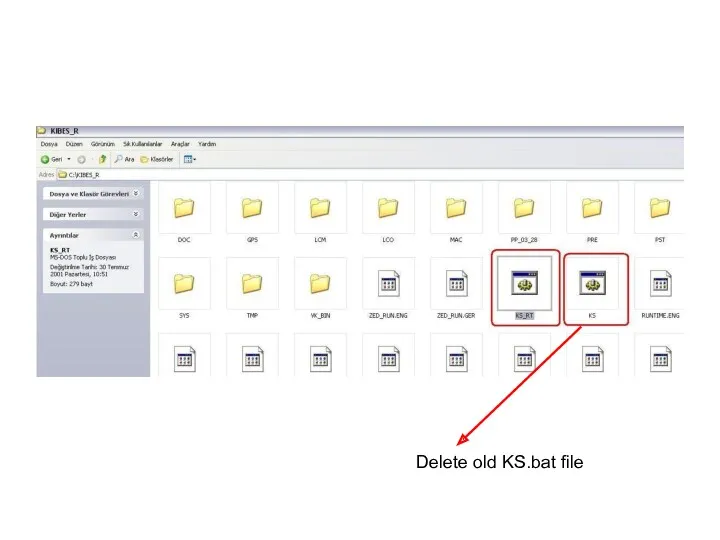
Delete old KS.bat file
Delete old KS.bat file
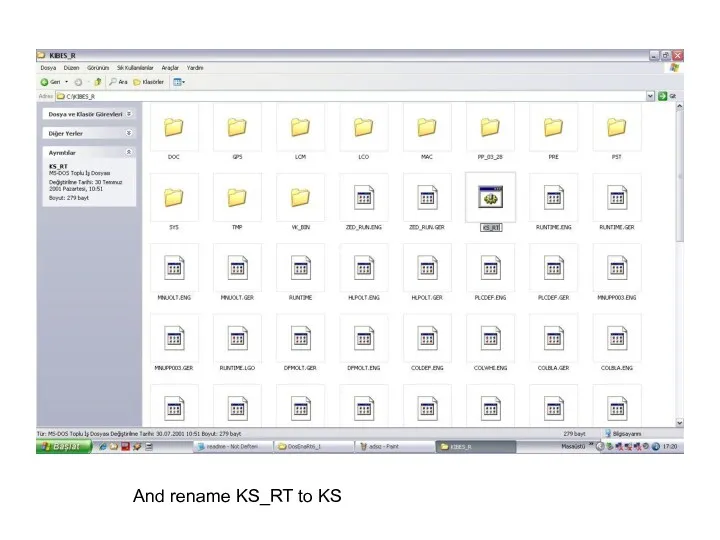
And rename KS_RT to KS
And rename KS_RT to KS
 Как с помощью программы PowerPoint создать презентацию?
 Операционная система Windows. (Лекция 6)
 Эволюция языков программирования
 Безопасность беспроводных компьютерных сетей
 Методы и средства защиты в технических каналах
 Eager7. Seven Steps To Full Control
 Смарт-технологиялар
 AVT. Audiovisual Translation
 Обучение в дистанционной форме: обзор онлайн-платформ и сервисов
 Устройства хранения информации
 База данных - основа информационной системы
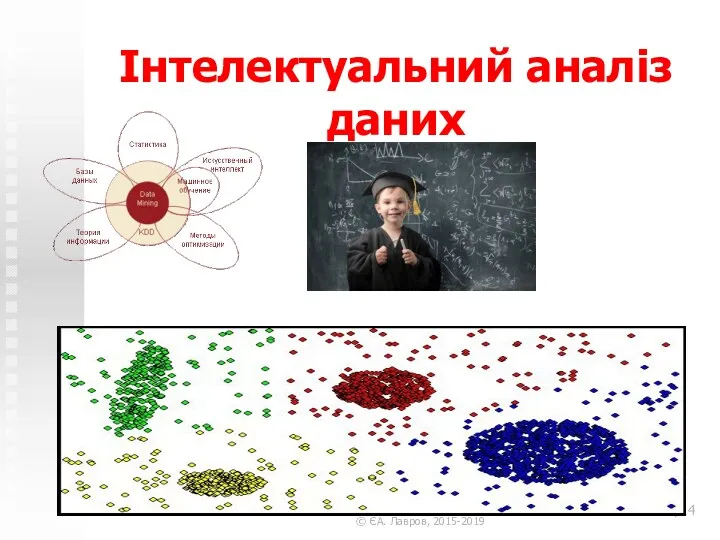 Інтелектуальний аналіз даних
 Электрондық үкімет
 Электротехникалық құралдар мен тізбектерді Simulink/Matlab – та моделдеу
 Каскадные таблицы стилей. Назначение и синтаксис
 КВН по информатике
 Массивы. Одномерный массив
 Классификация библиографических пособий
 Анализ алгоритма, содержащего цикл и ветвление
 Интернет безопасность
 Программные и аппаратные компоненты компьютерных сетей
 Клавиатура компьютера. Виды клавиатур
 Модели жизненного цикла ПС. Разработка программных систем
 Современные системы и методы обеспечения информационной безопасности телекоммуникационных сетей цифровой железной дороги
 Возможности динамических (электронных) таблиц. Математическая обработка числовых данных
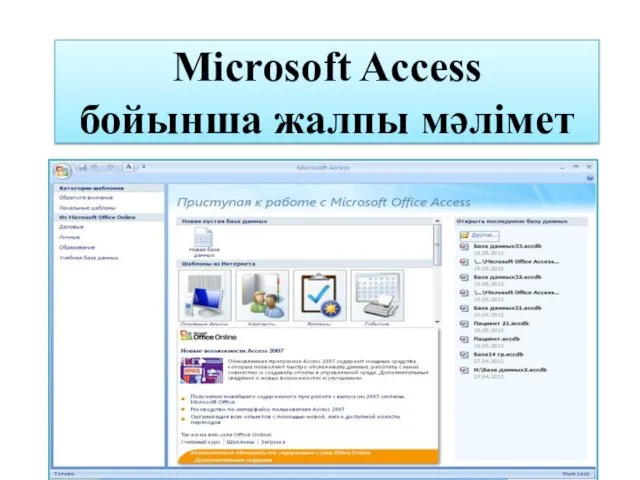 Microsoft Access бойынша жалпы мәлімет
 Вспомогательные алгоритмы и подпрограммы. Циклические алгоритмы. Ветвление
 Путешествие в страну Информатика (8 класс)